If side wall mounting is not practical, the speakers may be placed on a rear wall, behind the listening position. Again, they should be located so that the bottom of the cabinet is at least two feet higher than the listener’s ears. The speakers should be no more than six feet behind the rear of the seating area.
Subwoofers produce
Initial Turn-On
Once the speakers have been installed, the next step is to calibrate and configure the 5.0 for the specifics of your installation. First, make certain that you have installed the four supplied AAA batteries in the remote control, as shown on page 18. Next, make certain that the AC Power Cord Ý is plugged into a
You are now ready to turn on the 5.0. Before proceeding, place the Master Power button 1 in the ON position by pressing it in until the switch latches and is flush with the 5.0’s front panel. The Standby LED 6 on the front panel will illuminate as a reminder that the unit is now connected to an AC power source and in the Standby mode. This is also your indication that the unit is ready to accept commands from the remote control or other external controllers.
The final preparation before proceeding with the configuration is to make certain that your tele- vision, monitor, projector or other video display device is turned on, and that it is adjusted so that the 5.0 is the current video input. At this point you should also make one last check that all sources, amplifiers and speakers are properly connected to the 5.0, plugged into AC power, turned on or in their Standby mode.
Note: Although the setup and configuration process may be done by using either the front panel Information Display ! or the
Turn the 5.0 on by pressing the Standby button 2 on the front panel or either the Watch • or Listen Ä buttons on the remote. Note that the Standby LED 6 will go out and the word
![]()
![]()
![]()
![]()
![]()
![]()
![]()
![]() on the front panel will turn a soft blue color to act as the Power Indicator 5. If the 5.0 is connected to a Citation power amplifier via the remote trigger, it will also turn on after a brief delay.
on the front panel will turn a soft blue color to act as the Power Indicator 5. If the 5.0 is connected to a Citation power amplifier via the remote trigger, it will also turn on after a brief delay.
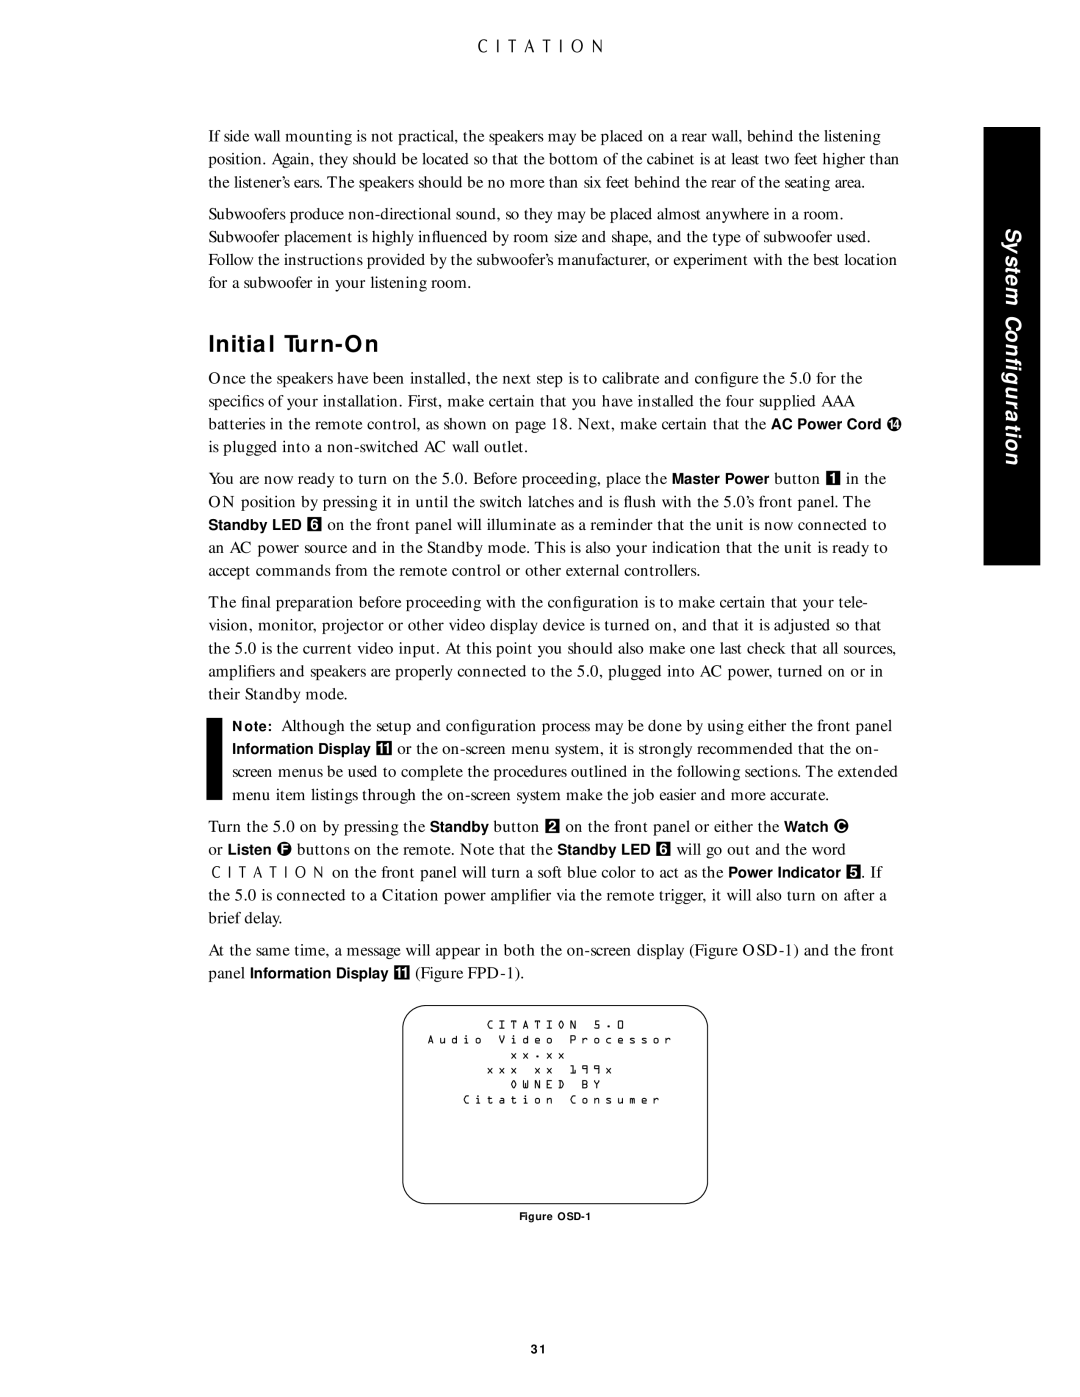
At the same time, a message will appear in both the
C I T A T I O N 5 . 0
A u d i o V i d e o | P r o c e s s o r |
x x . x x |
|
x x x x x | 1 9 9 x |
O W N E D | B Y |
C i t a t i o n | C o n s u m e r |
Figure OSD-1
System Configuration
31