Advanced Features
•Stereo reproduces the front left and right channels through those speakers only.
•Mono invokes enhancement circuitry which create an enveloping soundfield from a monophonic input signal; it can be a significant improvement when watching movies with mono sound.
Once you have selected a mode to customize, you will find many of the same attributes listed which may be modified to your preference as were associated with analog modes.
Two different attributes which may be modified are the last two on the menu (Figure
•Subs Level gives the user the ability to raise or lower the sound level coming from the sub- woofer(s) when a particular mode is chosen. Use the Ý or Ü Menu Control buttons ![]() to raise or lower the subwoofer level as desired.
to raise or lower the subwoofer level as desired.
•Auto Mode Sel(ect), when turned off, will mute the 5.0 if the signal is of a type other than selected on the MODE line above. For example, if, on the MODE line, DTS has been selected and a Dolby Digital source is fed to the 5.0, it will mute until either a DTS signal is supplied or another mode is selected.
Remote Zone
If you have connected an amplifier, remote infrared sensor and video monitor to the appropriate rear panel connections of the 5.0, people in a secondary location in your home will be able to select signal sources and volume levels independent of what is selected in the primary zone. It is not necessary for the 5.0 to be turned on; power (for the 5.0) can also be controlled from the second zone.
It will be necessary to equip the remote zone with its own remote control, as all selections are made via the controls under the Secondary Control Cover ![]() on the remote.
on the remote.
Setting Up the Remote Zone
The various options available to configure the remote zone are accessed through the Remote Zone menu. Press the Menu button ú on the remote control, and then press the Û Menu Control button ![]() once to highlight Remote Zone. Press the Ý Menu Control button
once to highlight Remote Zone. Press the Ý Menu Control button ![]() to display this menu (Figure
to display this menu (Figure
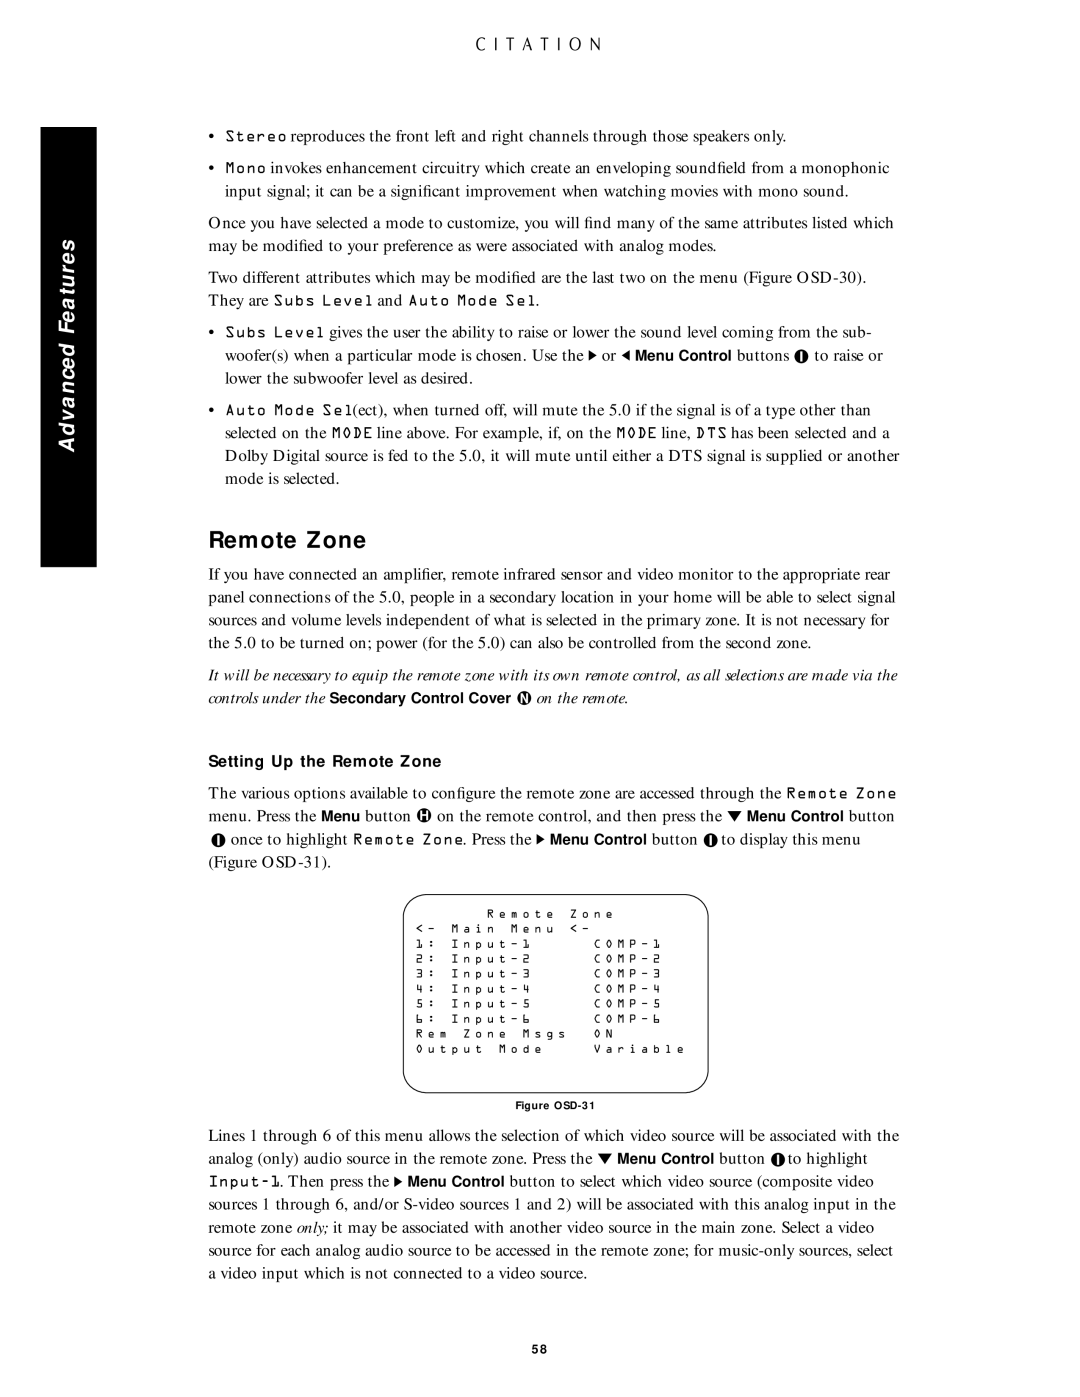
R e m o t e | Z o n e |
< Ð M a i n M e n u < Ð | |
1 : I n p u t Ð 1 | C O M P Ð 1 |
2 : I n p u t Ð 2 | C O M P Ð 2 |
3 : I n p u t Ð 3 | C O M P Ð 3 |
4 : I n p u t Ð 4 | C O M P Ð 4 |
5 : I n p u t Ð 5 | C O M P Ð 5 |
6 : I n p u t Ð 6 | C O M P Ð 6 |
R e m Z o n e M s g s | O N |
O u t p u t M o d e | V a r i a b l e |
Figure OSD-31
Lines 1 through 6 of this menu allows the selection of which video source will be associated with the analog (only) audio source in the remote zone. Press the Û Menu Control button ![]() to highlight
to highlight
58