Section 1 | Getting Started | DriveRack | ™ |
| |||
|
|
|
•Once you have completed your amp level settings, you will press the <NEXT PG> button, where you will be asked to select a bridged or normal setting fro your low amp (if used). The display will appear as follows:
•Once have made a bridged or mono selection, press the <NEXT PG> where the unit will prompt <DATA> wheel to load your new settings. If you do not wish to load the settings either press the <PROGRAM> button or use the <PREV PG> button to
Auto EQ WIZARD
•Once you have
260 DriveRack Wizard menu, rotate the <DATA> wheel until the display appears as follows:
DriveRack 260 Wizard
System Setup
Auto EQ Wizard
AFS WIZARD
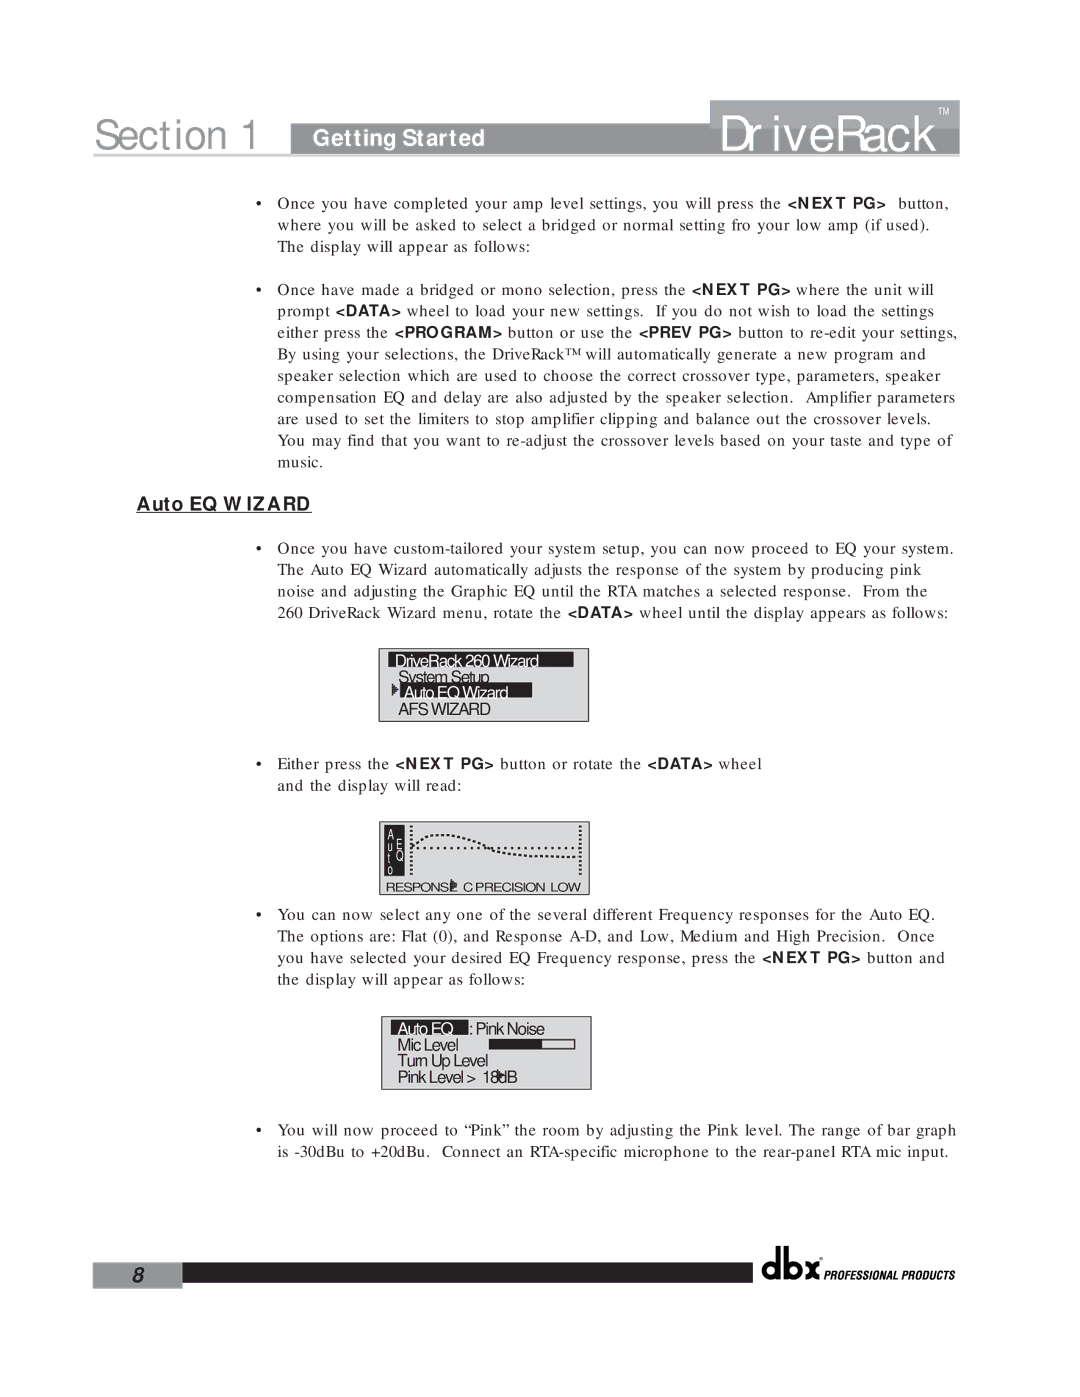
•Either press the <NEXT PG> button or rotate the <DATA> wheel and the display will read:
A |
|
|
u E |
|
|
t Q |
|
|
o |
|
|
RESPONSE | C PRECISION | LOW |
•You can now select any one of the several different Frequency responses for the Auto EQ. The options are: Flat (0), and Response
Auto EQ : Pink Noise
Mic Level 
Turn Up Level
Pink Level > 18dB
•You will now proceed to “Pink” the room by adjusting the Pink level. The range of bar graph is
®
8
