Section 5

Utilities/Meters

DriveRack


Panel

1

ZC-2

Boost


0dB

Cut

0dB

Output

1

3

5


2

4

6

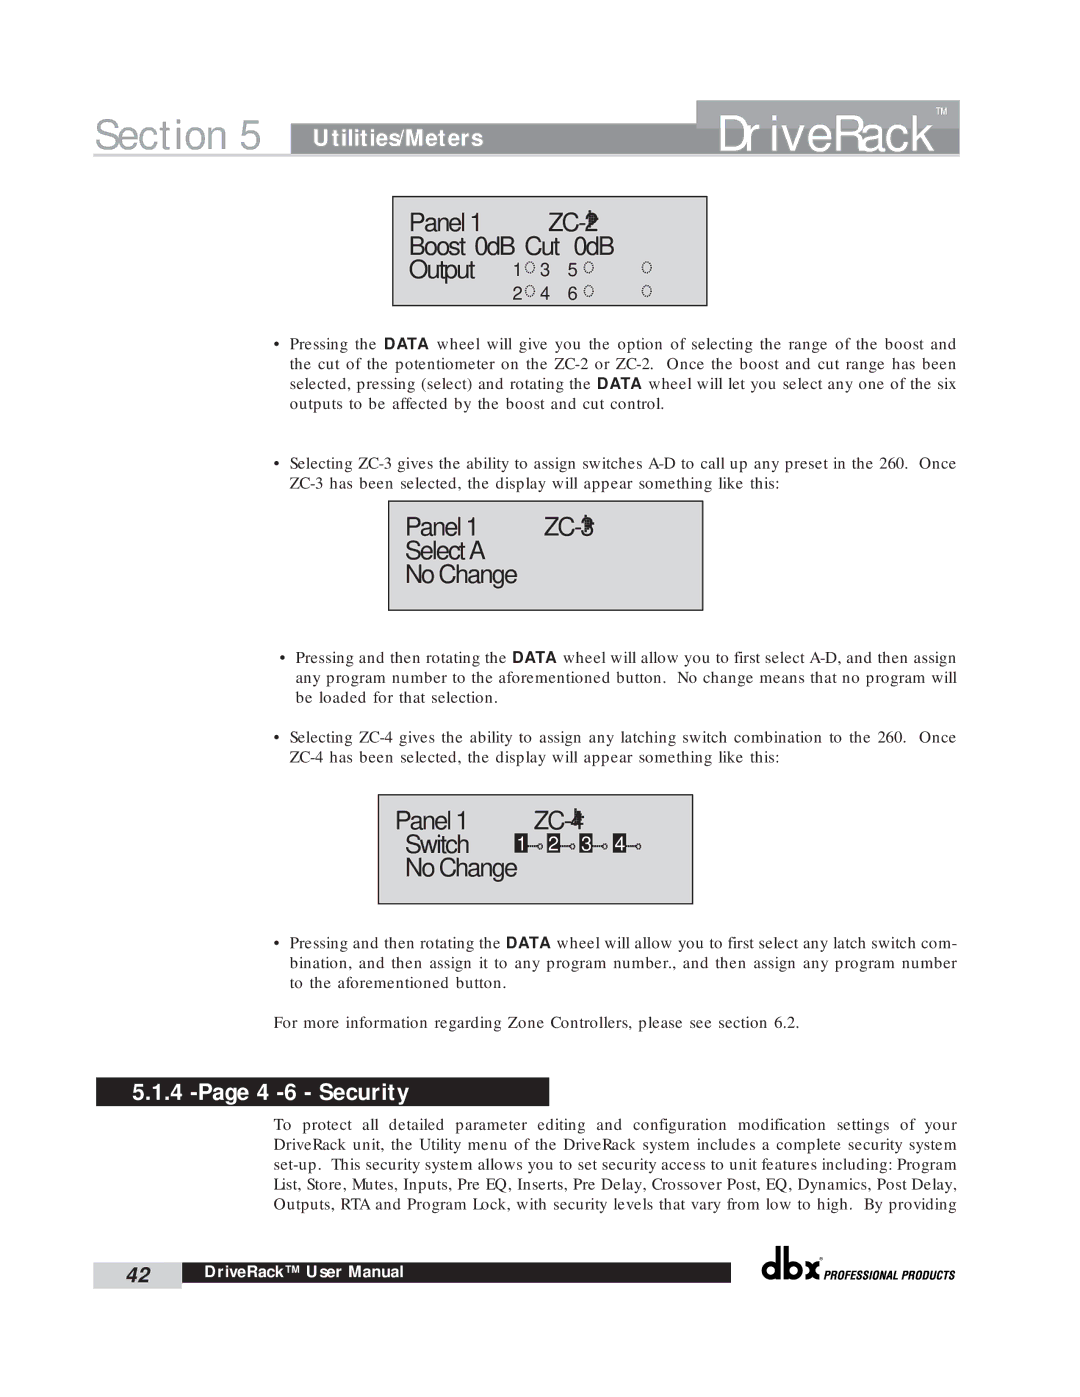
Pressing the DATA wheel will give you the option of selecting the range of the boost and the cut of the potentiometer on the ZC-2 or ZC-2. Once the boost and cut range has been selected, pressing (select) and rotating the DATA wheel will let you select any one of the six outputs to be affected by the boost and cut control.

Selecting ZC-3 gives the ability to assign switches A-D to call up any preset in the 260. Once ZC-3 has been selected, the display will appear something like this:

Panel 1 ZC-3

Select A

No Change

Pressing and then rotating the DATA wheel will allow you to first select A-D, and then assign any program number to the aforementioned button. No change means that no program will be loaded for that selection.

Selecting ZC-4 gives the ability to assign any latching switch combination to the 260. Once ZC-4 has been selected, the display will appear something like this:

Panel 1 ZC-4

Switch 1 2 3 4

No Change

Pressing and then rotating the DATA wheel will allow you to first select any latch switch com- bination, and then assign it to any program number., and then assign any program number to the aforementioned button.

For more information regarding Zone Controllers, please see section 6.2.

5.1.4 -Page 4 -6 - Security

To protect all detailed parameter editing and configuration modification settings of your DriveRack unit, the Utility menu of the DriveRack system includes a complete security system set-up. This security system allows you to set security access to unit features including: Program List, Store, Mutes, Inputs, Pre EQ, Inserts, Pre Delay, Crossover Post, EQ, Dynamics, Post Delay, Outputs, RTA and Program Lock, with security levels that vary from low to high. By providing

®

42

DriveRack™ User Manual


Page 50
Image 50
dbx Pro 260 Panel ZC-2 Boost 0dB Cut Output, Panel 1 ZC-3 Select a No Change, Panel 1 ZC-4 Switch 1 2 3 No Change