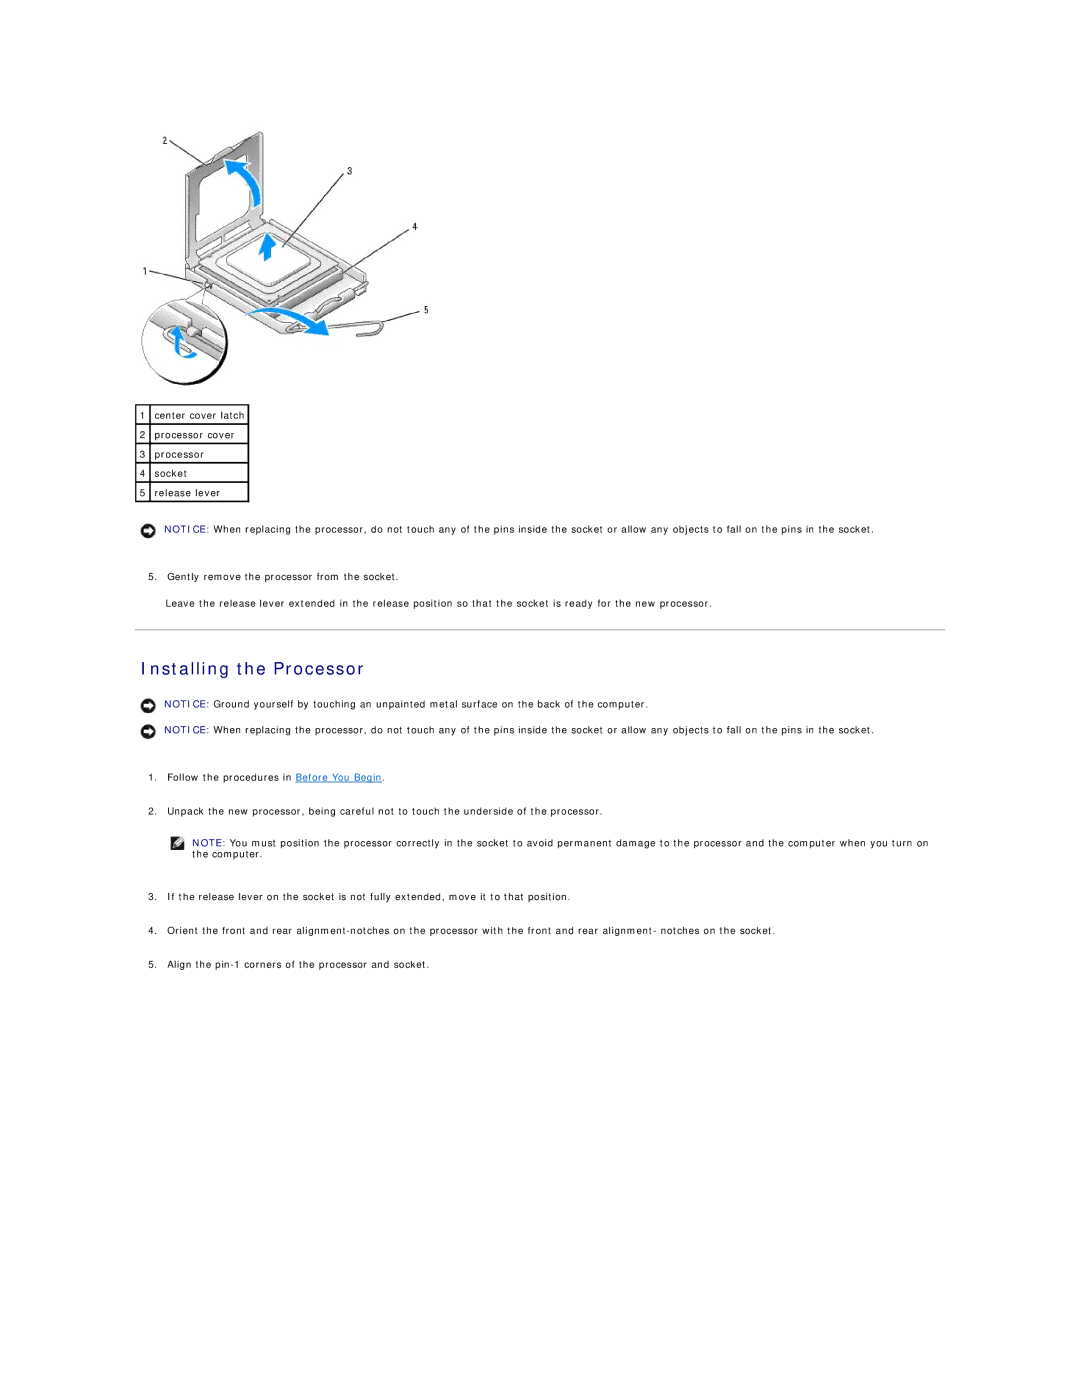
1center cover latch
2processor cover
3processor
4socket
5release lever
NOTICE: When replacing the processor, do not touch any of the pins inside the socket or allow any objects to fall on the pins in the socket.
5.Gently remove the processor from the socket.
Leave the release lever extended in the release position so that the socket is ready for the new processor.
Installing the Processor
NOTICE: Ground yourself by touching an unpainted metal surface on the back of the computer.
NOTICE: When replacing the processor, do not touch any of the pins inside the socket or allow any objects to fall on the pins in the socket.
1.Follow the procedures in Before You Begin.
2.Unpack the new processor, being careful not to touch the underside of the processor.
NOTE: You must position the processor correctly in the socket to avoid permanent damage to the processor and the computer when you turn on the computer.
3.If the release lever on the socket is not fully extended, move it to that position.
4.Orient the front and rear
5.Align the