Installing System Board Options: Dell OptiPlex GX1
disconnect them from their electrical outlets, and then wait at least 5 seconds before you remove the computer cover. Also, before you install an expansion card, see "Safety First — For You and Your Computer."
Follow this procedure to install an expansion card:
1.If you are installing a
See "Using the ISA Configuration Utility" for instructions.
NOTE: If you install a PCI or Plug and Play expansion card, your system automatically performs any required configuration tasks during the boot routine.
2.Prepare the expansion card for installation, and remove the computer cover according to the instructions in "Removing the Computer Cover."
See the documentation that came with the expansion card for information on configuring the card, making internal connections, or otherwise customizing the card for your system.
CAUTION: Some network cards automatically start up the system when they are connected. To guard against electrical shock, be sure to unplug your computer from its electrical outlet before you install any expansion cards.
3.Remove the
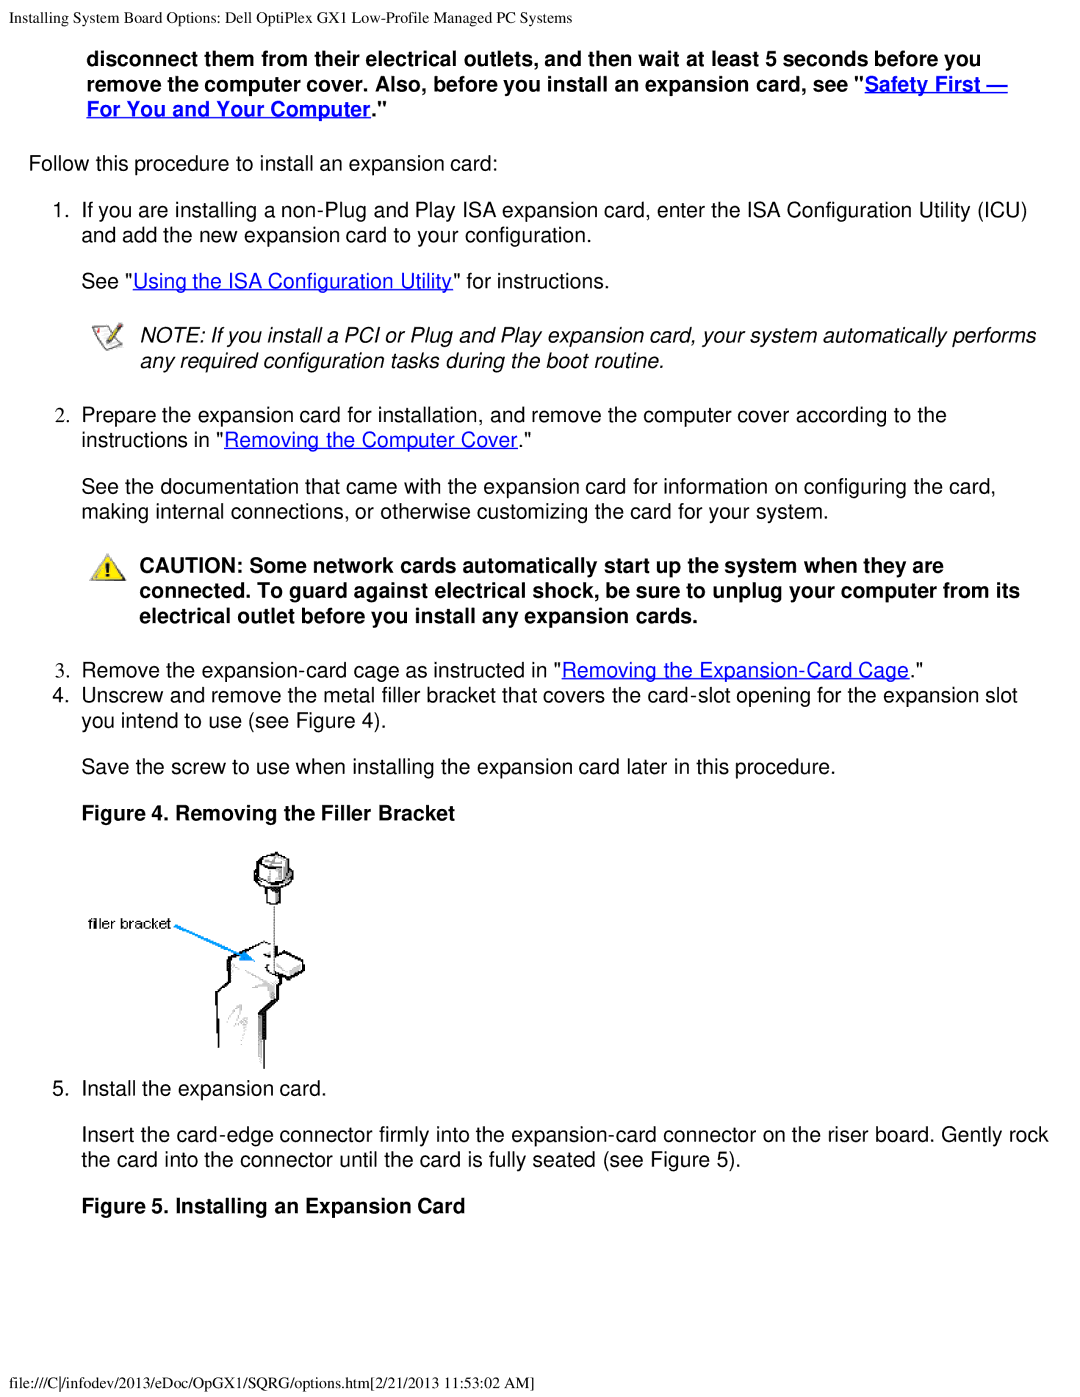
4.Unscrew and remove the metal filler bracket that covers the
Save the screw to use when installing the expansion card later in this procedure.
Figure 4. Removing the Filler Bracket
5.Install the expansion card.
Insert the
Figure 5. Installing an Expansion Card
file:///C/infodev/2013/eDoc/OpGX1/SQRG/options.htm[2/21/2013 11:53:02 AM]