Installing System Board Options: Dell OptiPlex GX1
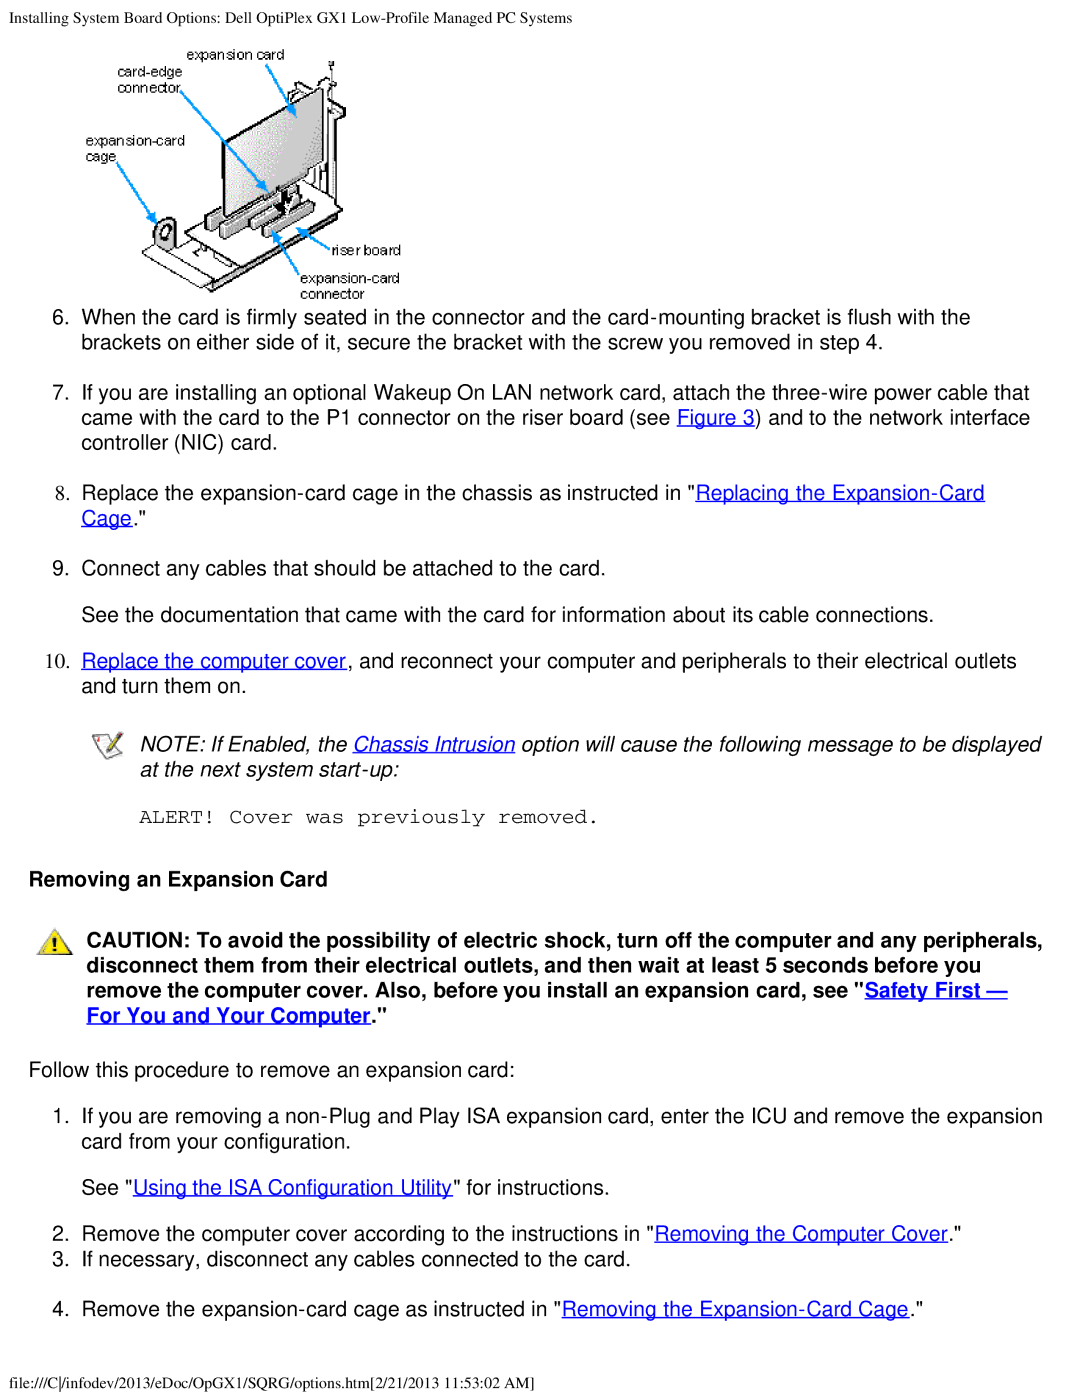
6.When the card is firmly seated in the connector and the
7.If you are installing an optional Wakeup On LAN network card, attach the
8.Replace the
9.Connect any cables that should be attached to the card.
See the documentation that came with the card for information about its cable connections.
10.Replace the computer cover, and reconnect your computer and peripherals to their electrical outlets and turn them on.
NOTE: If Enabled, the Chassis Intrusion option will cause the following message to be displayed at the next system
ALERT! Cover was previously removed.
Removing an Expansion Card
CAUTION: To avoid the possibility of electric shock, turn off the computer and any peripherals, disconnect them from their electrical outlets, and then wait at least 5 seconds before you remove the computer cover. Also, before you install an expansion card, see "Safety First — For You and Your Computer."
Follow this procedure to remove an expansion card:
1.If you are removing a
See "Using the ISA Configuration Utility" for instructions.
2.Remove the computer cover according to the instructions in "Removing the Computer Cover."
3.If necessary, disconnect any cables connected to the card.
4.Remove the
file:///C/infodev/2013/eDoc/OpGX1/SQRG/options.htm[2/21/2013 11:53:02 AM]