Installing System Board Options: Dell OptiPlex GX1
2.Locate the plastic securing clips at each end of the socket. Press the clips outward until they snap open.
3.Orient the DIMM to the socket by aligning the notches in the DIMM's edge connector with the crossbars in the socket.
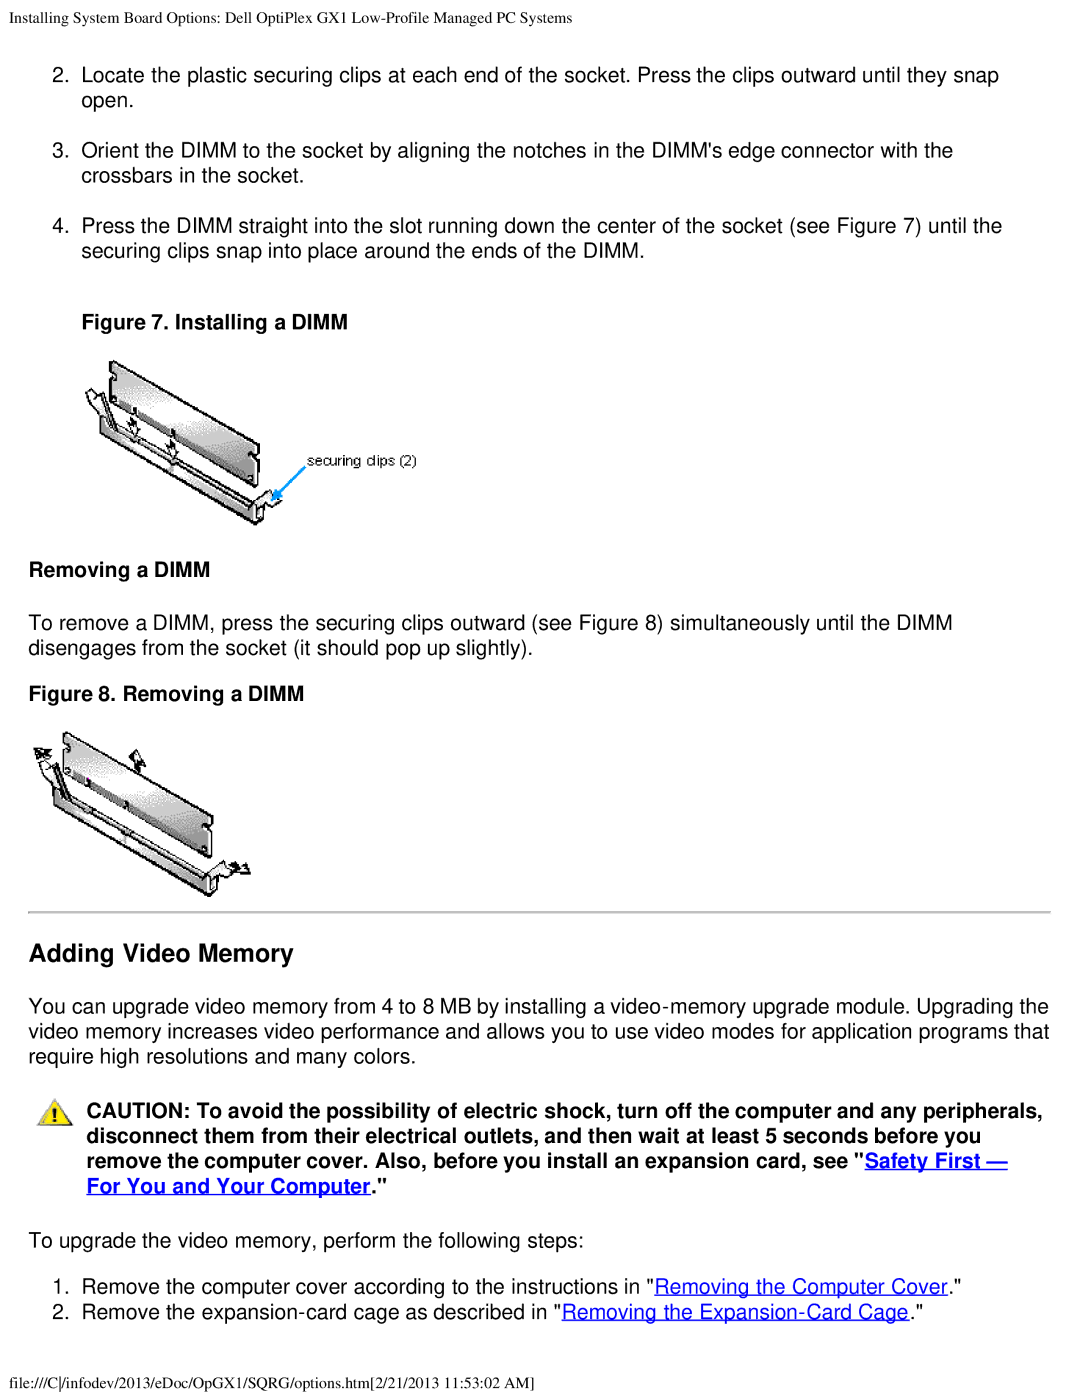
4.Press the DIMM straight into the slot running down the center of the socket (see Figure 7) until the securing clips snap into place around the ends of the DIMM.
Figure 7. Installing a DIMM
Removing a DIMM
To remove a DIMM, press the securing clips outward (see Figure 8) simultaneously until the DIMM disengages from the socket (it should pop up slightly).
Figure 8. Removing a DIMM
Adding Video Memory
You can upgrade video memory from 4 to 8 MB by installing a
CAUTION: To avoid the possibility of electric shock, turn off the computer and any peripherals, disconnect them from their electrical outlets, and then wait at least 5 seconds before you remove the computer cover. Also, before you install an expansion card, see "Safety First — For You and Your Computer."
To upgrade the video memory, perform the following steps:
1.Remove the computer cover according to the instructions in "Removing the Computer Cover."
2.Remove the
file:///C/infodev/2013/eDoc/OpGX1/SQRG/options.htm[2/21/2013 11:53:02 AM]