SETUP menu
SETUP menu
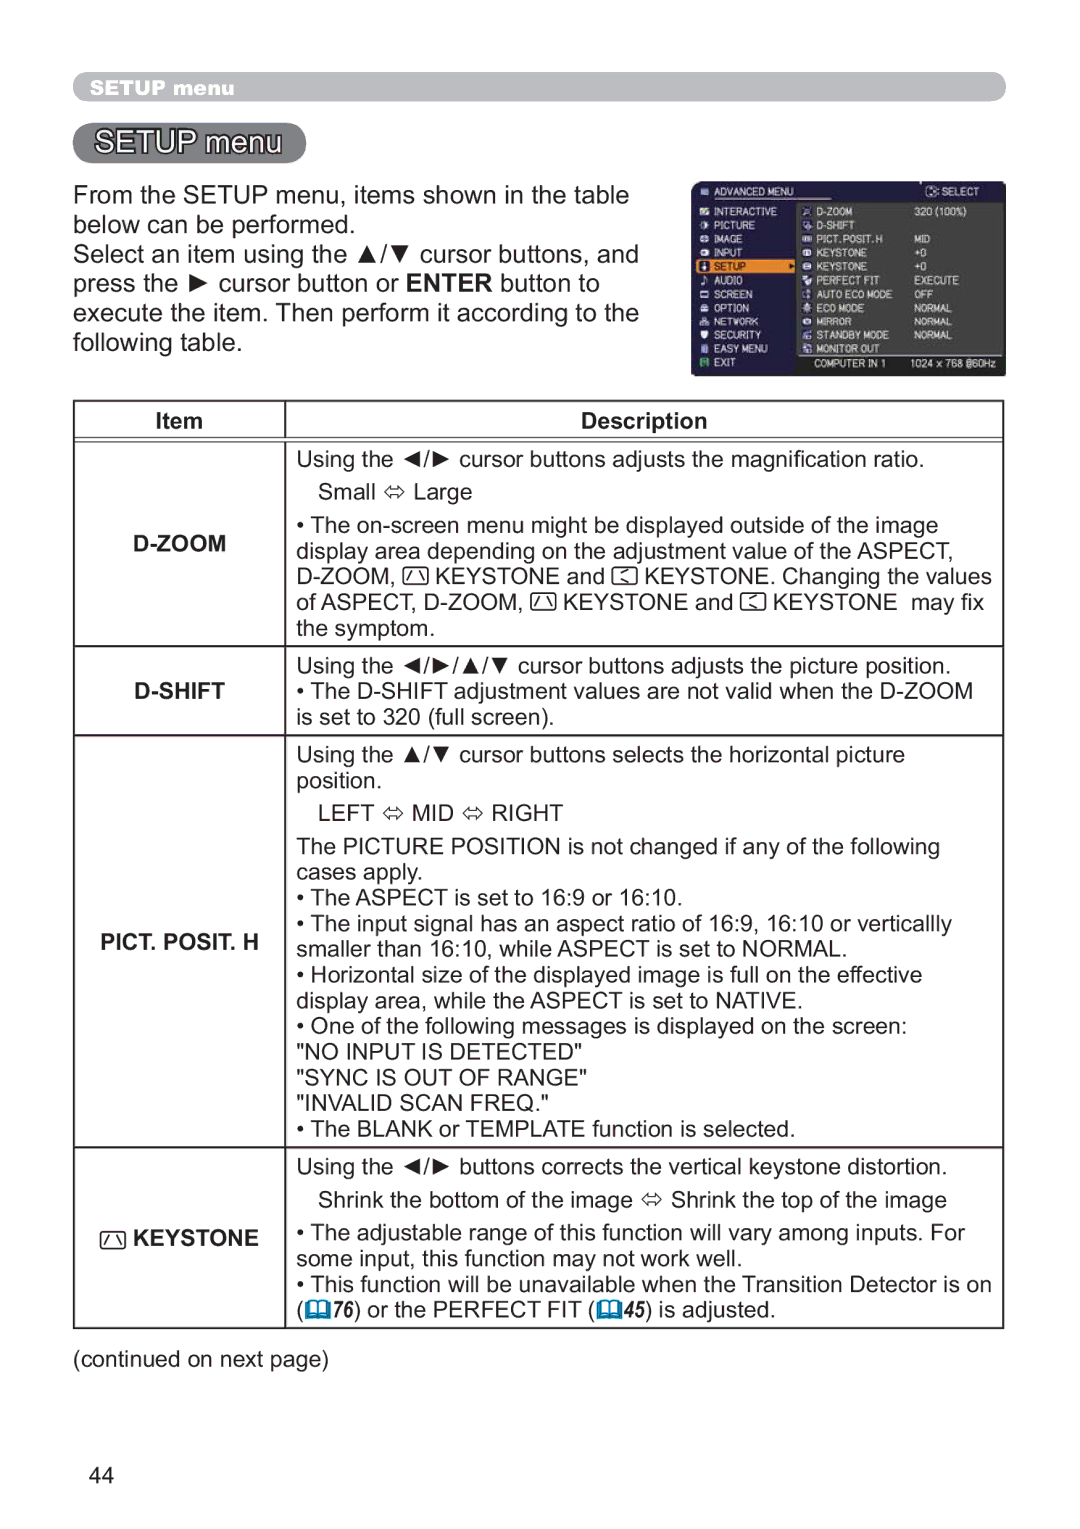
From the SETUP menu, items shown in the table below can be performed.
Select an item using the ▲/▼ cursor buttons, and press the ► cursor button or ENTER button to execute the item. Then perform it according to the following table.
Item
Description
| Using the ◄/► cursor buttons adjusts the magnification ratio. | |
| Small | Large |
| • The | |
display area depending on the adjustment value of the ASPECT, | ||
| KEYSTONE and KEYSTONE. Changing the values | |
| of ASPECT, | |
| the symptom. | |
| Using the ◄/►/▲/▼ cursor buttons adjusts the picture position. | |
| • The | |
| is set to 320 (full screen). | |
| Using the ▲/▼ cursor buttons selects the horizontal picture | |
| position. |
|
| LEFT | MID RIGHT |
The PICTURE POSITION is not changed if any of the following cases apply.
•The ASPECT is set to 16:9 or 16:10.
•The input signal has an aspect ratio of 16:9, 16:10 or verticallly
PICT. POSIT. H smaller than 16:10, while ASPECT is set to NORMAL.
•Horizontal size of the displayed image is full on the effective display area, while the ASPECT is set to NATIVE.
•One of the following messages is displayed on the screen:
"NO INPUT IS DETECTED" "SYNC IS OUT OF RANGE" "INVALID SCAN FREQ."
•The BLANK or TEMPLATE function is selected.
Using the ◄/► buttons corrects the vertical keystone distortion. Shrink the bottom of the image Shrink the top of the image
![]()
![]() KEYSTONE • The adjustable range of this function will vary among inputs. For some input, this function may not work well.
KEYSTONE • The adjustable range of this function will vary among inputs. For some input, this function may not work well.
•This function will be unavailable when the Transition Detector is on (![]() 76) or the PERFECT FIT (
76) or the PERFECT FIT (![]() 45) is adjusted.
45) is adjusted.
(continued on next page)
44
