TRANSCEIVER PROGRAMMING
System - These screens program the parameters that are unique to the displayed Conventional, SMARTNET, or SmartZone system. The system to be edited is selected as described in Section 3.1.10.
Channel - This screen programs unique channel parameters and assigns channels to each zone. The specific parameters indicated in this screen are deter- mined by the type of system selected in the “Type” box (Conventional, SMARTNET, SmartZone).
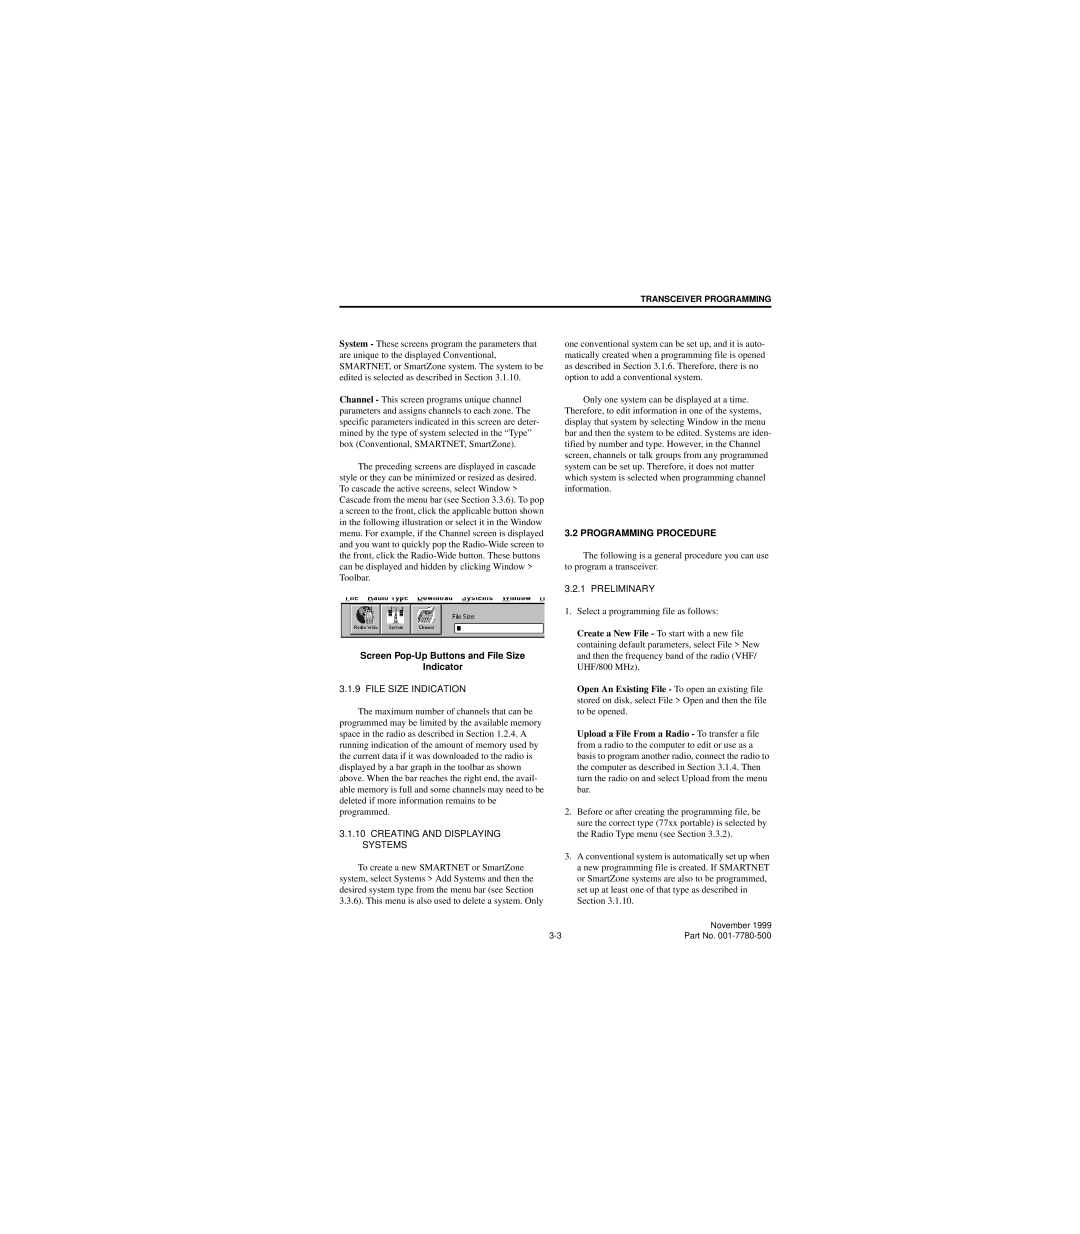
The preceding screens are displayed in cascade style or they can be minimized or resized as desired. To cascade the active screens, select Window > Cascade from the menu bar (see Section 3.3.6). To pop a screen to the front, click the applicable button shown in the following illustration or select it in the Window menu. For example, if the Channel screen is displayed and you want to quickly pop the
Screen Pop-Up Buttons and File Size
Indicator
3.1.9 FILE SIZE INDICATION
The maximum number of channels that can be programmed may be limited by the available memory space in the radio as described in Section 1.2.4. A running indication of the amount of memory used by the current data if it was downloaded to the radio is displayed by a bar graph in the toolbar as shown above. When the bar reaches the right end, the avail- able memory is full and some channels may need to be deleted if more information remains to be programmed.
3.1.10CREATING AND DISPLAYING SYSTEMS
To create a new SMARTNET or SmartZone system, select Systems > Add Systems and then the desired system type from the menu bar (see Section 3.3.6). This menu is also used to delete a system. Only
one conventional system can be set up, and it is auto- matically created when a programming file is opened as described in Section 3.1.6. Therefore, there is no option to add a conventional system.
Only one system can be displayed at a time. Therefore, to edit information in one of the systems, display that system by selecting Window in the menu bar and then the system to be edited. Systems are iden- tified by number and type. However, in the Channel screen, channels or talk groups from any programmed system can be set up. Therefore, it does not matter which system is selected when programming channel information.
3.2 PROGRAMMING PROCEDURE
The following is a general procedure you can use to program a transceiver.
3.2.1 PRELIMINARY
1.Select a programming file as follows:
Create a New File - To start with a new file containing default parameters, select File > New and then the frequency band of the radio (VHF/ UHF/800 MHz).
Open An Existing File - To open an existing file stored on disk, select File > Open and then the file to be opened.
Upload a File From a Radio - To transfer a file from a radio to the computer to edit or use as a basis to program another radio, connect the radio to the computer as described in Section 3.1.4. Then turn the radio on and select Upload from the menu bar.
2.Before or after creating the programming file, be sure the correct type (77xx portable) is selected by the Radio Type menu (see Section 3.3.2).
3.A conventional system is automatically set up when a new programming file is created. If SMARTNET or SmartZone systems are also to be programmed, set up at least one of that type as described in Section 3.1.10.
| November 1999 |
Part No. |