|
|
|
|
|
|
| EPHD04+ HDcctv DVR | ||
|
|
|
|
|
|
|
| ||
No. | Name | Description |
| ||||||
|
|
|
|
|
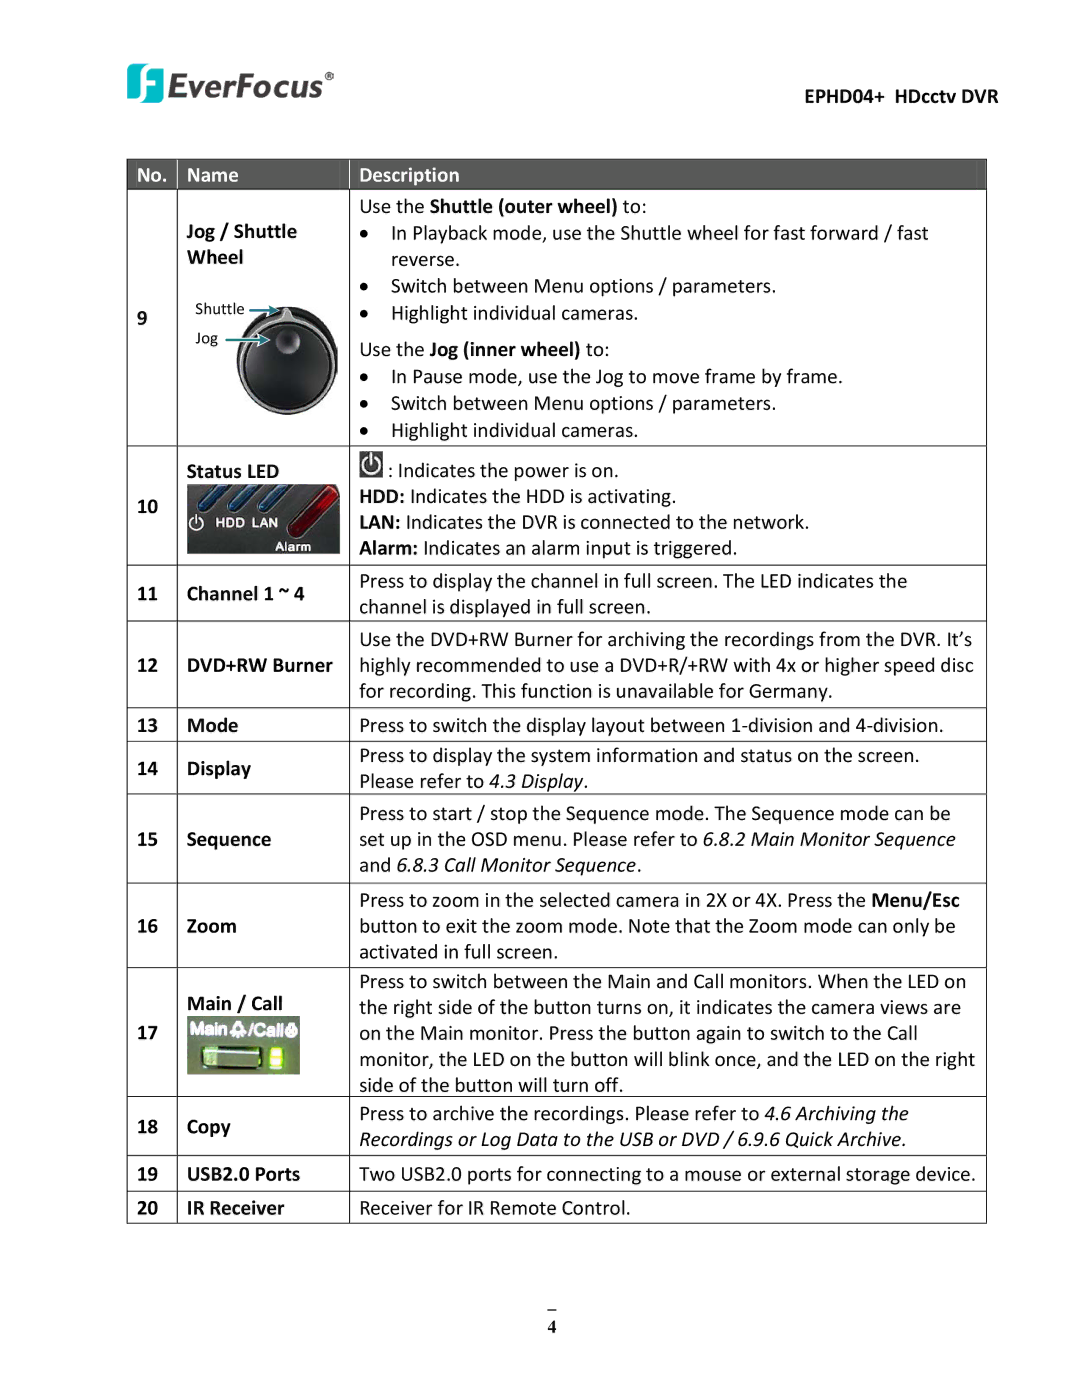
| Use the Shuttle (outer wheel) to: |
| ||
| Jog / Shuttle | • In Playback mode, use the Shuttle wheel for fast forward / fast | |||||||
| Wheel |
| reverse. | ||||||
|
|
|
|
|
| • Switch between Menu options / parameters. | |||
9 | Shuttle |
|
|
| • | Highlight individual cameras. | |||
|
| ||||||||
Jog |
|
|
|
| |||||
|
|
| Use the Jog (inner wheel) to: | ||||||
|
| ||||||||
|
|
|
|
|
| ||||
|
|
|
|
|
| • In Pause mode, use the Jog to move frame by frame. | |||
|
|
|
|
|
| • Switch between Menu options / parameters. | |||
|
|
|
|
|
| • | Highlight individual cameras. | ||
|
|
|
|
| |||||
| Status LED |
| : Indicates the power is on. | ||||||
10 |
|
|
|
|
| HDD: Indicates the HDD is activating. | |||
|
|
|
|
| LAN: Indicates the DVR is connected to the network. | ||||
|
|
|
|
|
| ||||
|
|
|
|
|
| Alarm: Indicates an alarm input is triggered. | |||
|
|
|
|
|
|
|
| ||
11 Channel 1 ~ 4 | Press to display the channel in full screen. The LED indicates the | ||||||||
channel is displayed in full screen. | |||||||||
|
|
|
|
|
| ||||
|
|
|
|
|
|
|
| ||
|
|
|
|
|
| Use the DVD+RW Burner for archiving the recordings from the DVR. It’s | |||
12DVD+RW Burner highly recommended to use a DVD+R/+RW with 4x or higher speed disc for recording. This function is unavailable for Germany.
13 | Mode | Press to switch the display layout between | |
|
|
| |
14 | Display | Press to display the system information and status on the screen. | |
Please refer to 4.3 Display. | |||
|
| ||
|
| Press to start / stop the Sequence mode. The Sequence mode can be | |
15 | Sequence | set up in the OSD menu. Please refer to 6.8.2 Main Monitor Sequence | |
|
| and 6.8.3 Call Monitor Sequence. | |
|
|
| |
|
| Press to zoom in the selected camera in 2X or 4X. Press the Menu/Esc | |
16 | Zoom | button to exit the zoom mode. Note that the Zoom mode can only be | |
|
| activated in full screen. | |
|
|
| |
| Main / Call | Press to switch between the Main and Call monitors. When the LED on | |
| the right side of the button turns on, it indicates the camera views are | ||
17 |
| on the Main monitor. Press the button again to switch to the Call | |
|
| monitor, the LED on the button will blink once, and the LED on the right | |
|
| side of the button will turn off. | |
18 | Copy | Press to archive the recordings. Please refer to 4.6 Archiving the | |
Recordings or Log Data to the USB or DVD / 6.9.6 Quick Archive. | |||
|
|
19USB2.0 Ports Two USB2.0 ports for connecting to a mouse or external storage device.
20 IR Receiver | Receiver for IR Remote Control. |
4
