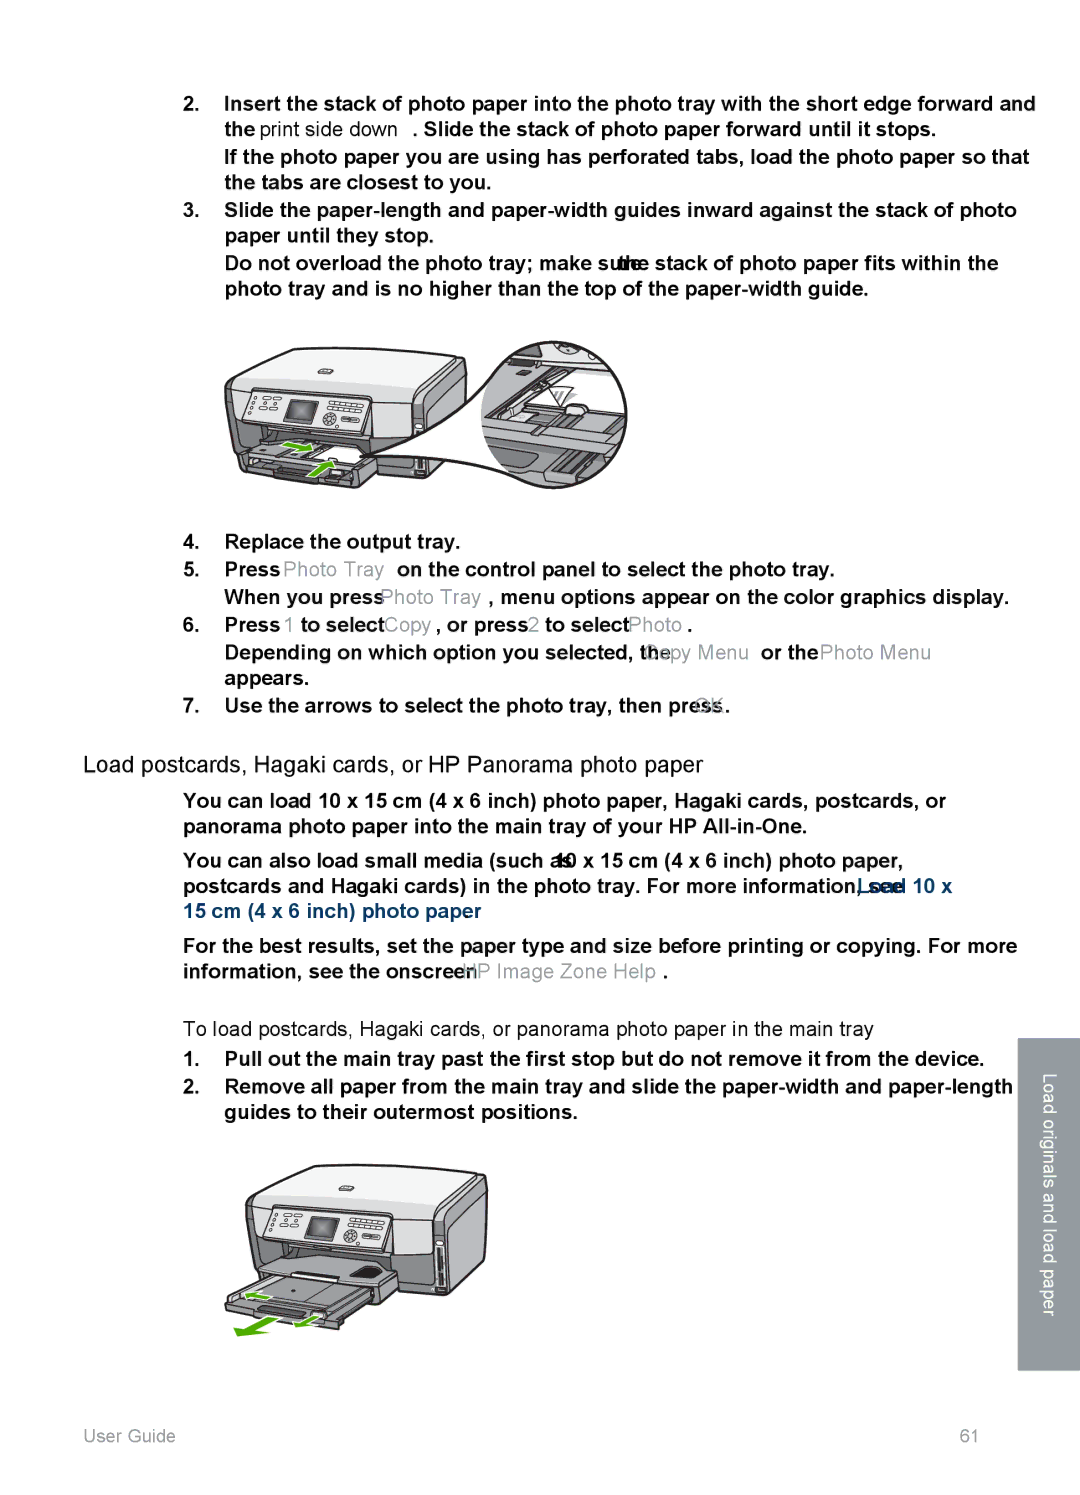
2.Insert the stack of photo paper into the photo tray with the short edge forward and the print side down. Slide the stack of photo paper forward until it stops.
If the photo paper you are using has perforated tabs, load the photo paper so that the tabs are closest to you.
3.Slide the
Do not overload the photo tray; make sure the stack of photo paper fits within the photo tray and is no higher than the top of the
4.Replace the output tray.
5.Press Photo Tray on the control panel to select the photo tray.
When you press Photo Tray, menu options appear on the color graphics display.
6.Press 1 to select Copy, or press 2 to select Photo.
Depending on which option you selected, the Copy Menu or the Photo Menu appears.
7.Use the arrows to select the photo tray, then press OK.
Load postcards, Hagaki cards, or HP Panorama photo paper
You can load 10 x 15 cm (4 x 6 inch) photo paper, Hagaki cards, postcards, or panorama photo paper into the main tray of your HP
You can also load small media (such as 10 x 15 cm (4 x 6 inch) photo paper, postcards and Hagaki cards) in the photo tray. For more information, see Load 10 x 15 cm (4 x 6 inch) photo paper.
For the best results, set the paper type and size before printing or copying. For more information, see the onscreen HP Image Zone Help.
To load postcards, Hagaki cards, or panorama photo paper in the main tray
1. Pull out the main tray past the first stop but do not remove it from the device.
2. Remove all paper from the main tray and slide the | Load |
| |
guides to their outermost positions. | originals and load paper |
|
User Guide | 61 |