ICE FLASHER SERIES™ ASSEMBLY
In this procedure you will connect the power cable to the control head and install the base/handle assembly into the portable bag.
1. Connecting the Power Cable
1.Insert the power cable into the back of the control head. The slots for the plugs are keyed to prevent reverse installation.
2. Charging and Installing the Battery
1.Charge the battery, using the included battery charger, until it is fully charged. Charging usually requires 8 continuous hours but may vary depending on your configuration. The LED on the charger will turn green when the battery is fully charged.
NOTE: Some international models may not include a battery or battery charger.
NOTE: The battery charger uses a yellow LED to indicate it is charging. On some models, this light might appear closer to orange than yellow. When this happens, the battery is still charging properly and should be left to charge until the LED becomes green.
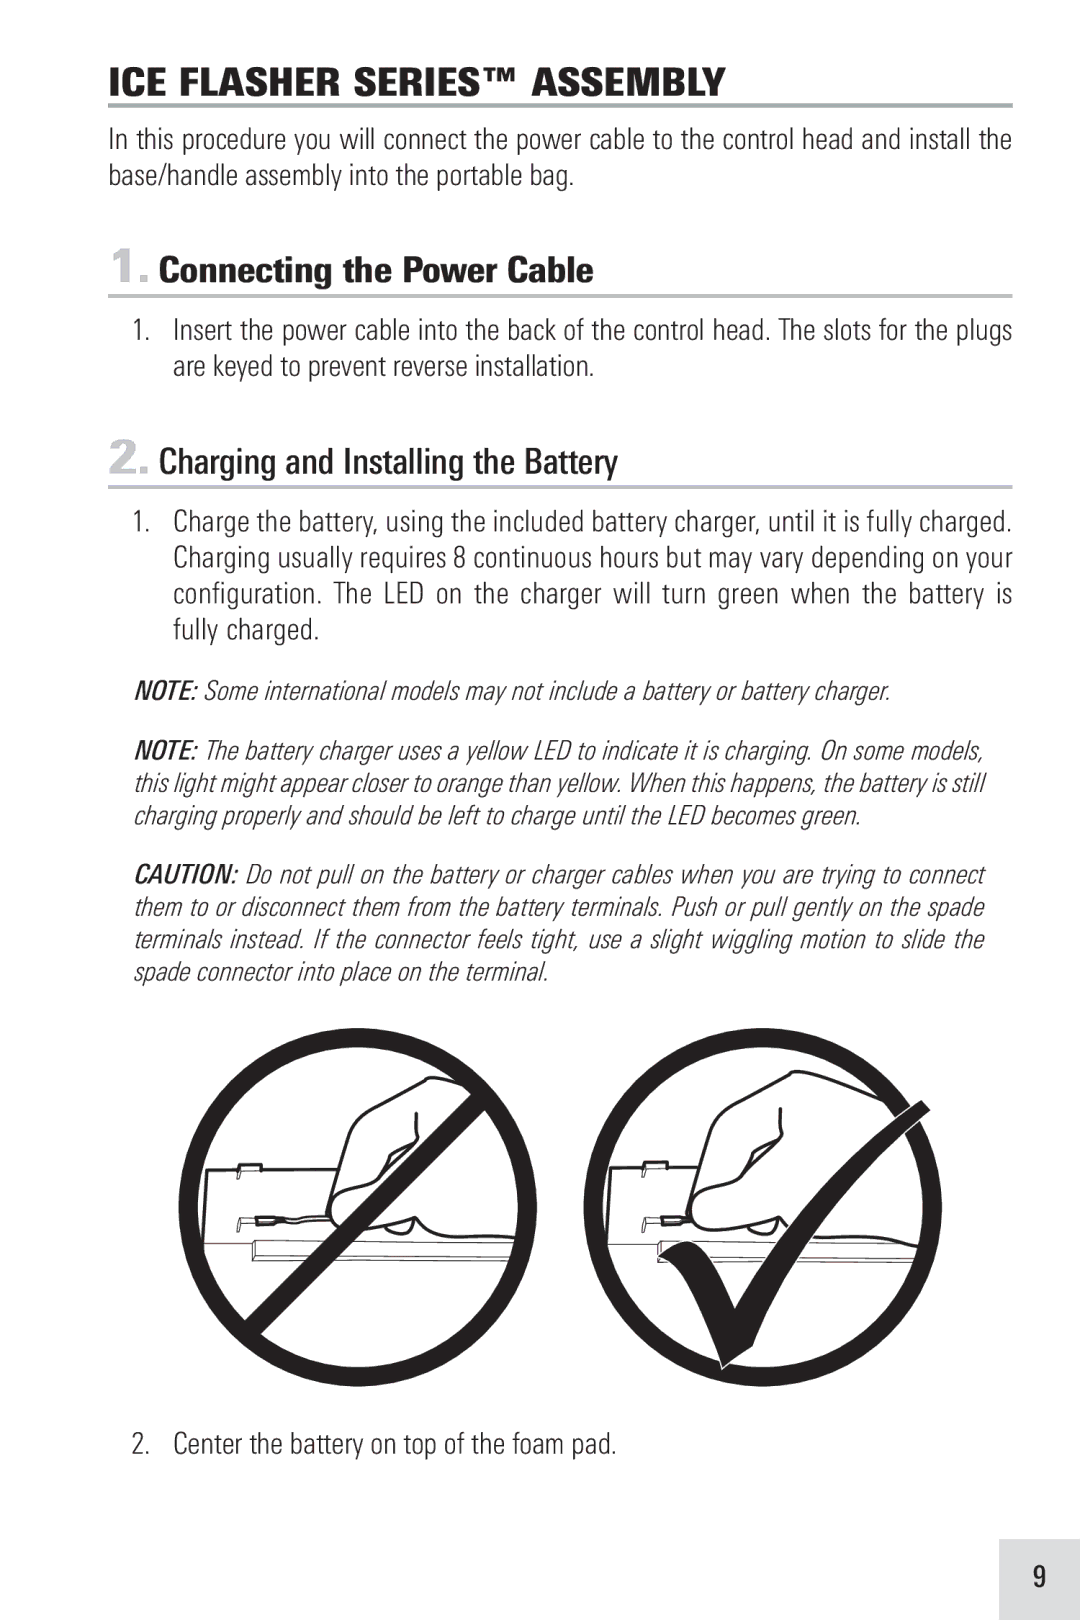
CAUTION: Do not pull on the battery or charger cables when you are trying to connect them to or disconnect them from the battery terminals. Push or pull gently on the spade terminals instead. If the connector feels tight, use a slight wiggling motion to slide the spade connector into place on the terminal.
2. Center the battery on top of the foam pad.
9