Appendix C Customizing the printer
Finishing up
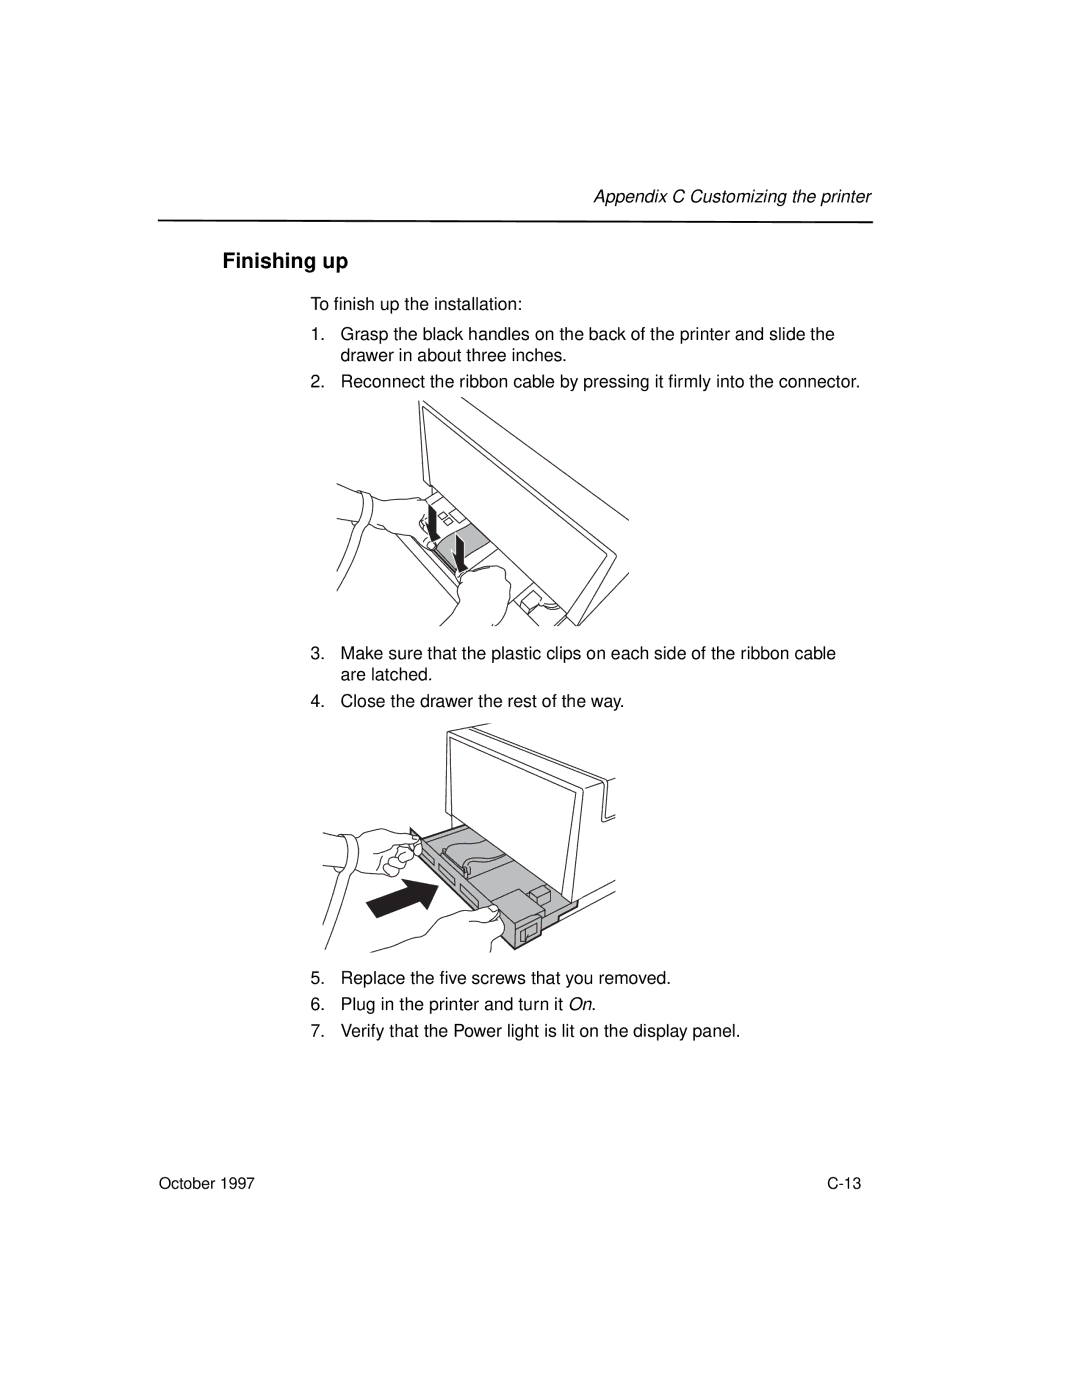
To finish up the installation:
1.Grasp the black handles on the back of the printer and slide the drawer in about three inches.
2.Reconnect the ribbon cable by pressing it firmly into the connector.
3.Make sure that the plastic clips on each side of the ribbon cable are latched.
4.Close the drawer the rest of the way.
5.Replace the five screws that you removed.
6.Plug in the printer and turn it On.
7.Verify that the Power light is lit on the display panel.
October 1997 |