ESP 9 specifications
The Kodak ESP 9 is a versatile all-in-one inkjet printer that was designed to meet the needs of both home and small office environments. Launched with a unique combination of features, it stands out as a practical solution for users who require efficient printing, scanning, and copying capabilities.One of the key features of the Kodak ESP 9 is its ability to deliver high-quality photo and document prints using Kodak's proprietary ink technology. The printer employs a six-color ink system, which includes colors that provide vibrant and crisp output, making it ideal for printing photographs. Users can expect stunning clarity and color depth, rivaling that of professional photo labs.
The ESP 9 also boasts impressive print speeds, with the capability to produce black and white documents at rates of up to 30 pages per minute, and color documents at around 29 pages per minute. This efficiency is essential for busy households and small businesses that require fast turnaround times.
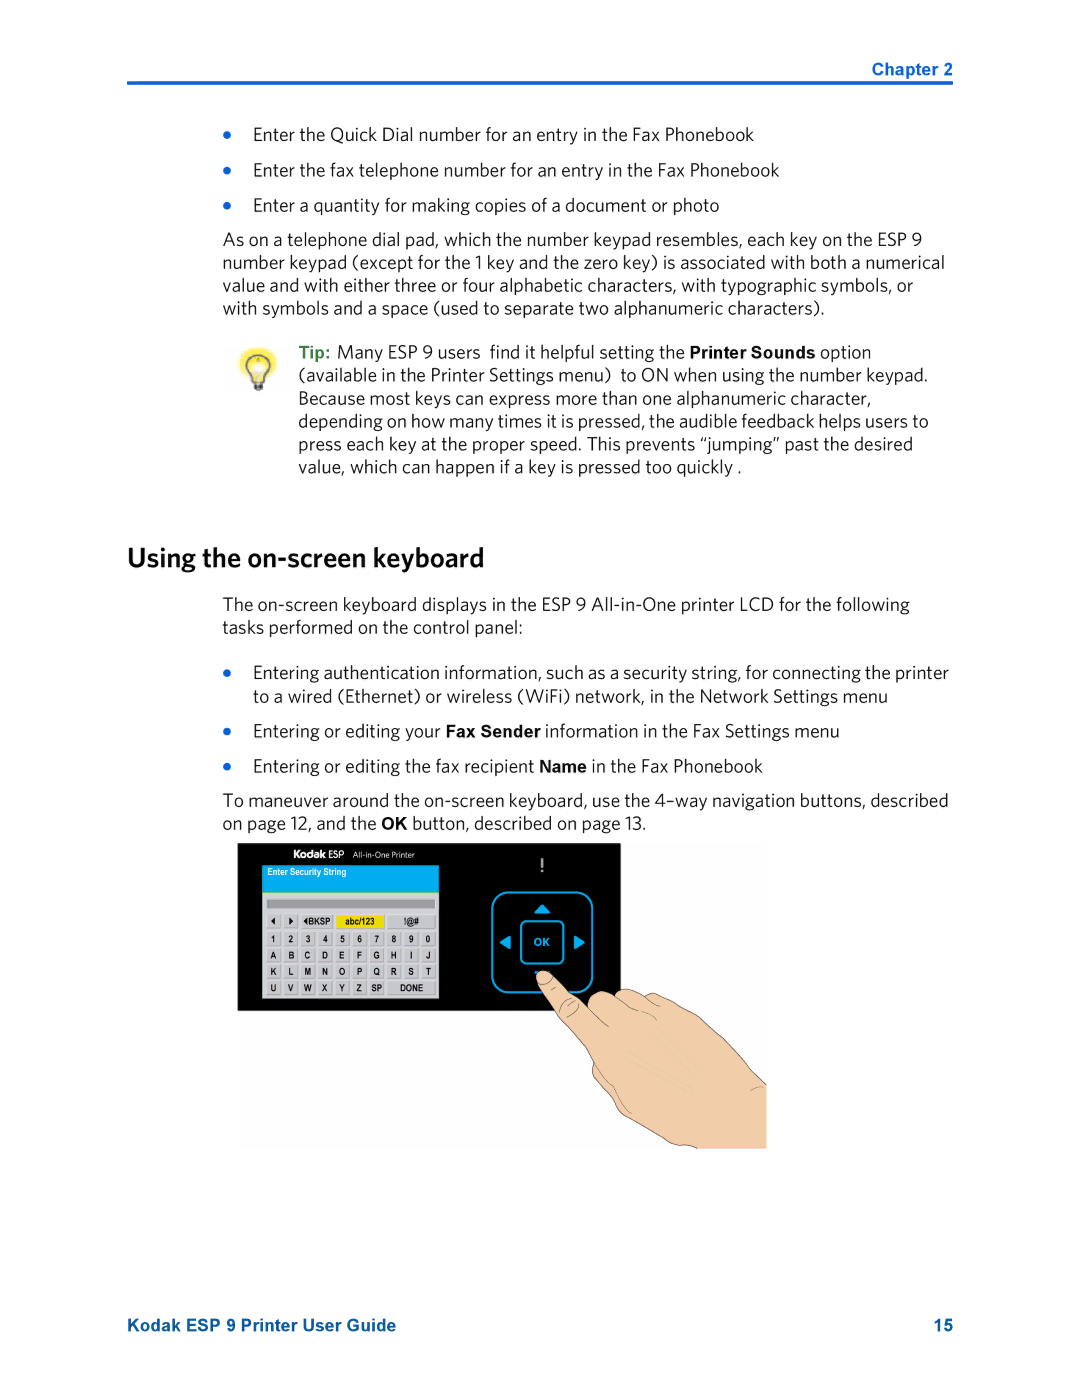
Another standout characteristic of the Kodak ESP 9 is its user-friendly interface, featuring a color touchscreen that simplifies navigation and setting adjustments. This intuitive design allows users to access various functions quickly, such as copying, scanning, and wireless printing options.
Connectivity is a crucial aspect of the ESP 9, as it supports both USB and wireless interfaces. The printer can easily connect to home or office networks, enabling users to print from multiple devices, including smartphones, tablets, and computers. It also integrates seamlessly with Kodak’s EasyShare software, allowing for easy photo printing directly from cameras or online sources.
The Kodak ESP 9 emphasizes cost-effectiveness with its efficient use of ink. The printer is compatible with high-capacity cartridges that reduce the frequency of ink replacements, saving users money in the long run. Additionally, it provides users with the option to purchase regularly priced cartridges or to opt for Kodak's exclusive ink subscription service, further enhancing affordability.
In conclusion, the Kodak ESP 9 combines quality, speed, and user-friendly features to meet the demands of modern printing needs. With its innovative ink technology, robust connectivity options, and cost-effective features, it remains a compelling choice for individuals seeking reliable performance in a compact design. Whether for personal photos or professional documents, the Kodak ESP 9 is an effective all-in-one solution.

