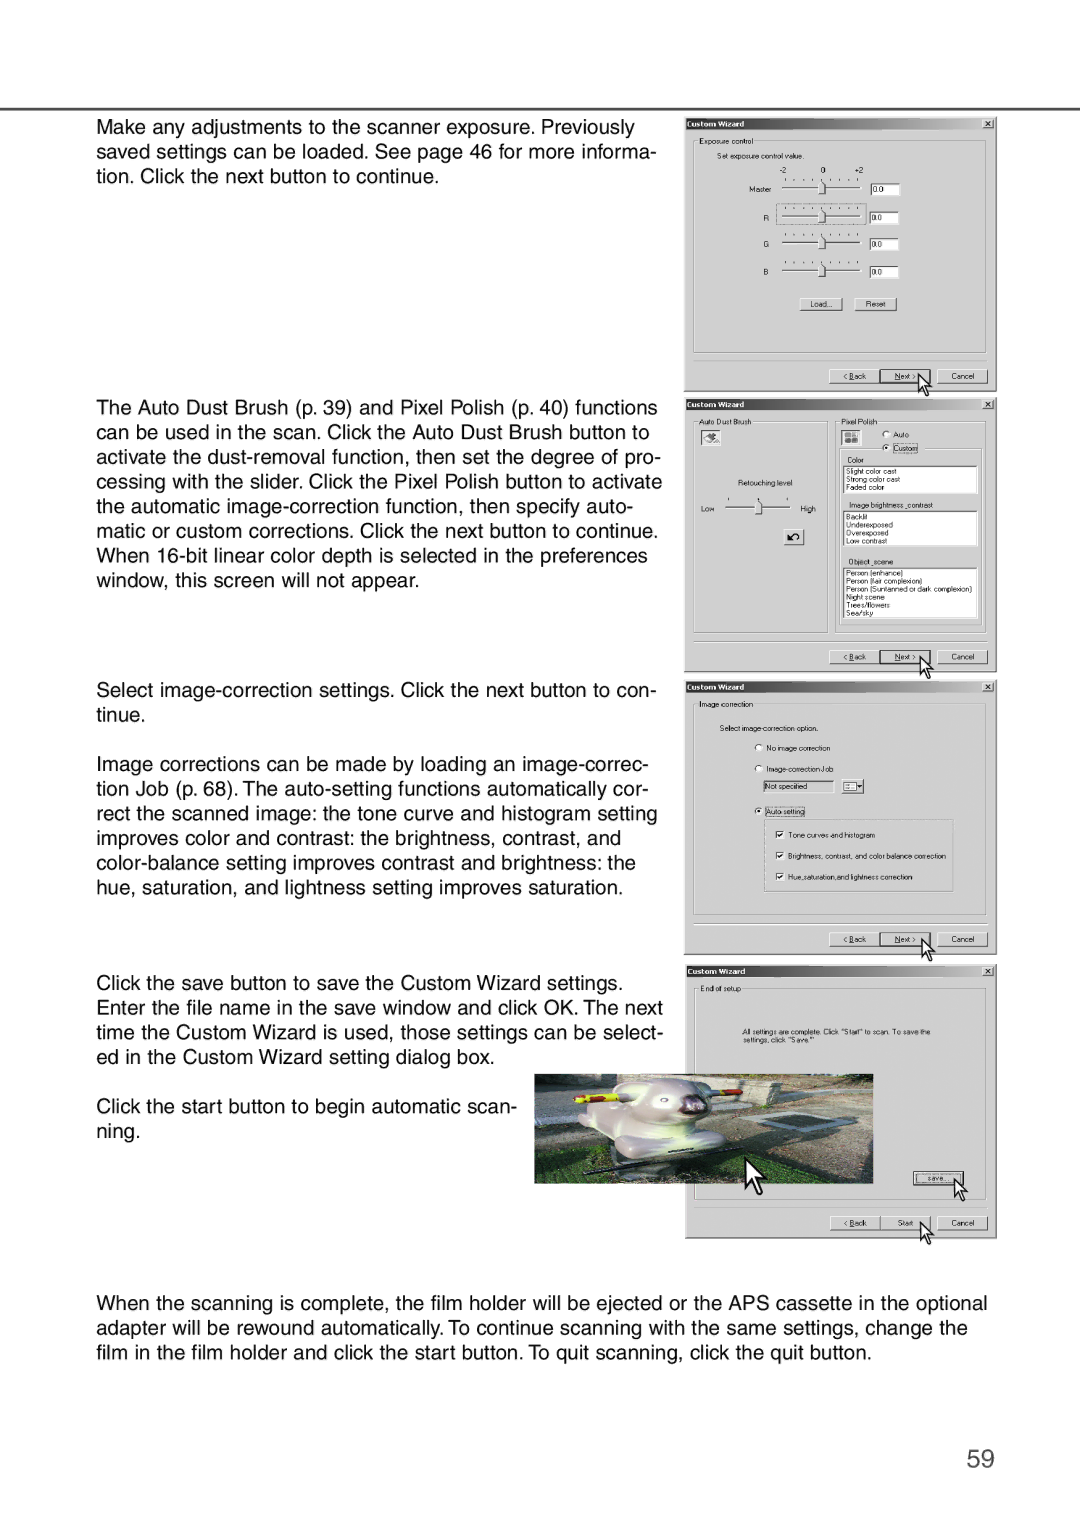
Make any adjustments to the scanner exposure. Previously saved settings can be loaded. See page 46 for more informa- tion. Click the next button to continue.
The Auto Dust Brush (p. 39) and Pixel Polish (p. 40) functions can be used in the scan. Click the Auto Dust Brush button to activate the
Select
Image corrections can be made by loading an
Click the save button to save the Custom Wizard settings. Enter the file name in the save window and click OK. The next time the Custom Wizard is used, those settings can be select- ed in the Custom Wizard setting dialog box.
Click the start button to begin automatic scan- ning.
When the scanning is complete, the film holder will be ejected or the APS cassette in the optional adapter will be rewound automatically. To continue scanning with the same settings, change the film in the film holder and click the start button. To quit scanning, click the quit button.
59