Setting the white and black-point values
The white and black-point values are set to 255 and 0 for each RGB level. Changing these values allow the calibration of an image with no true white or black.
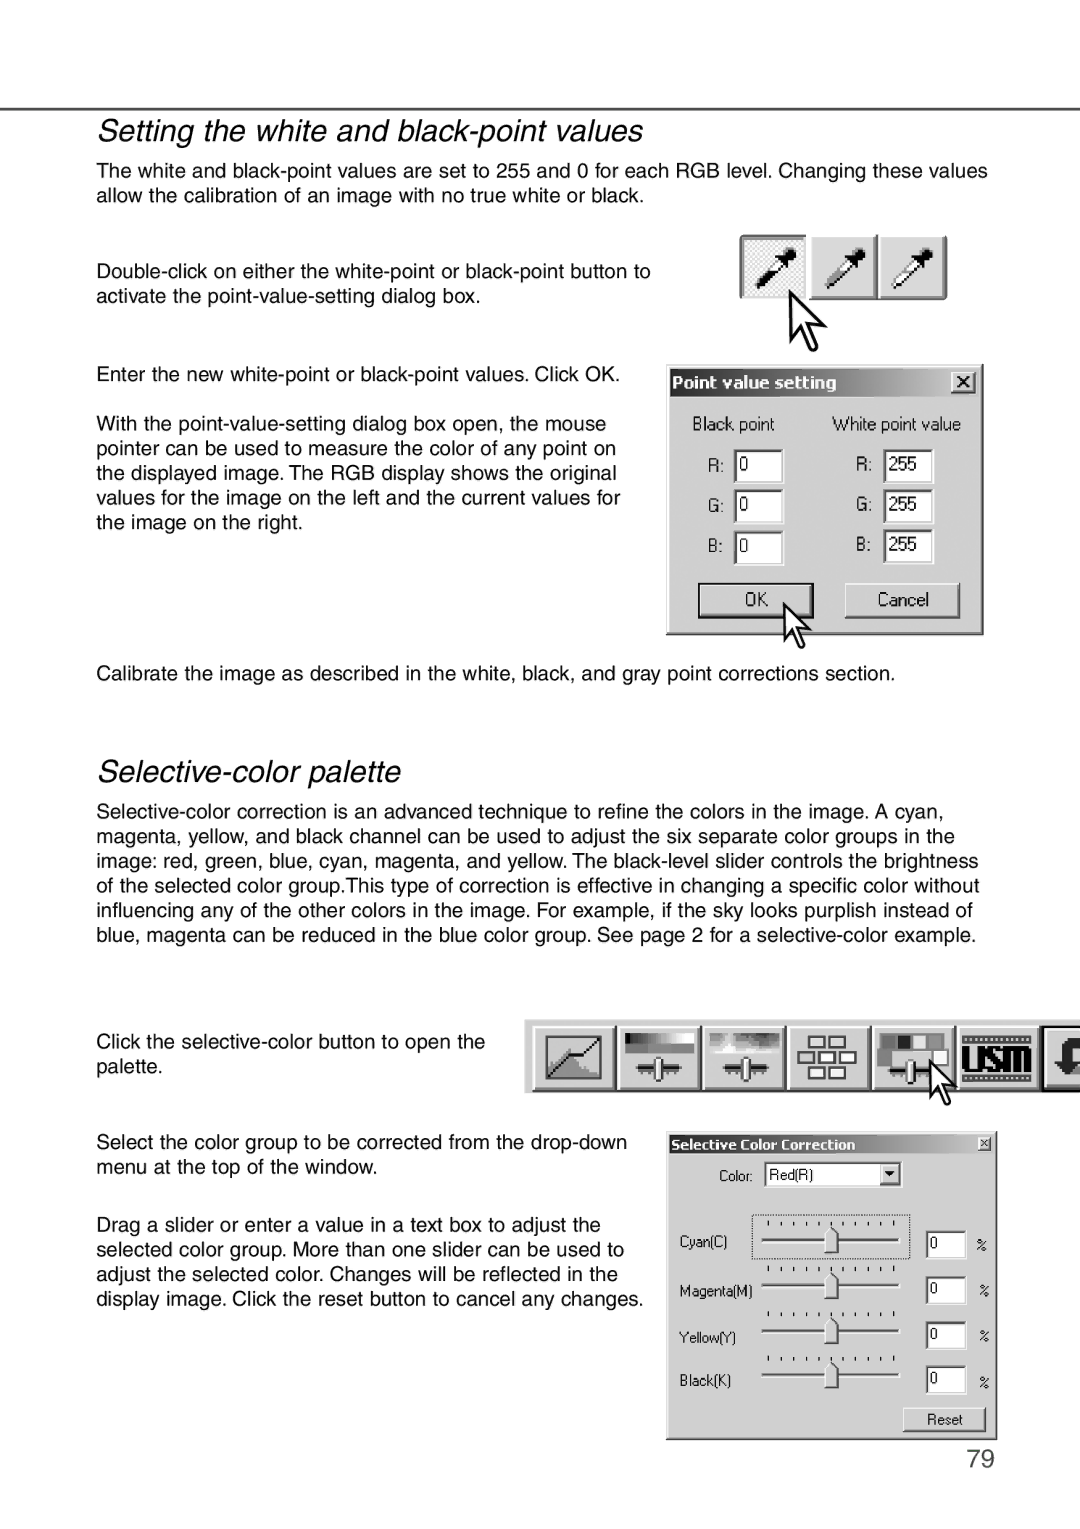
Double-click on either the white-point or black-point button to activate the point-value-setting dialog box.
Enter the new white-point or black-point values. Click OK.
With the point-value-setting dialog box open, the mouse pointer can be used to measure the color of any point on the displayed image. The RGB display shows the original values for the image on the left and the current values for the image on the right.
Calibrate the image as described in the white, black, and gray point corrections section.
Selective-color palette
Selective-color correction is an advanced technique to refine the colors in the image. A cyan, magenta, yellow, and black channel can be used to adjust the six separate color groups in the image: red, green, blue, cyan, magenta, and yellow. The black-level slider controls the brightness of the selected color group.This type of correction is effective in changing a specific color without influencing any of the other colors in the image. For example, if the sky looks purplish instead of blue, magenta can be reduced in the blue color group. See page 2 for a selective-color example.
Click the selective-color button to open the palette.
Select the color group to be corrected from the drop-down menu at the top of the window.
Drag a slider or enter a value in a text box to adjust the selected color group. More than one slider can be used to adjust the selected color. Changes will be reflected in the display image. Click the reset button to cancel any changes.

