DIMAGE SCAN DUAL III UTILITY – BASIC SCANNING
Making the final scan using Jobs
The final scan saves the image data and any changes made to it with the scanner software in your computer. Before making the final scan, the input and output parameters must be specified. While it’s possible to input the scan settings yourself, DiMAGE Scan Dual III Utility gives you an easier choice – the Job function. This function automatically loads the scan settings based on the final use of the image.
The
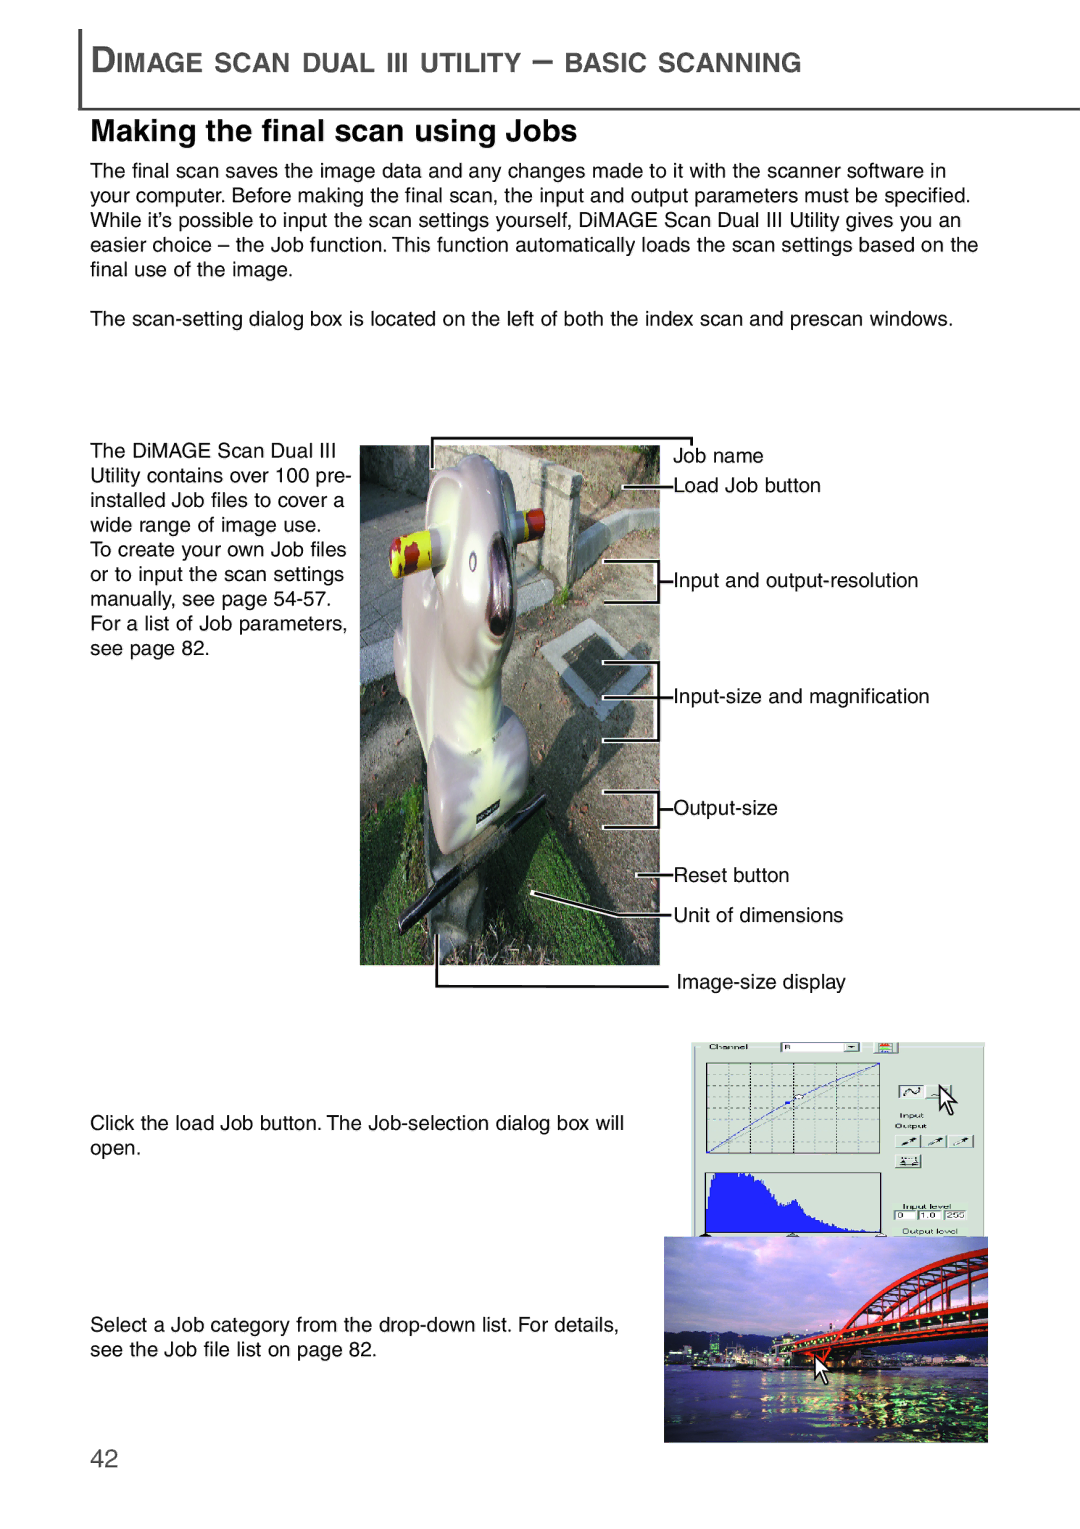
The DiMAGE Scan Dual III Utility contains over 100 pre- installed Job files to cover a wide range of image use. To create your own Job files or to input the scan settings manually, see page
Job name
Load Job button
![]() Input and
Input and
![]() Output-size
Output-size
Reset button
Unit of dimensions
Click the load Job button. The
Select a Job category from the
42