Printing photos from a PictBridge-enabled digital camera
PictBridge is a technology available in most digital cameras that lets you print directly from your digital camera without using a computer.
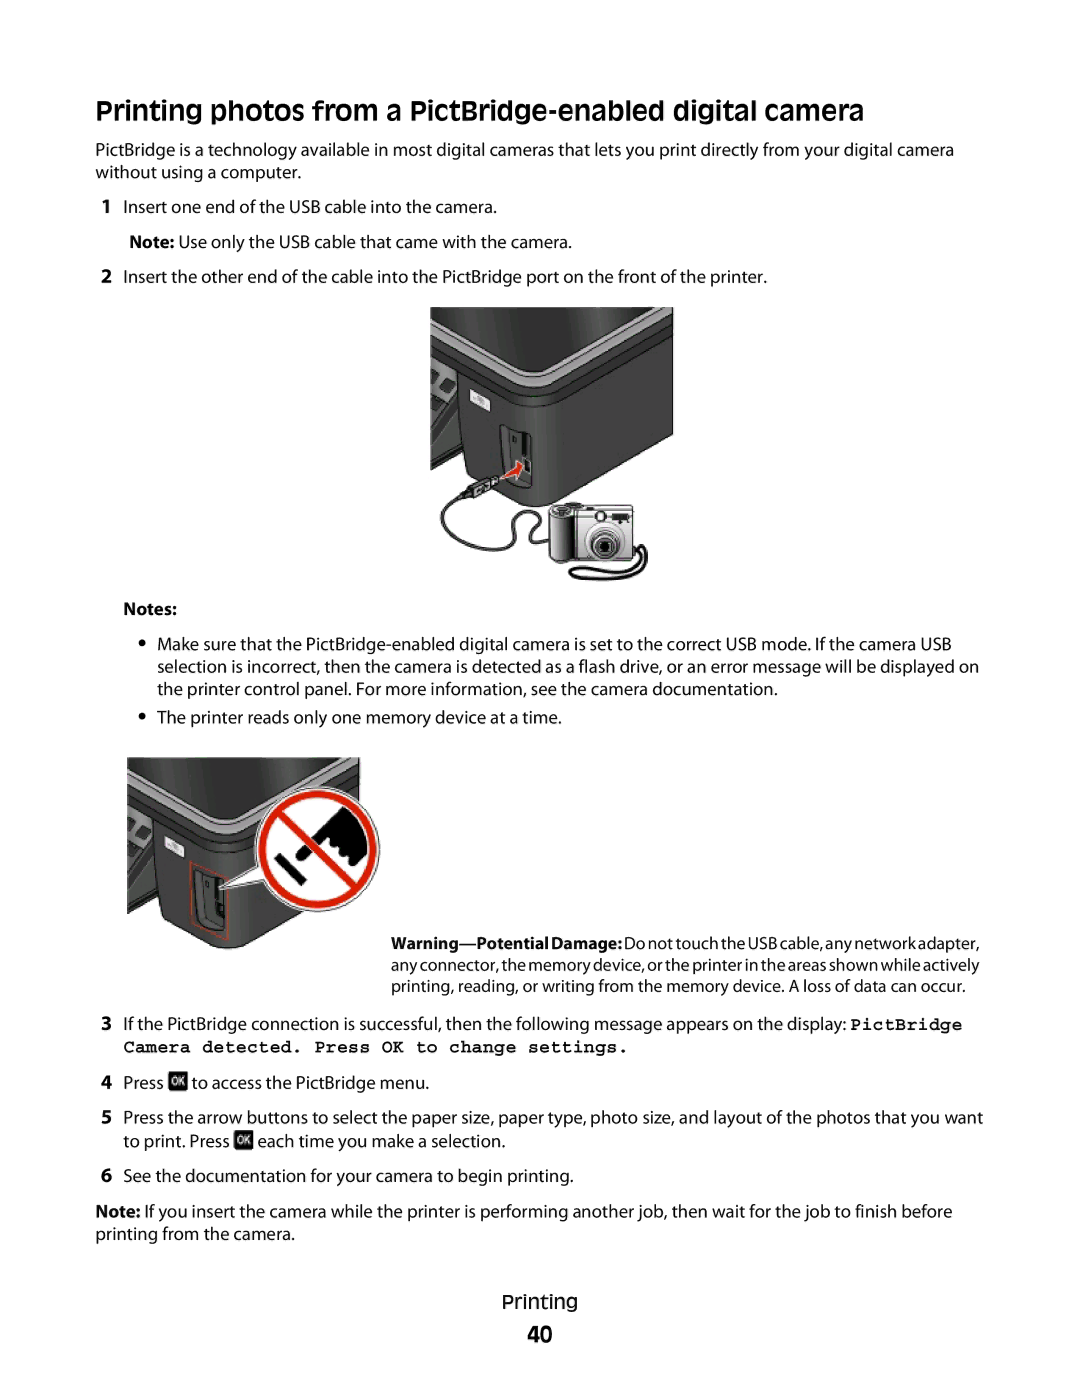
1Insert one end of the USB cable into the camera.
Note: Use only the USB cable that came with the camera.
2Insert the other end of the cable into the PictBridge port on the front of the printer.
Notes:
•Make sure that the
•The printer reads only one memory device at a time.
3If the PictBridge connection is successful, then the following message appears on the display: PictBridge
Camera detected. Press OK to change settings.
4Press ![]() to access the PictBridge menu.
to access the PictBridge menu.
5Press the arrow buttons to select the paper size, paper type, photo size, and layout of the photos that you want to print. Press ![]() each time you make a selection.
each time you make a selection.
6See the documentation for your camera to begin printing.
Note: If you insert the camera while the printer is performing another job, then wait for the job to finish before printing from the camera.
Printing
40