Print media tasks and tips
Clearing jams
When a jam occurs, the printer stops, and the Error light on the operator panel blinks. To determine the location of the jam, view the secondary light sequences (see Operator panel codes for the Lexmark E120 on page 12 or Operator panel codes for the Lexmark E120n on page 28). Prepare the printer for jam removal by opening the paper support out and removing all printed pages from the output bin. Then, follow these steps to clear the entire paper path.
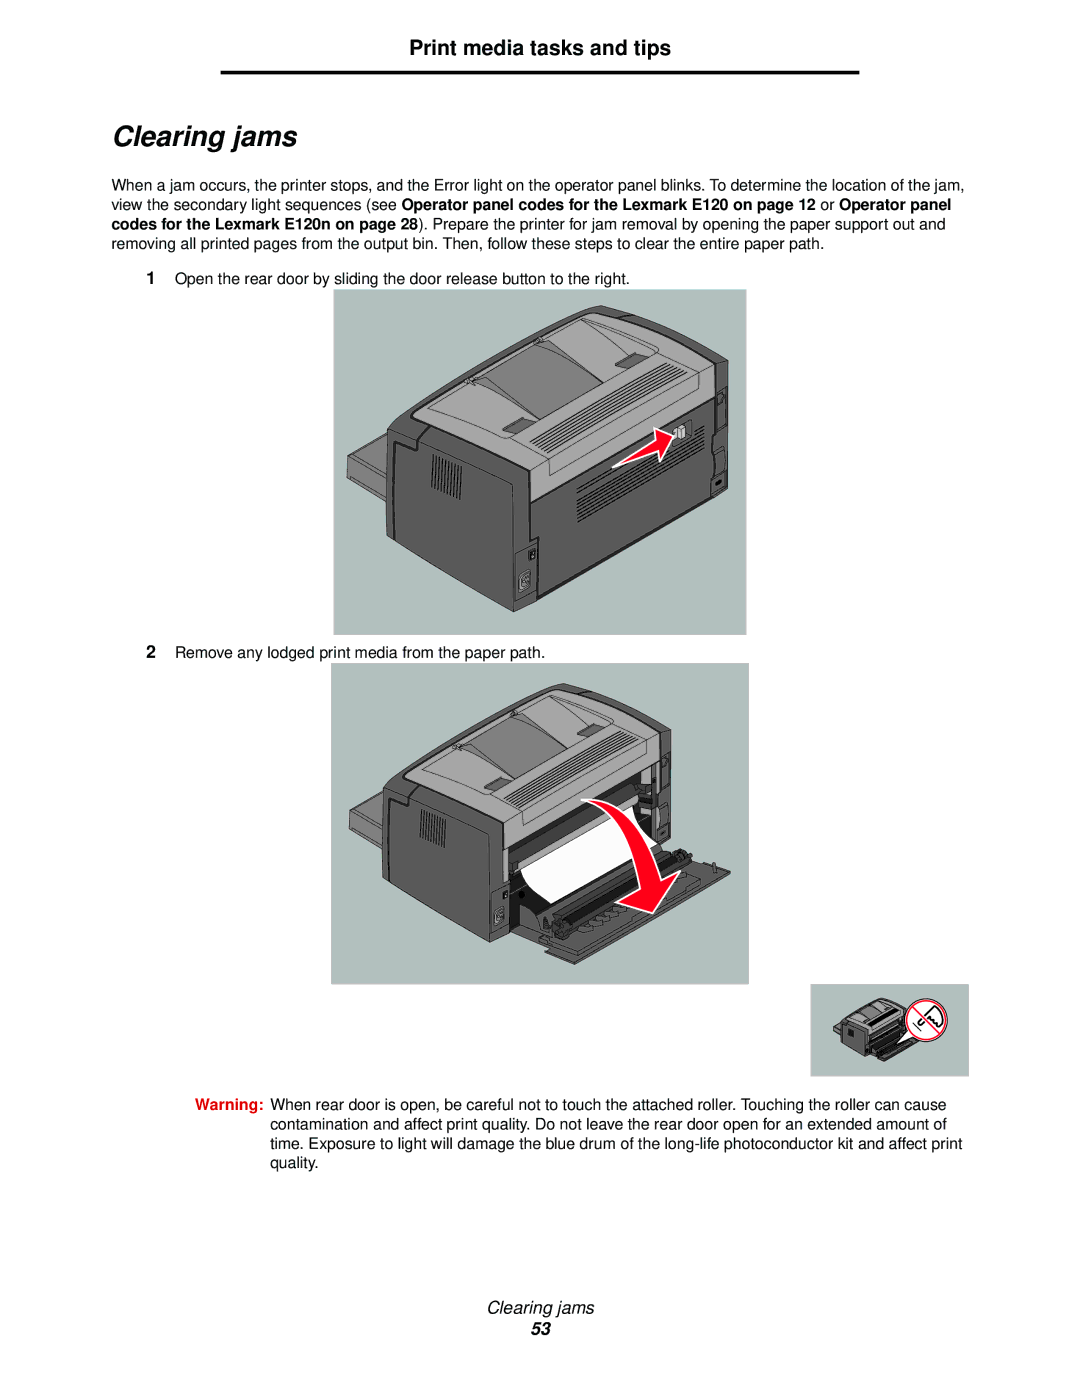
1Open the rear door by sliding the door release button to the right.
2Remove any lodged print media from the paper path.
Warning: When rear door is open, be careful not to touch the attached roller. Touching the roller can cause contamination and affect print quality. Do not leave the rear door open for an extended amount of time. Exposure to light will damage the blue drum of the
Clearing jams
53