Scan
 ning
ning


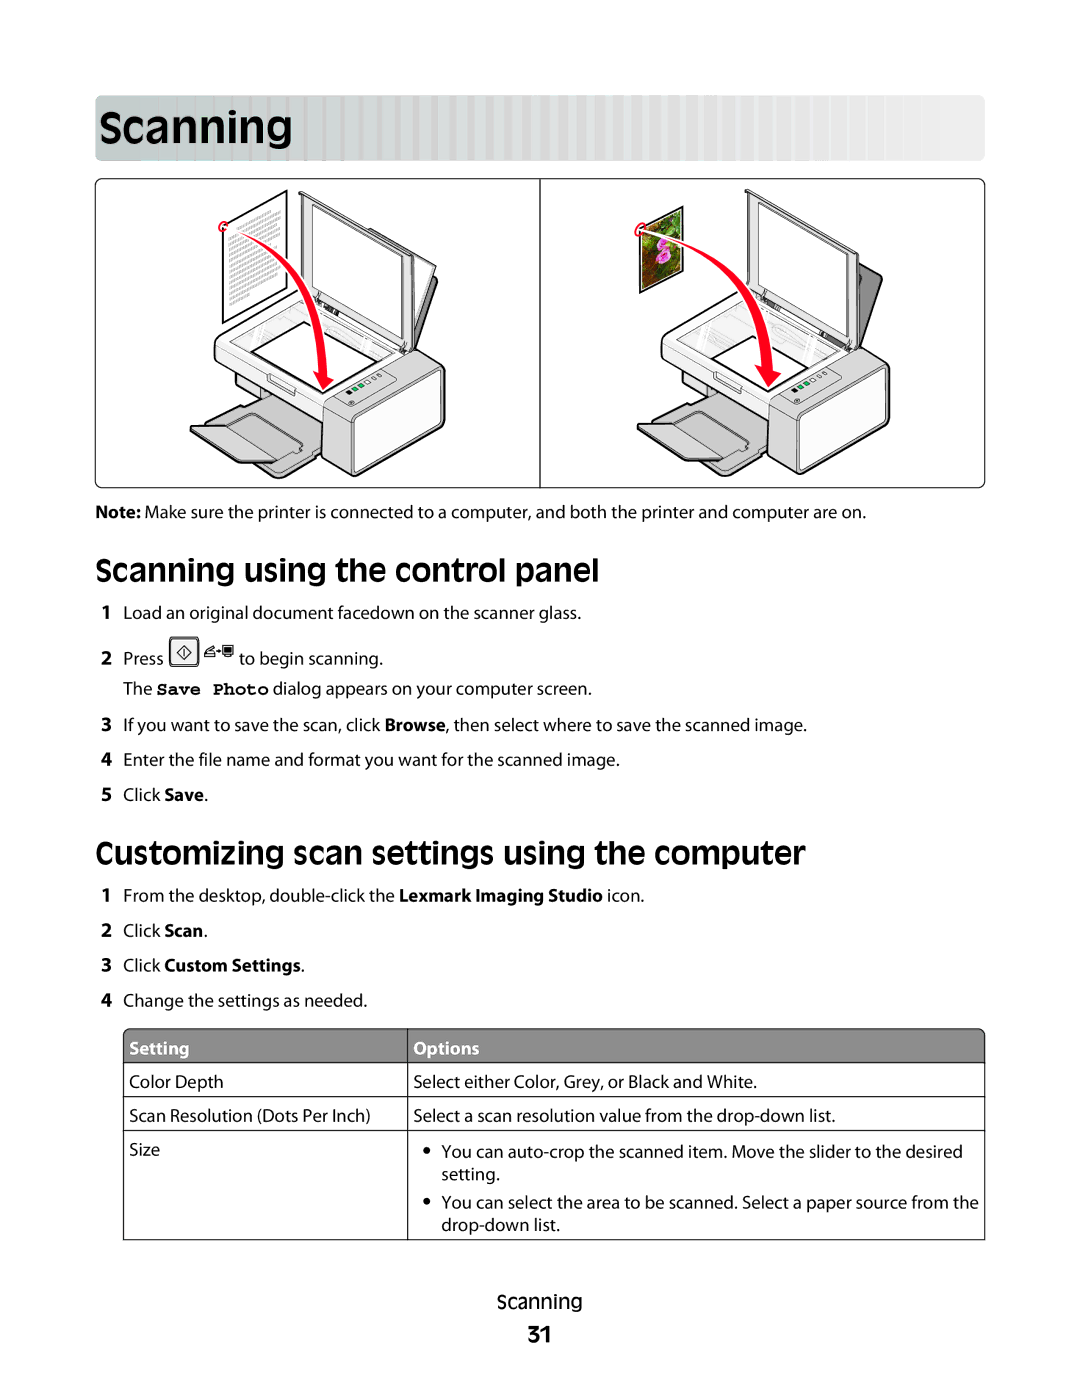
Note: Make sure the printer is connected to a computer, and both the printer and computer are on.
Scanning using the control panel
1Load an original document facedown on the scanner glass.
2Press ![]()
![]()
![]() to begin scanning.
to begin scanning.
The Save Photo dialog appears on your computer screen.
3If you want to save the scan, click Browse, then select where to save the scanned image.
4Enter the file name and format you want for the scanned image.
5Click Save.
Customizing scan settings using the computer
1From the desktop,
2Click Scan.
3Click Custom Settings.
4Change the settings as needed.
 Setting
Color Depth
Scan Resolution (Dots Per Inch)
Size
Options
Select either Color, Grey, or Black and White.
Select a scan resolution value from the
•You can
•You can select the area to be scanned. Select a paper source from the
Scanning
31