DEFINITY® Enterprise Communications Server Release 7 | Issue 4 |
Console Operations | June 1999 |
|
|
2Understanding the Console Layout
Physical Layout of Your Console | 19 | ||||||||
|
|
|
|
|
|
|
|
|
|
|
|
|
|
|
|
|
|
|
|
|
|
|
|
|
|
|
|
|
|
|
|
|
|
|
|
|
|
|
|
|
|
|
|
|
|
|
|
|
|
|
|
|
|
|
|
|
|
|
|
|
|
|
|
|
|
|
|
|
|
|
|
|
|
|
|
|
|
|
|
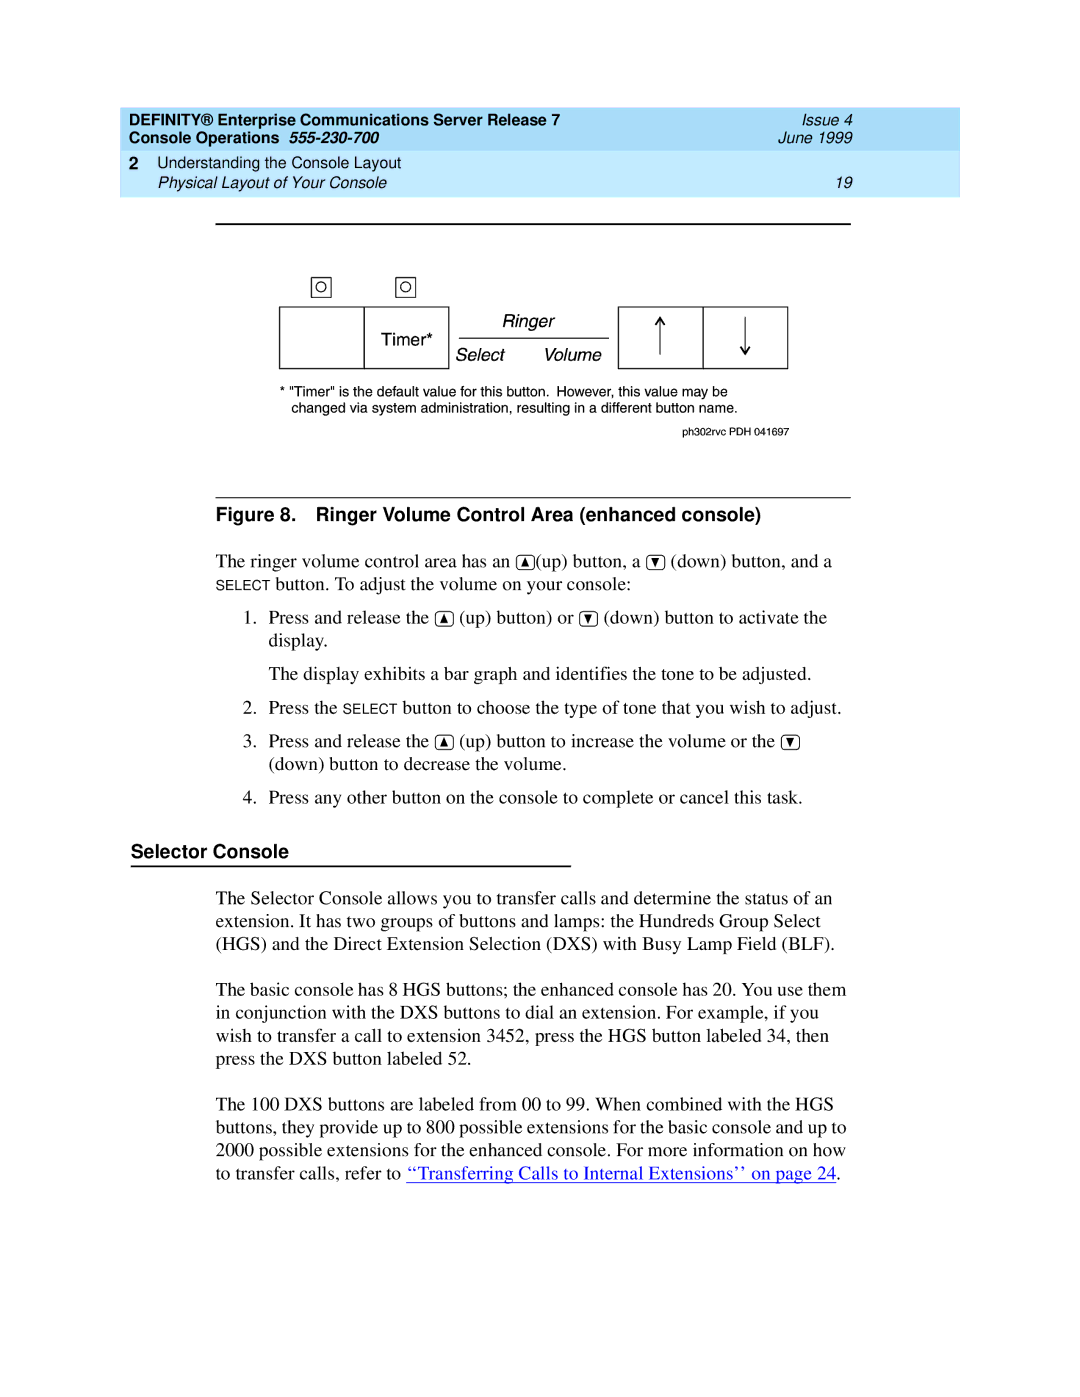
Figure 8. Ringer Volume Control Area (enhanced console)
The ringer volume control area has an ![]() (up) button, a
(up) button, a ![]() (down) button, and a
(down) button, and a
SELECT button. To adjust the volume on your console:
1.Press and release the ![]() (up) button) or
(up) button) or ![]() (down) button to activate the display.
(down) button to activate the display.
The display exhibits a bar graph and identifies the tone to be adjusted.
2.Press the SELECT button to choose the type of tone that you wish to adjust.
3.Press and release the ![]() (up) button to increase the volume or the
(up) button to increase the volume or the ![]() (down) button to decrease the volume.
(down) button to decrease the volume.
4.Press any other button on the console to complete or cancel this task.
Selector Console
The Selector Console allows you to transfer calls and determine the status of an extension. It has two groups of buttons and lamps: the Hundreds Group Select (HGS) and the Direct Extension Selection (DXS) with Busy Lamp Field (BLF).
The basic console has 8 HGS buttons; the enhanced console has 20. You use them in conjunction with the DXS buttons to dial an extension. For example, if you wish to transfer a call to extension 3452, press the HGS button labeled 34, then press the DXS button labeled 52.
The 100 DXS buttons are labeled from 00 to 99. When combined with the HGS buttons, they provide up to 800 possible extensions for the basic console and up to 2000 possible extensions for the enhanced console. For more information on how to transfer calls, refer to ‘‘Transferring Calls to Internal Extensions’’ on page 24 .
