Printer Panel 1
C4004P591CA
C4004P592CA
23.Prepare the yellow test pattern, and then repeat steps 13 through 20 of the above pro- cedure to read the yellow test pattern with the
NOTE
If “>>” appears beside “Read the Pattern of Yellow”, perform the procedure for reading the yellow test pattern again.
24.Prepare the black test pattern, and then repeat steps 13 through 20 of the above pro- cedure to read the black test pattern with the
NOTE
If “>>” appears beside “Read the Pattern of Black”, perform the procedure for reading the black test pattern again.
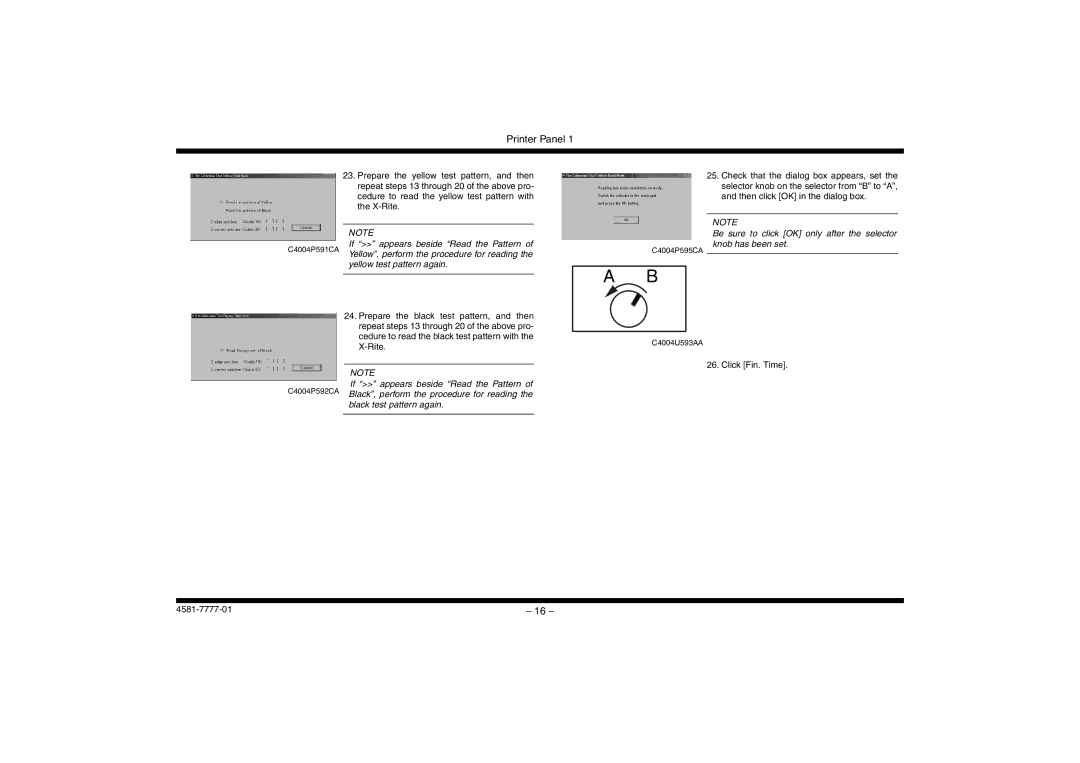
25.Check that the dialog box appears, set the selector knob on the selector from “B” to “A”, and then click [OK] in the dialog box.
NOTE
Be sure to click [OK] only after the selector knob has been set.
C4004P595CA
A B
C4004U593AA
26. Click [Fin. Time].
| – 16 – |