Printer Panel 1
9. Keeping the Imaging Unit in the level posi- tion, insert the Imaging Unit into the mount- ing position on the printer until its leading edge is stopped.
Make sure that the interference preventive sheet is left attached to the Imaging Unit when the Imaging Unit is inserted into the printer.
4025U027AA
NOTE
Make sure the protective sheet is rolled up into the Imaging Unit, then insert Imaging Unit into the Printer.
10. Check that the Imaging Unit is inserted posi- tively in position.
NOTE
The positioning rib at the leading edge of the Imaging Unit cover should be fitted positively in the hole in the mounting position on the printer.
4025U028AC
11.Supporting the underside of the Imaging Unit with your left hand, hold the portion of
the unit shown in the illustration with your right hand and gently push it into position until a click is heard.
4025U029AB
4025U030AB
4025U031AA
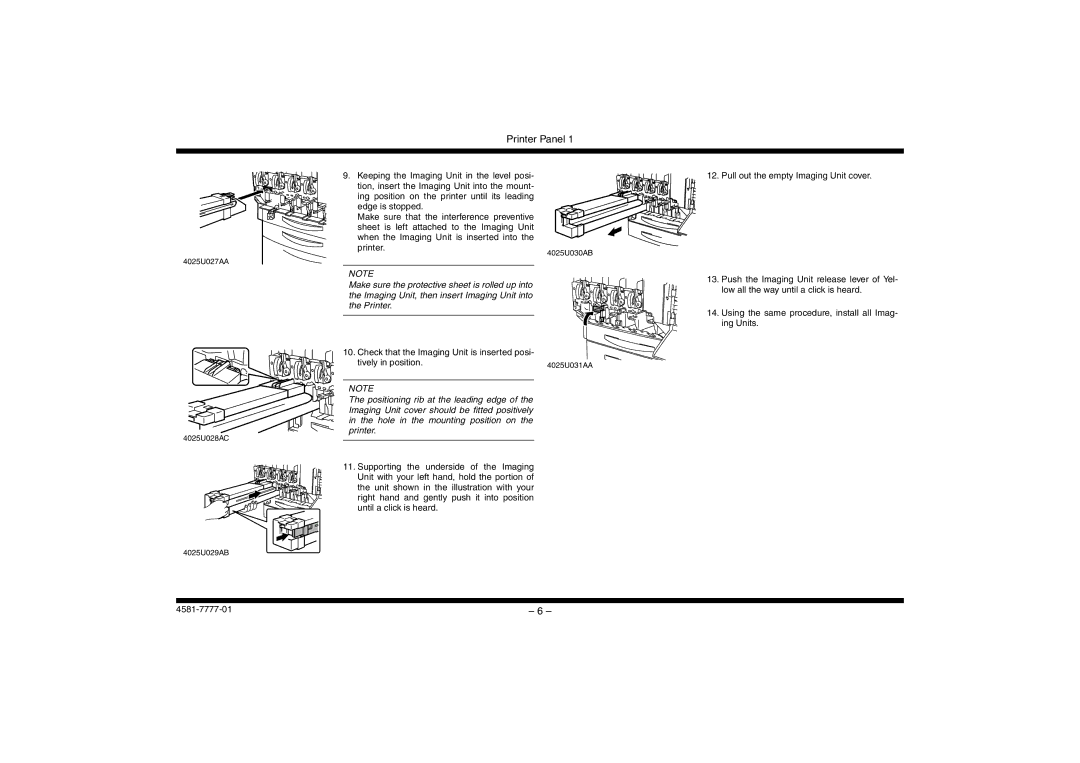
12. Pull out the empty Imaging Unit cover.
13.Push the Imaging Unit release lever of Yel- low all the way until a click is heard.
14.Using the same procedure, install all Imag- ing Units.
– 6 – |