Printer Panel 1
14. Specifying the Printer Controller Settings
From the printer, specify the necessary settings for using the controller.
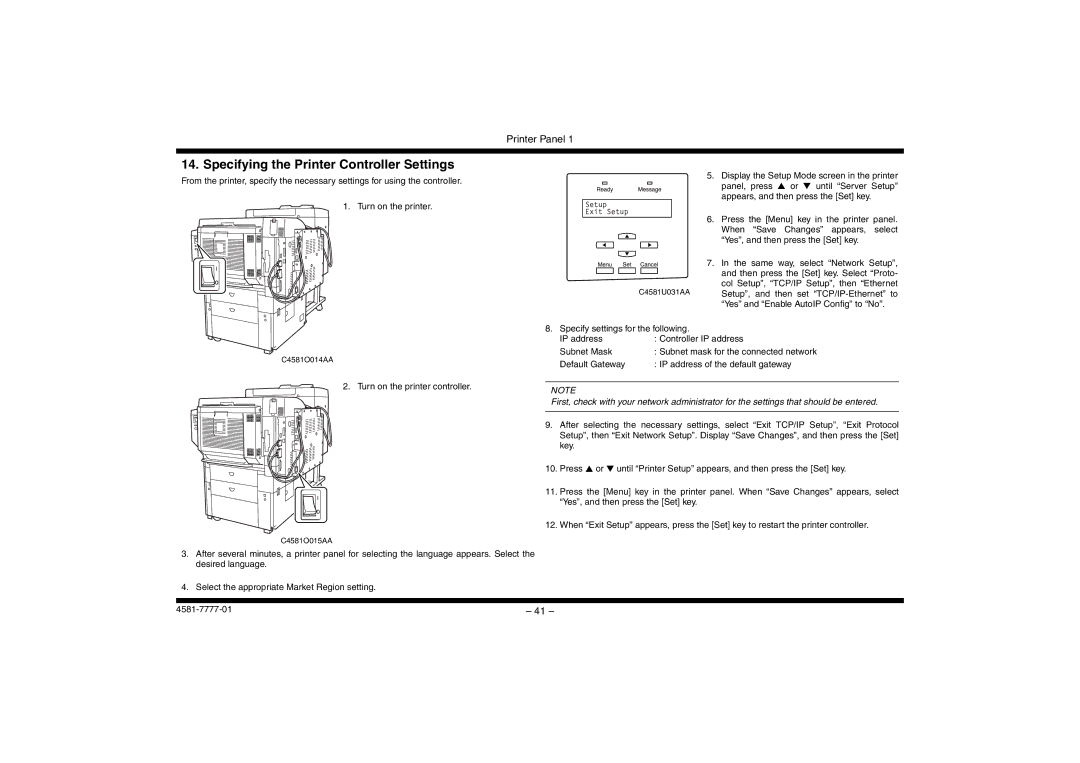
1. Turn on the printer.
C4581O014AA
2. Turn on the printer controller.
C4581O015AA
5. Display the Setup Mode screen in the printer panel, press ▲ or ▼ until “Server Setup” appears, and then press the [Set] key.
6.Press the [Menu] key in the printer panel. When “Save Changes” appears, select
|
| “Yes”, and then press the [Set] key. |
|
| 7. In the same way, select “Network Setup”, |
|
| |
|
| and then press the [Set] key. Select “Proto- |
C4581U031AA | col Setup”, “TCP/IP Setup”, then “Ethernet | |
Setup”, and then set | ||
|
| “Yes” and “Enable AutoIP Config” to “No”. |
8. Specify settings for the following.
IP address | : Controller IP address |
Subnet Mask | : Subnet mask for the connected network |
Default Gateway | : IP address of the default gateway |
NOTE
First, check with your network administrator for the settings that should be entered.
9.After selecting the necessary settings, select “Exit TCP/IP Setup”, “Exit Protocol Setup”, then “Exit Network Setup”. Display “Save Changes”, and then press the [Set] key.
10.Press ▲ or ▼ until “Printer Setup” appears, and then press the [Set] key.
11.Press the [Menu] key in the printer panel. When “Save Changes” appears, select “Yes”, and then press the [Set] key.
12.When “Exit Setup” appears, press the [Set] key to restart the printer controller.
3.After several minutes, a printer panel for selecting the language appears. Select the desired language.
4.Select the appropriate Market Region setting.
