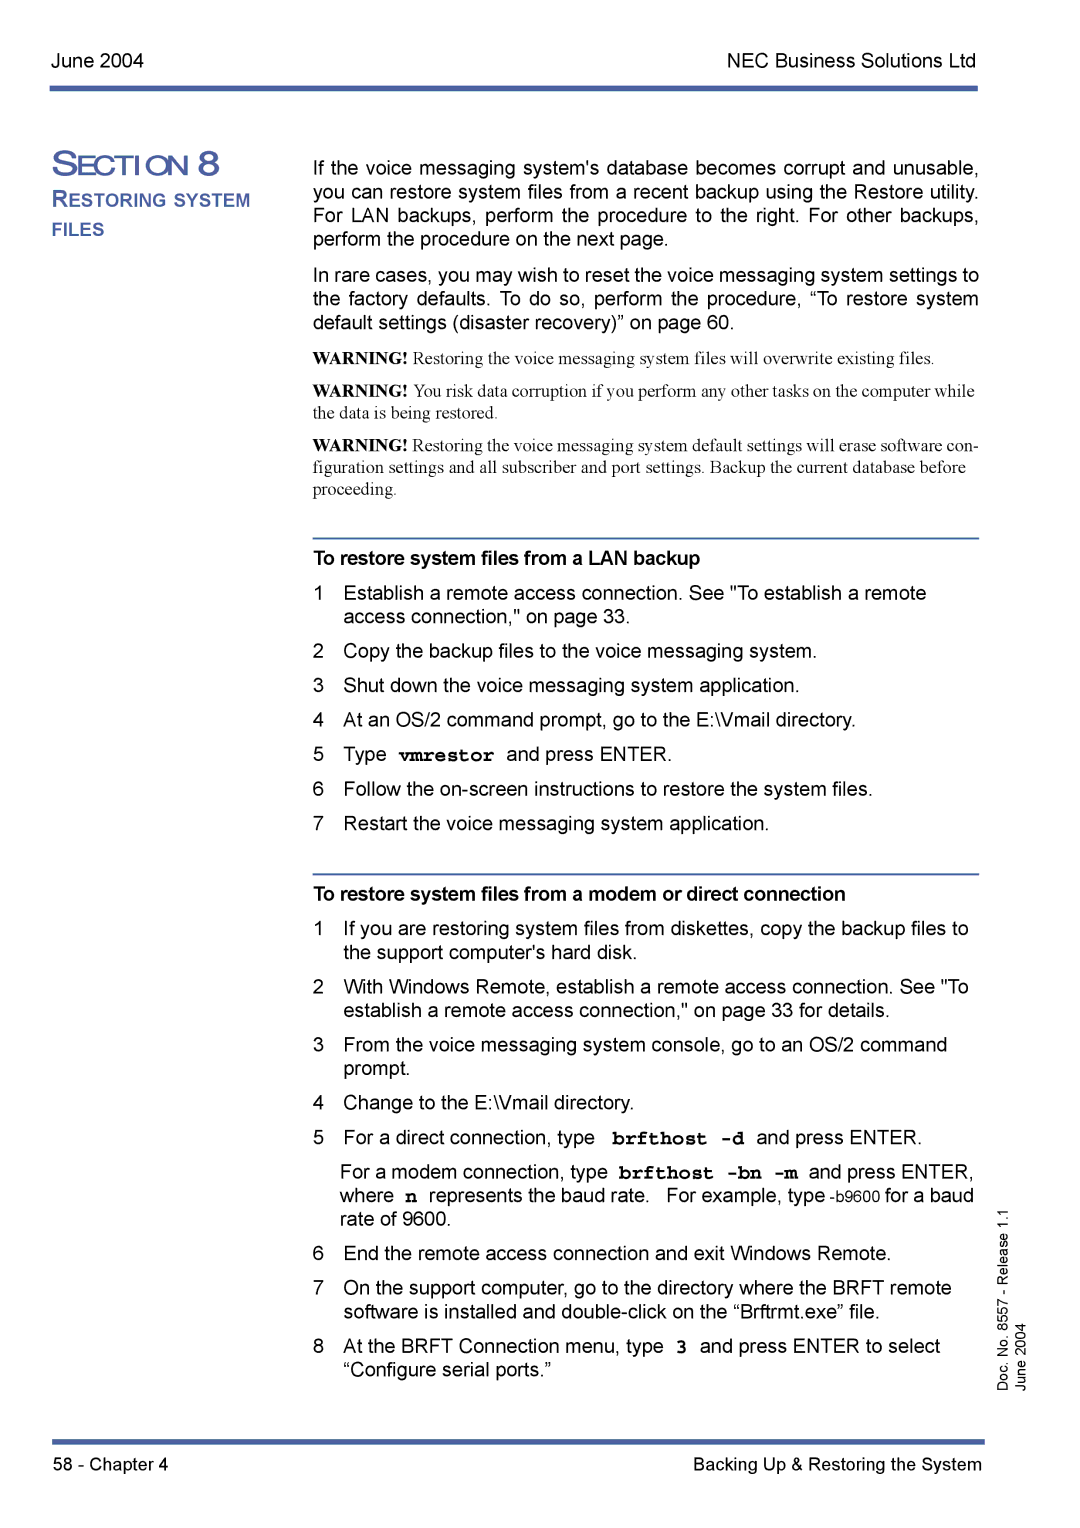
xen mail cti specifications
NEC Xen Mail CTI is a sophisticated communication solution designed to enhance the efficiency and productivity of businesses by integrating telephony with information technology. This system represents a significant step forward in unified communications, streamlining workflows and enabling seamless interactions across various platforms.One of the primary features of NEC Xen Mail CTI is its advanced call management functionality. Users can easily manage incoming and outgoing calls through a single interface, which allows for efficient call handling and reduces the chances of missed communications. This feature is particularly beneficial for customer service departments and sales teams that rely on timely responses and follow-up calls.
Another noteworthy aspect of NEC Xen Mail CTI is its integration capabilities. The CTI system can effortlessly synchronize with existing Customer Relationship Management (CRM) software, allowing users to access customer information instantly during calls. This helps to improve customer interactions by providing agents with context about the caller, thereby enabling personalized service and faster resolution of inquiries.
In addition, NEC Xen Mail CTI features robust voicemail management. Users can manage voicemail messages through their email or mobile device, which adds convenient access to important messages from any location. This functionality enhances communication efficiency, as team members can remain connected even when they are away from their desks.
The technology behind NEC Xen Mail CTI is also notable. Employing Voice over Internet Protocol (VoIP) technology, the system supports high-quality audio for voice communications while minimizing costs associated with traditional phone systems. Moreover, the integration of artificial intelligence and machine learning capabilities allows for improved call analytics and reporting, enabling businesses to track call volumes, call durations, and agent performance.
Security is paramount in today’s digital landscape, and NEC Xen Mail CTI addresses this through encrypted communications and secure access protocols, ensuring that sensitive information remains protected. Additionally, the system is designed to be flexible and scalable, making it suitable for businesses of all sizes, from small startups to large enterprises.
In conclusion, NEC Xen Mail CTI stands out for its comprehensive features, seamless integration with existing tools, advanced call management capabilities, and robust security measures. By leveraging modern technologies, it streamlines communications, enhances customer interactions, and ultimately drives business success. Organizations seeking to elevate their communication strategy and improve overall productivity will find NEC Xen Mail CTI to be a valuable asset.

