NETGEAR ProSafe SSL VPN Concentrator 25 SSL312 Reference Manual
1.Prepare a PC with an Ethernet adapter. If this PC is already part of your network, record its TCP/IP configuration settings so that you can restore them later.
2.Configure your PC with a static IP address of 192.168.1.10 and 255.255.255.0 as the subnet mask.
3.Connect an Ethernet cable from your computer to Ethernet Port 1 on the front of the SSL VPN Concentrator.
4.Connect the power cord to the SSL312, turn on the concentrator and verify the following:
•The PWR (power) light goes on immediately.
•The TEST light goes off after about one minute, indicating that the system has initialized.
•One of the Ethernet lights is lit: either the 10 Mbps or the 100 Mbps LED should light showing that a connectivity link as been established
Accessing the Management Interface
Using the PC with the static IP address configured, you can log into the SSL VPN Concentrator web management interface. The initial administrative setup of the concentrator must be performed using a supported browser listed in “Web Browser Requirements” on page
Note: You must have administrative access to the SSL VPN Concentrator to configure the Management Interface settings
To log into the management interface:
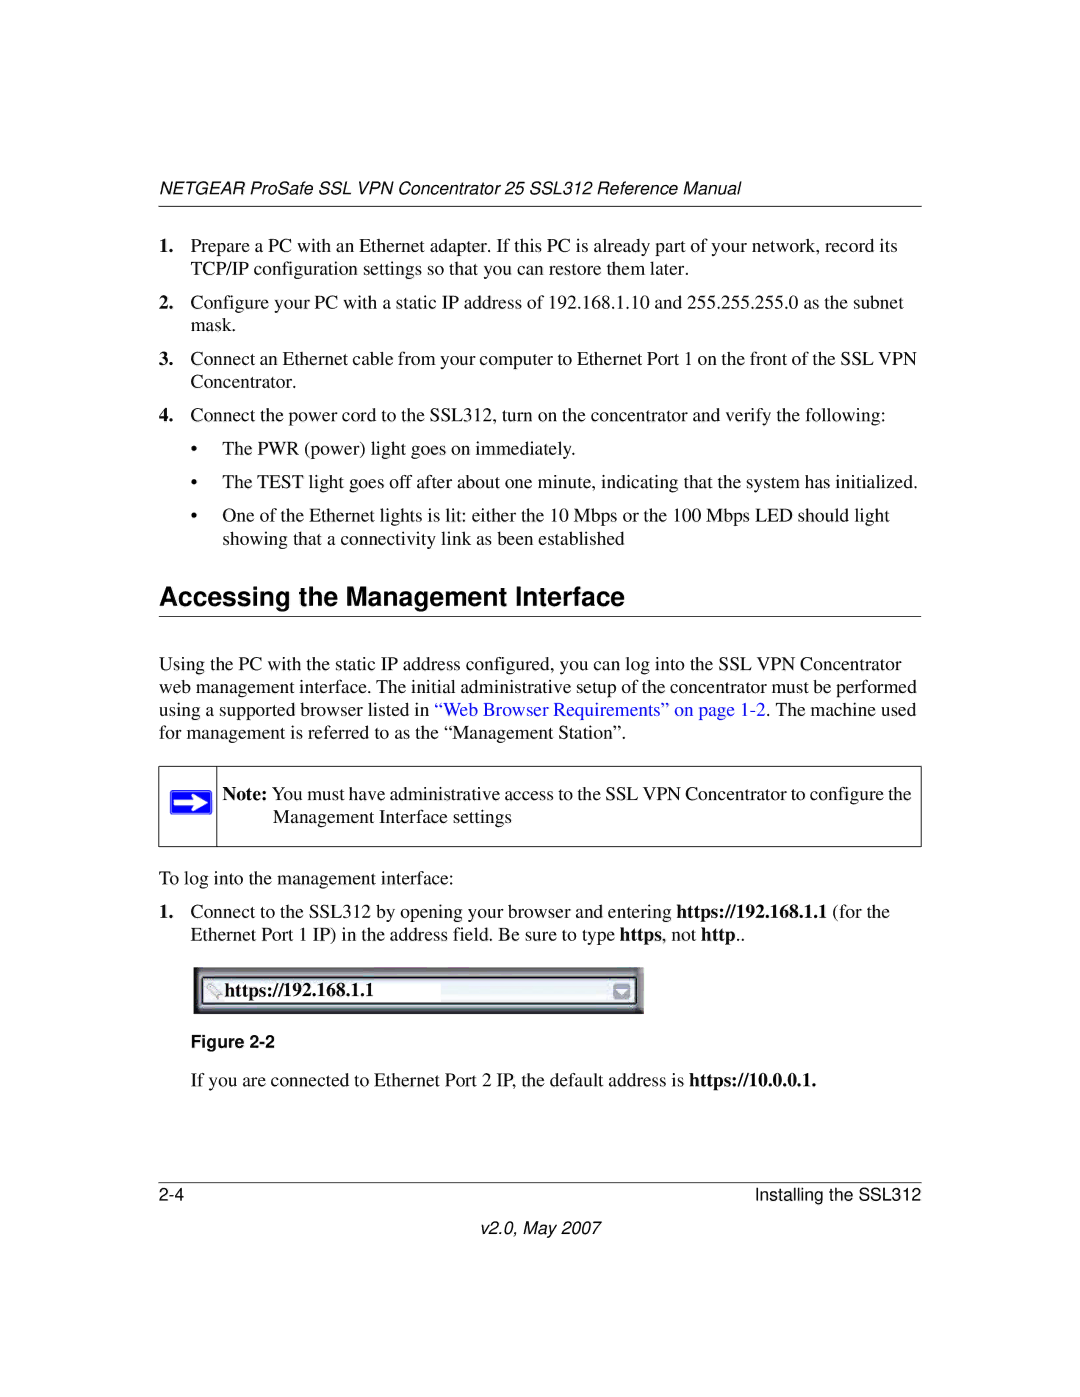
1.Connect to the SSL312 by opening your browser and entering https://192.168.1.1 (for the Ethernet Port 1 IP) in the address field. Be sure to type https, not http..
https://192.168.1.1
Figure
If you are connected to Ethernet Port 2 IP, the default address is https://10.0.0.1.
Installing the SSL312 |
