Adding a Shortcut to the DiVitas Client
Upgrading the DiVitas Client
Adding a Shortcut to the DiVitas Client
You can add a shortcut to the DiVitas Client from the
Adding a Shortcut to the Active-Standby Screen
1Select Menu > Tools > Settings > Phone > Standy mode > Active standy apps.
2Scroll to the shortcut you want to replace. Shortcut 1 programs the first icon on the left of the icon row on the
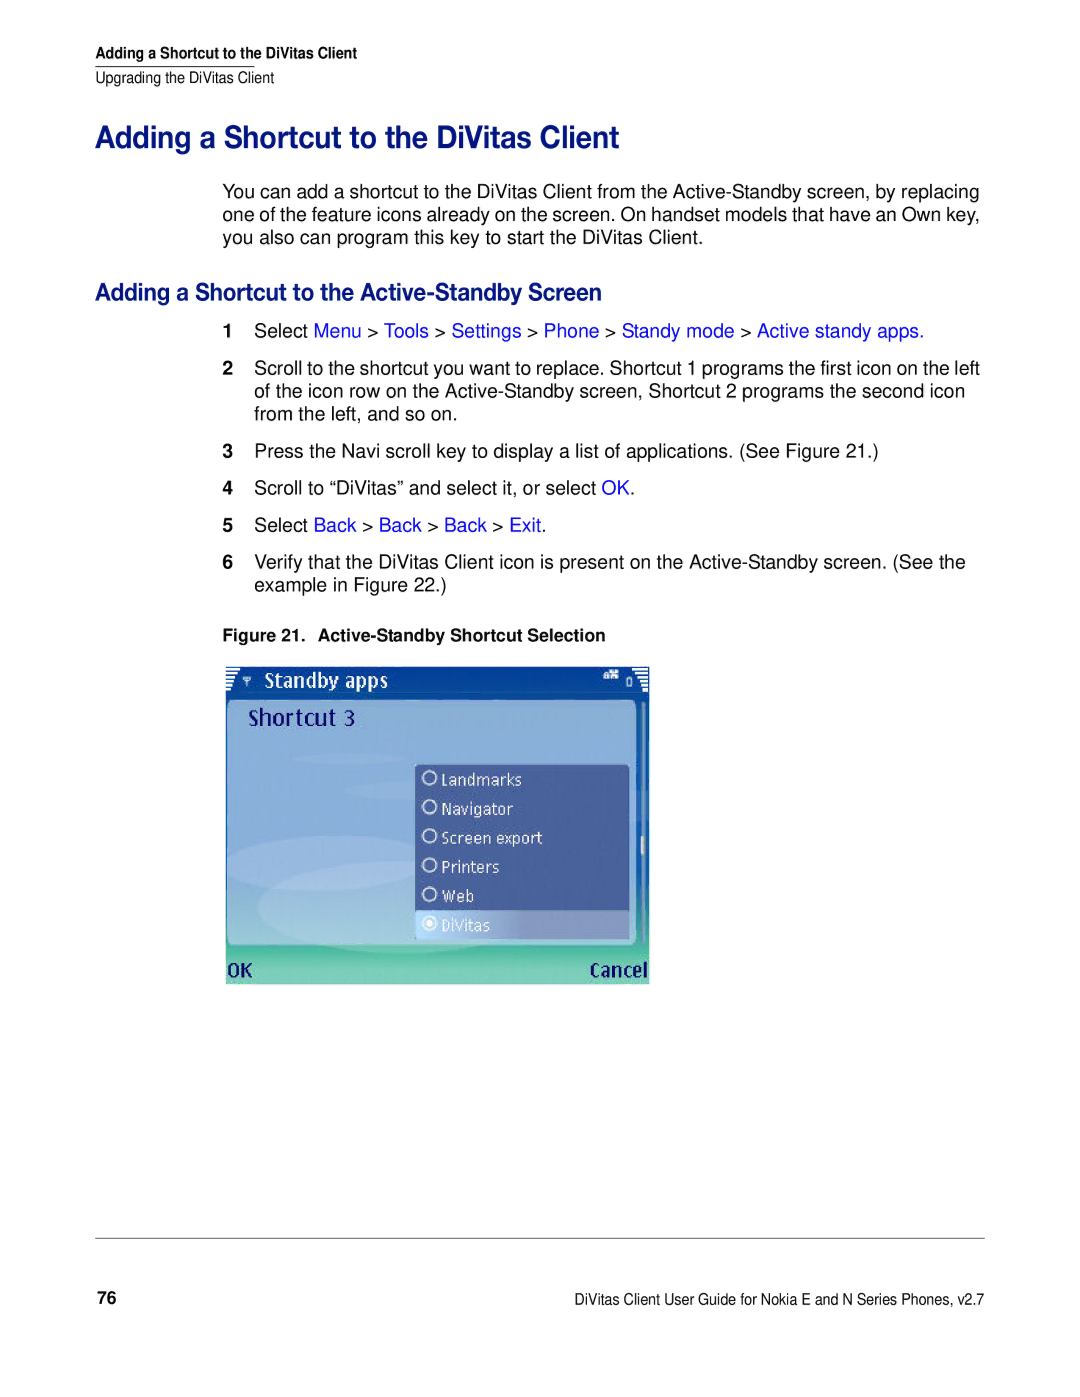
3Press the Navi scroll key to display a list of applications. (See Figure 21.)
4Scroll to “DiVitas” and select it, or select OK.
5Select Back > Back > Back > Exit.
6Verify that the DiVitas Client icon is present on the
Figure 21. Active-Standby Shortcut Selection
76 | DiVitas Client User Guide for Nokia E and N Series Phones, v2.7 |