Transferring Your Images (Macintosh)
Using | Before you begin |
• Set POWER to OFF before inserting a recorded Memory Card. (pp. 48, 49)
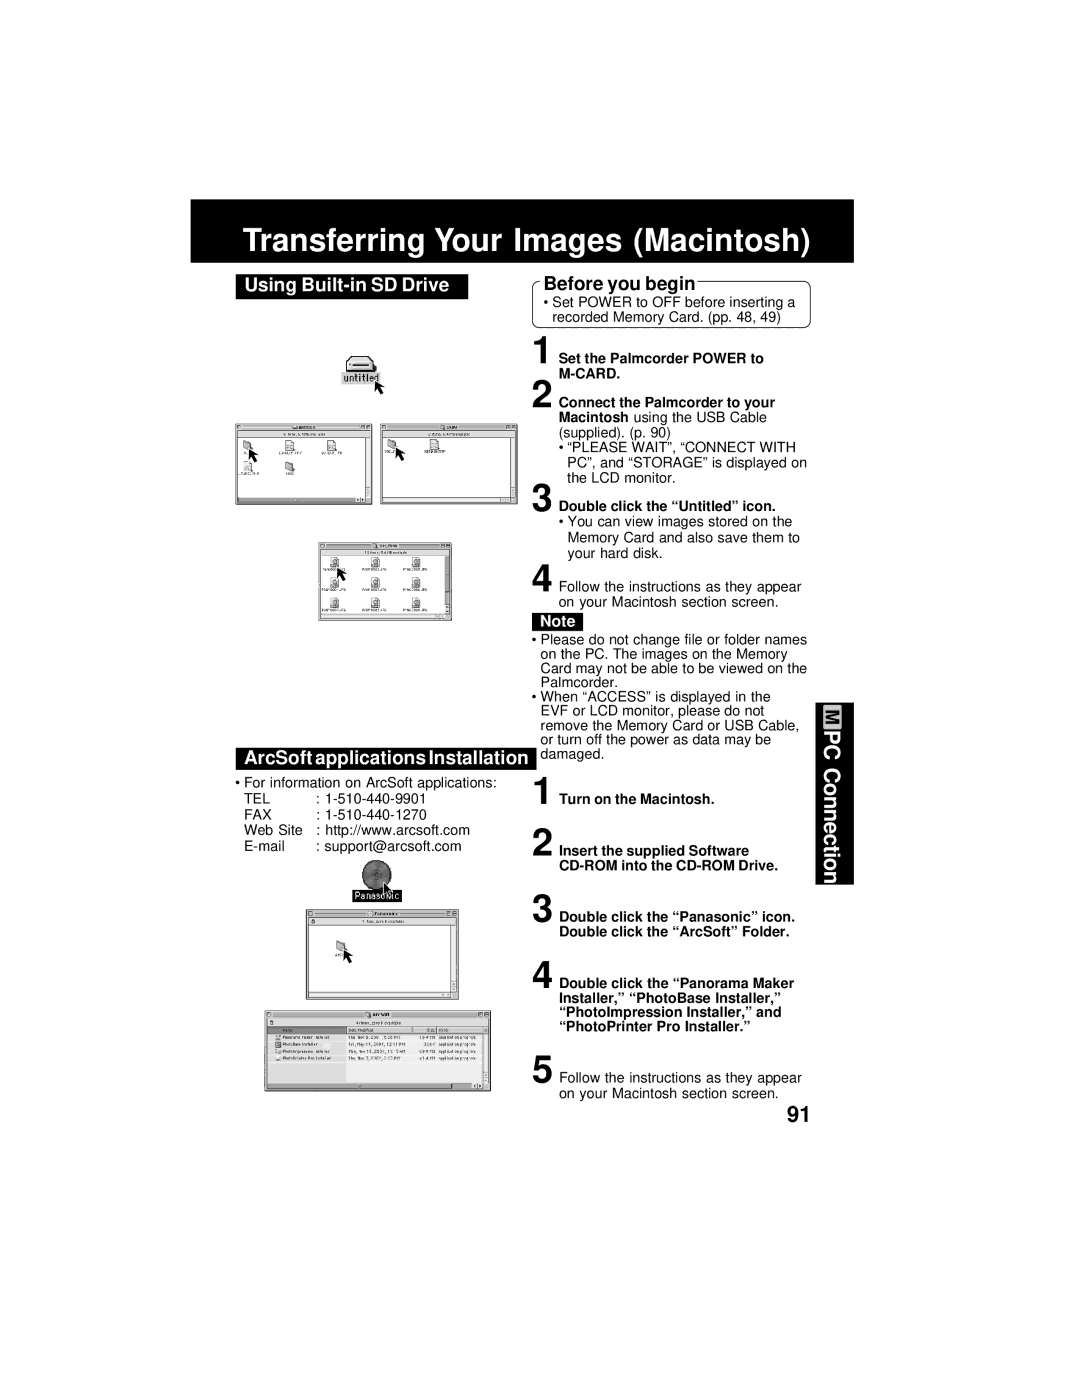
1 Set the Palmcorder POWER to
2 Connect the Palmcorder to your Macintosh using the USB Cable (supplied). (p. 90)
• “PLEASE WAIT”, “CONNECT WITH PC”, and “STORAGE” is displayed on the LCD monitor.
3 Double click the “Untitled” icon.
• You can view images stored on the Memory Card and also save them to your hard disk.
4 Follow the instructions as they appear on your Macintosh section screen.
Note
ArcSoft applications Installation
•For information on ArcSoft applications:
TEL :
FAX :
Web Site : http://www.arcsoft.com
•Please do not change file or folder names on the PC. The images on the Memory Card may not be able to be viewed on the Palmcorder.
•When “ACCESS” is displayed in the EVF or LCD monitor, please do not remove the Memory Card or USB Cable, or turn off the power as data may be damaged.
1 Turn on the Macintosh.
2 Insert the supplied Software
3 Double click the “Panasonic” icon. Double click the “ArcSoft” Folder.
4 Double click the “Panorama Maker Installer,” “PhotoBase Installer,” “PhotoImpression Installer,” and “PhotoPrinter Pro Installer.”
5 Follow the instructions as they appear on your Macintosh section screen.
PC Connection
91