•The top of the window displays the location of the camera input automatically selected for the IP camera. By default, the final input on the final input device (or “board”) is selected for the IP camera. Because up to 32 cameras can exist on any board, and up to four boards can exist on any VAU, the input selected for the IP camera might not actually exist. If you want to use the automatically selected camera input for an analog camera, manually select the IP camera’s input by clicking Change Assigned Input, and then select a new input.
•The Camera Name field allows you to enter the desired name of the IP camera that will appear in video panes, searches, lists, and so forth.
•Consult the camera manufacturer's documentation for information on frame rate, resolution, and quality information. This can vary between camera manufacturers and models.
•The Compression Type
•If you cannot access MPEG video because it is blocked by a firewall or router, select RTSP Tunneling. This can reduce system and network performance, so select this option only if you cannot view MPEG video from the camera.
•The Stream Number field allows you to select the video stream to capture from a camera that provides multiple streams.
•In the bottom section of the window enter the TCP/IP Address and other information configured for the camera on your network. Some IP cameras use a TCP or UDP notification for motion events; the event port number is the TCP or UDP port used for that notification and must be a different number for each camera. To view information about the camera using a Web page generated by the manufacturer, click the IP Camera Configuration Web Page button. (Internet Explorer® must be the default browser for this to work.) With some cameras, you might need to install additional software provided by the camera manufacturer.
NOTE: If you select Auto Image Size in the IP Camera Configuration Web page, you cannot modify the camera’s image quality in DS.
When the configuration is complete, make sure Active is selected, and then click OK. To configure an existing IP camera, click Edit IP Camera. To delete an existing IP camera from the VAU, click Delete IP Camera.
To change the configuration of an existing IP camera, click Edit IP Camera. To delete an existing IP camera from the VAU, click Delete IP Camera; this does not delete stored video recorded from the camera, but you cannot search and play back the video using Digital Sentry client software.
NETWORK STORAGE
Digital Sentry video files can be saved on storage devices available over a network connection. If you archive video over a network, video files remain on the local hard drives until they are complete, and then they are copied to the network device. Video files are complete at the end of a
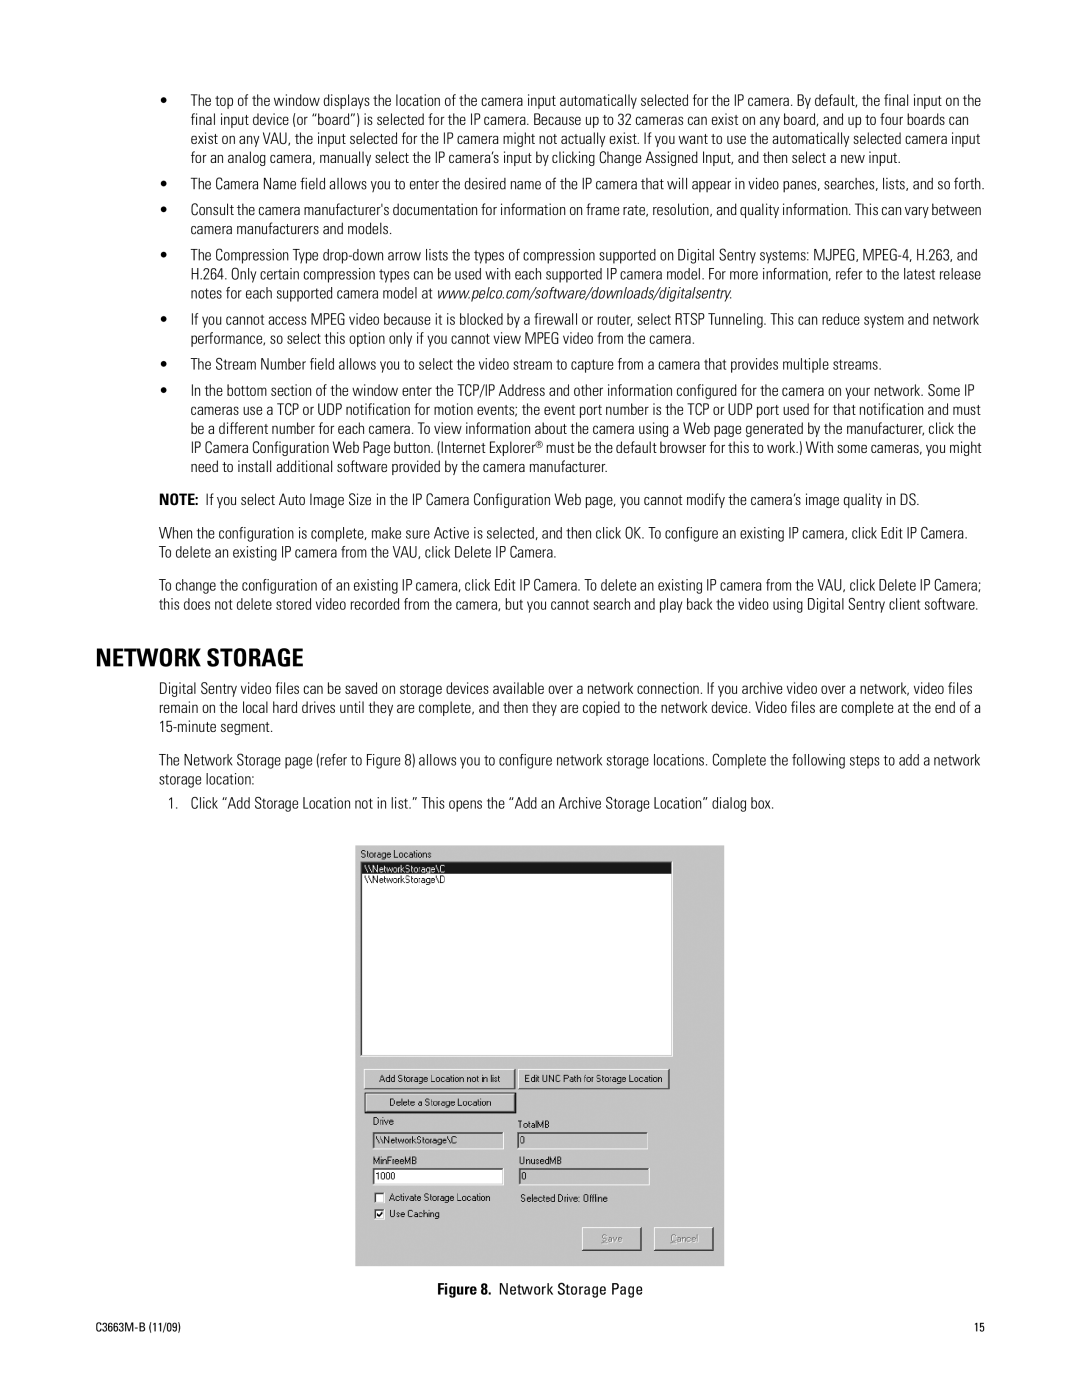
The Network Storage page (refer to Figure 8) allows you to configure network storage locations. Complete the following steps to add a network storage location:
1. Click “Add Storage Location not in list.” This opens the “Add an Archive Storage Location” dialog box.
Figure 8. Network Storage Page
15 |