TIME-LAPSE STORAGE
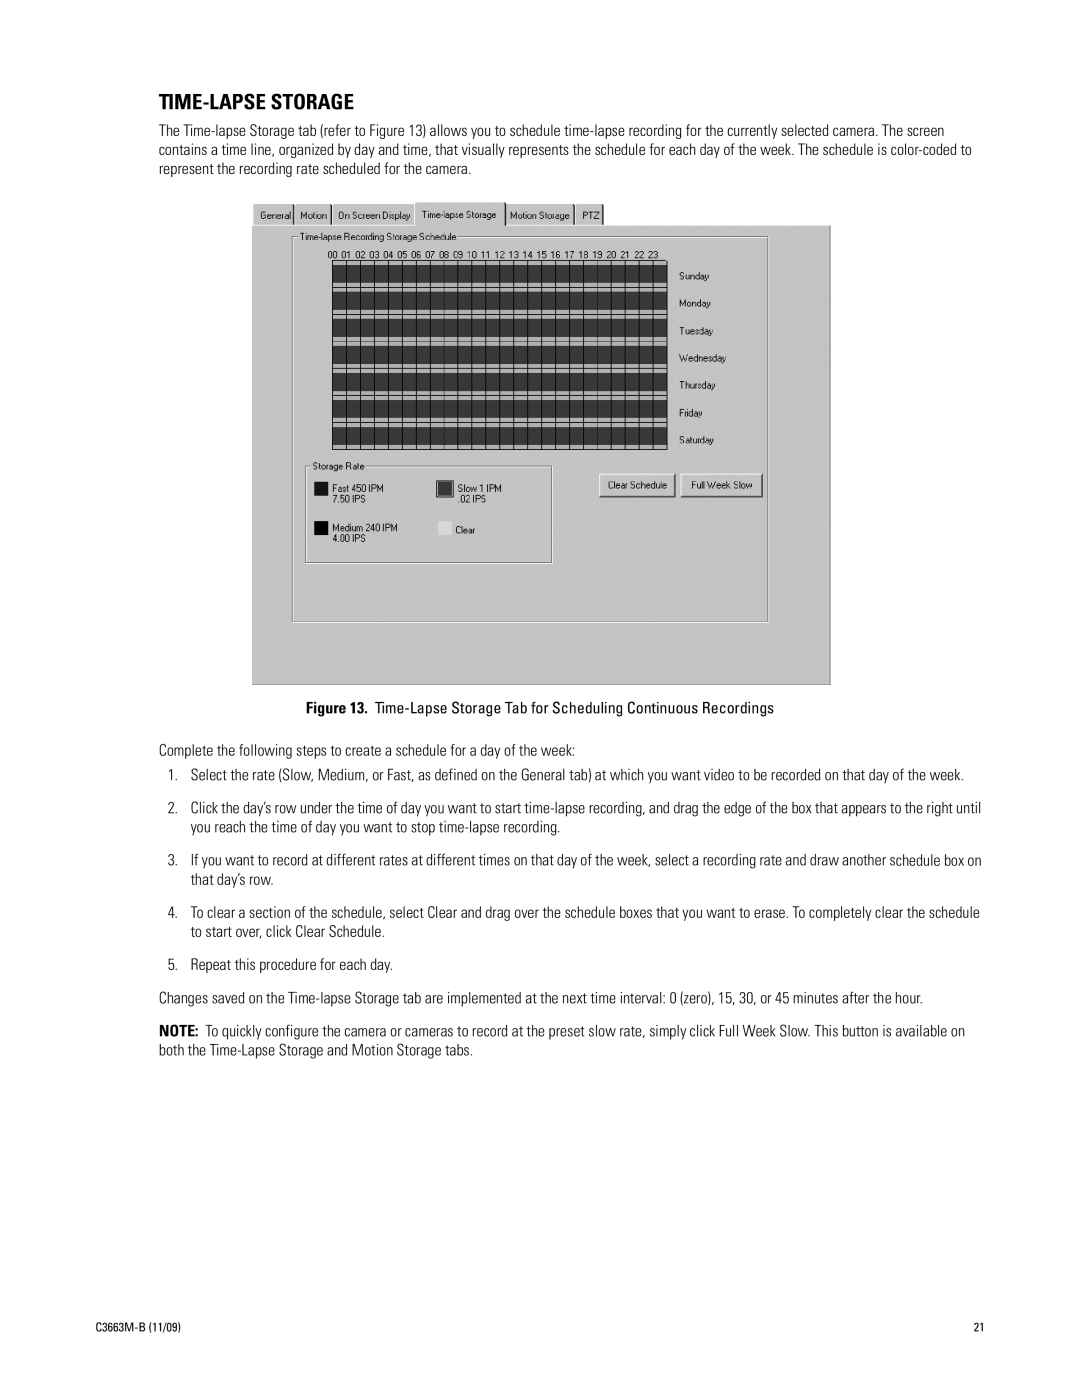
The
Figure 13. Time-Lapse Storage Tab for Scheduling Continuous Recordings
Complete the following steps to create a schedule for a day of the week:
1.Select the rate (Slow, Medium, or Fast, as defined on the General tab) at which you want video to be recorded on that day of the week.
2.Click the day’s row under the time of day you want to start
3.If you want to record at different rates at different times on that day of the week, select a recording rate and draw another schedule box on that day’s row.
4.To clear a section of the schedule, select Clear and drag over the schedule boxes that you want to erase. To completely clear the schedule to start over, click Clear Schedule.
5.Repeat this procedure for each day.
Changes saved on the
NOTE: To quickly configure the camera or cameras to record at the preset slow rate, simply click Full Week Slow. This button is available on both the
| 21 |
