06Recording
Basic recording from the TV
VR mode Video mode
Follow the instructions below to record a TV program. Recording starts immediately and continues until the disc is full or you stop the recording.
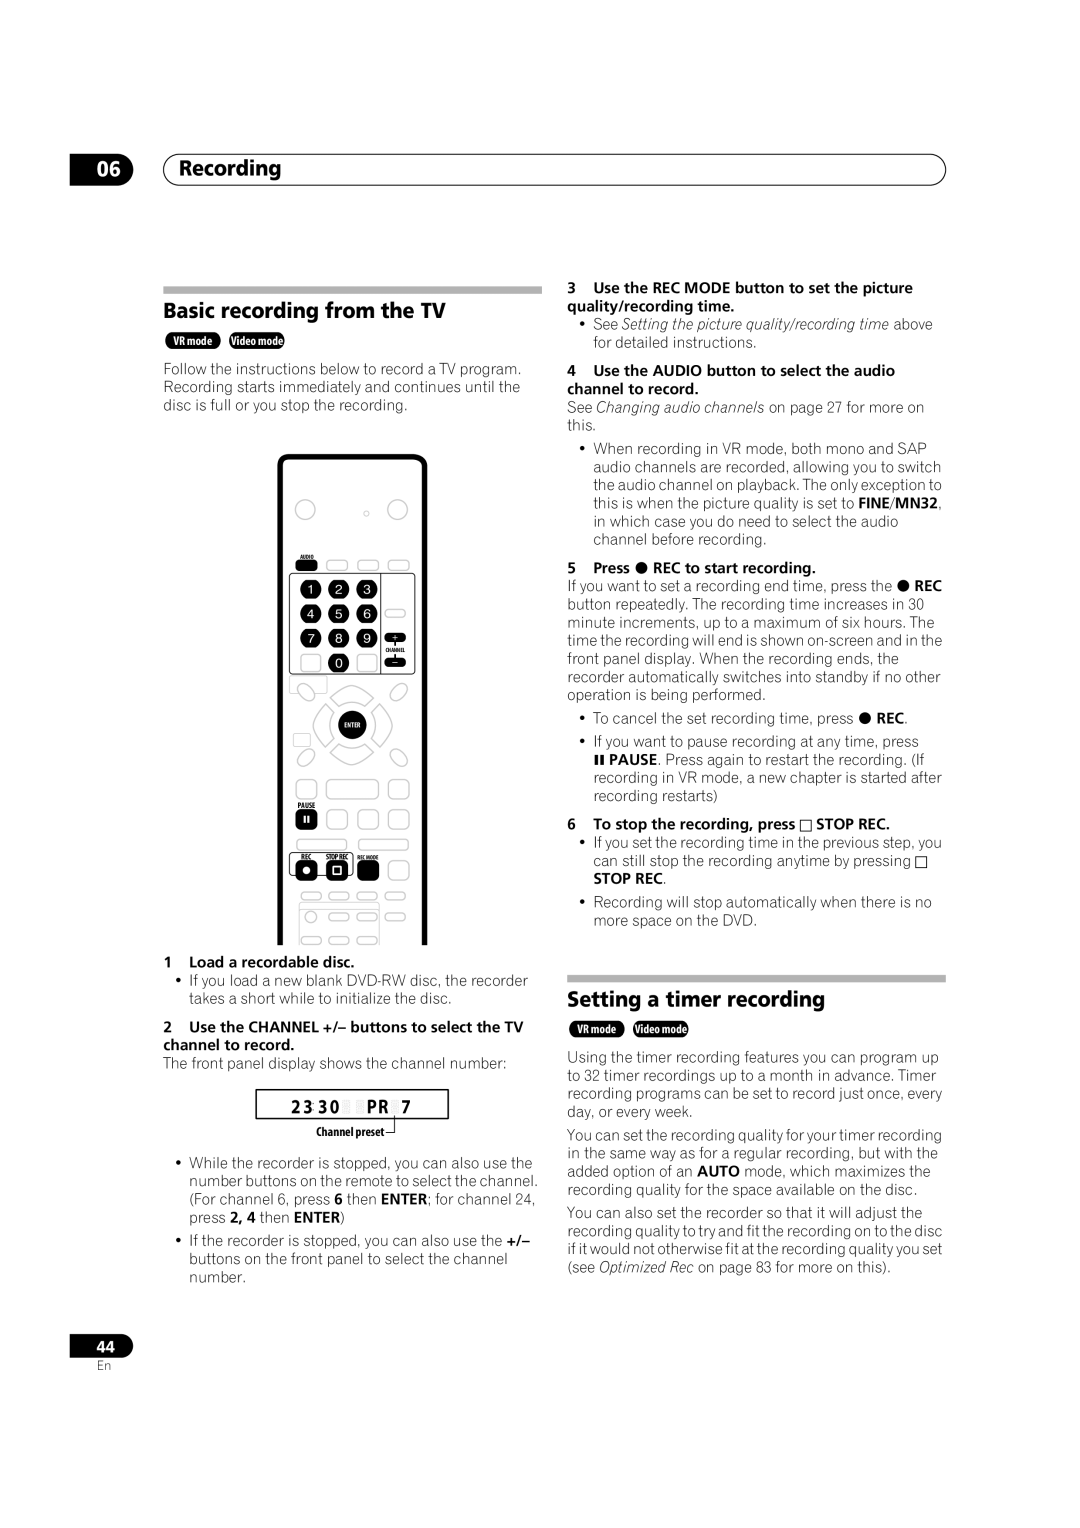
AUDIO
CHANNEL
ENTER
PAUSE
REC | STOPREC REC MODE |
1Load a recordable disc.
•If you load a new blank
2Use the CHANNEL +/– buttons to select the TV channel to record.
The front panel display shows the channel number:
2 3 3 0


 PR
PR
 7
7
Channel preset ![]()
•While the recorder is stopped, you can also use the number buttons on the remote to select the channel. (For channel 6, press 6 then ENTER; for channel 24, press 2, 4 then ENTER)
•If the recorder is stopped, you can also use the +/– buttons on the front panel to select the channel number.
44
3Use the REC MODE button to set the picture quality/recording time.
•See Setting the picture quality/recording time above for detailed instructions.
4Use the AUDIO button to select the audio channel to record.
See Changing audio channels on page 27 for more on this.
•When recording in VR mode, both mono and SAP audio channels are recorded, allowing you to switch the audio channel on playback. The only exception to this is when the picture quality is set to FINE/MN32, in which case you do need to select the audio channel before recording.
5 Press REC to start recording.
If you want to set a recording end time, press the REC button repeatedly. The recording time increases in 30 minute increments, up to a maximum of six hours. The time the recording will end is shown
• To cancel the set recording time, press REC.
• If you want to pause recording at any time, press PAUSE. Press again to restart the recording. (If
recording in VR mode, a new chapter is started after recording restarts)
6 To stop the recording, press STOP REC.
•If you set the recording time in the previous step, you can still stop the recording anytime by pressing
STOP REC.
•Recording will stop automatically when there is no more space on the DVD.
Setting a timer recording
VR mode Video mode
Using the timer recording features you can program up to 32 timer recordings up to a month in advance. Timer recording programs can be set to record just once, every day, or every week.
You can set the recording quality for your timer recording in the same way as for a regular recording, but with the added option of an AUTO mode, which maximizes the recording quality for the space available on the disc.
You can also set the recorder so that it will adjust the recording quality to try and fit the recording on to the disc if it would not otherwise fit at the recording quality you set (see Optimized Rec on page 83 for more on this).
En