Recording | 06 |
•You can also clear a timer program before it’s started (before the recorder enters timer recording standby) by highlighting it and pressing CLEAR.
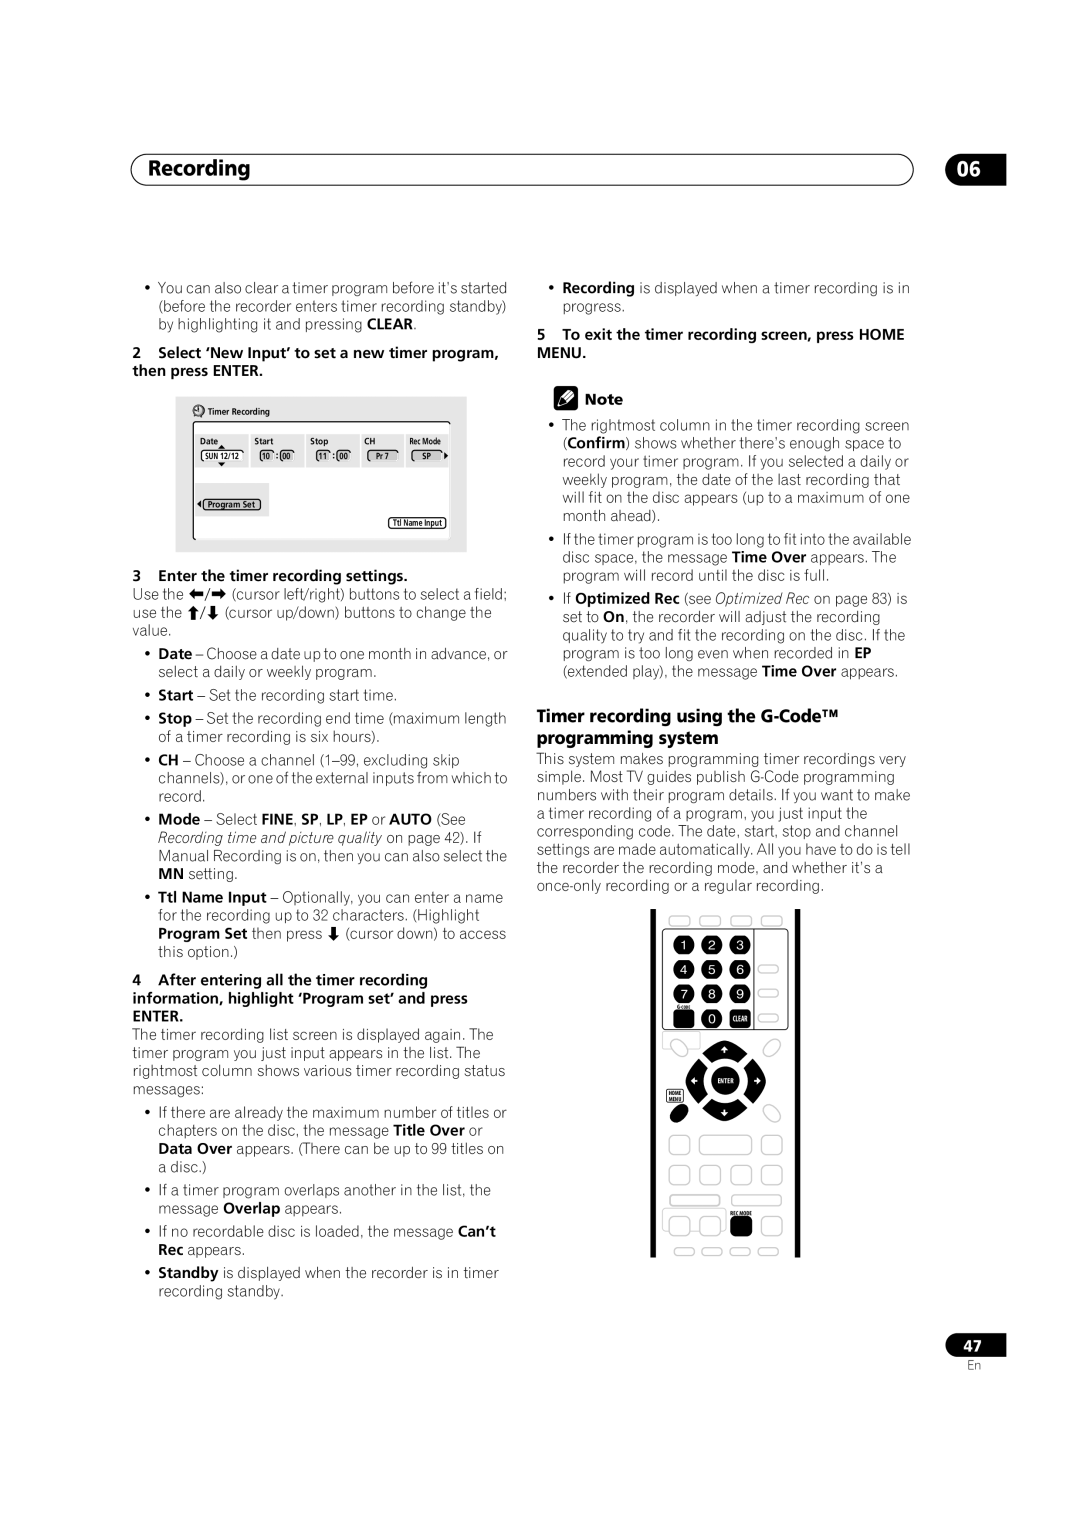
2Select ‘New Input’ to set a new timer program, then press ENTER.
Timer Recording |
|
|
| |
Date | Start | Stop | CH | Rec Mode |
SUN 12/12 | 10 00 | 11 00 | Pr 7 | SP |
Program Set
Ttl Name Input
3 Enter the timer recording settings.
Use the | (cursor left/right) buttons to select a field; |
use the | (cursor up/down) buttons to change the |
value. |
|
•Date – Choose a date up to one month in advance, or select a daily or weekly program.
•Start – Set the recording start time.
•Stop – Set the recording end time (maximum length of a timer recording is six hours).
•CH – Choose a channel
•Mode – Select FINE, SP, LP, EP or AUTO (See Recording time and picture quality on page 42). If Manual Recording is on, then you can also select the MN setting.
•Ttl Name Input – Optionally, you can enter a name for the recording up to 32 characters. (Highlight
Program Set then press (cursor down) to access this option.)
4After entering all the timer recording information, highlight ‘Program set’ and press
ENTER.
The timer recording list screen is displayed again. The timer program you just input appears in the list. The rightmost column shows various timer recording status messages:
•If there are already the maximum number of titles or chapters on the disc, the message Title Over or Data Over appears. (There can be up to 99 titles on a disc.)
•If a timer program overlaps another in the list, the message Overlap appears.
•If no recordable disc is loaded, the message Can’t Rec appears.
•Standby is displayed when the recorder is in timer recording standby.
•Recording is displayed when a timer recording is in progress.
5To exit the timer recording screen, press HOME MENU.
![]() Note
Note
•The rightmost column in the timer recording screen (Confirm) shows whether there’s enough space to record your timer program. If you selected a daily or weekly program, the date of the last recording that will fit on the disc appears (up to a maximum of one month ahead).
•If the timer program is too long to fit into the available disc space, the message Time Over appears. The program will record until the disc is full.
•If Optimized Rec (see Optimized Rec on page 83) is set to On, the recorder will adjust the recording quality to try and fit the recording on the disc. If the program is too long even when recorded in EP (extended play), the message Time Over appears.
Timer recording using the G-Code™ programming system
This system makes programming timer recordings very simple. Most TV guides publish
CLEAR
ENTER
HOME
MENU
REC MODE
47
En