12The Initial Setup menu
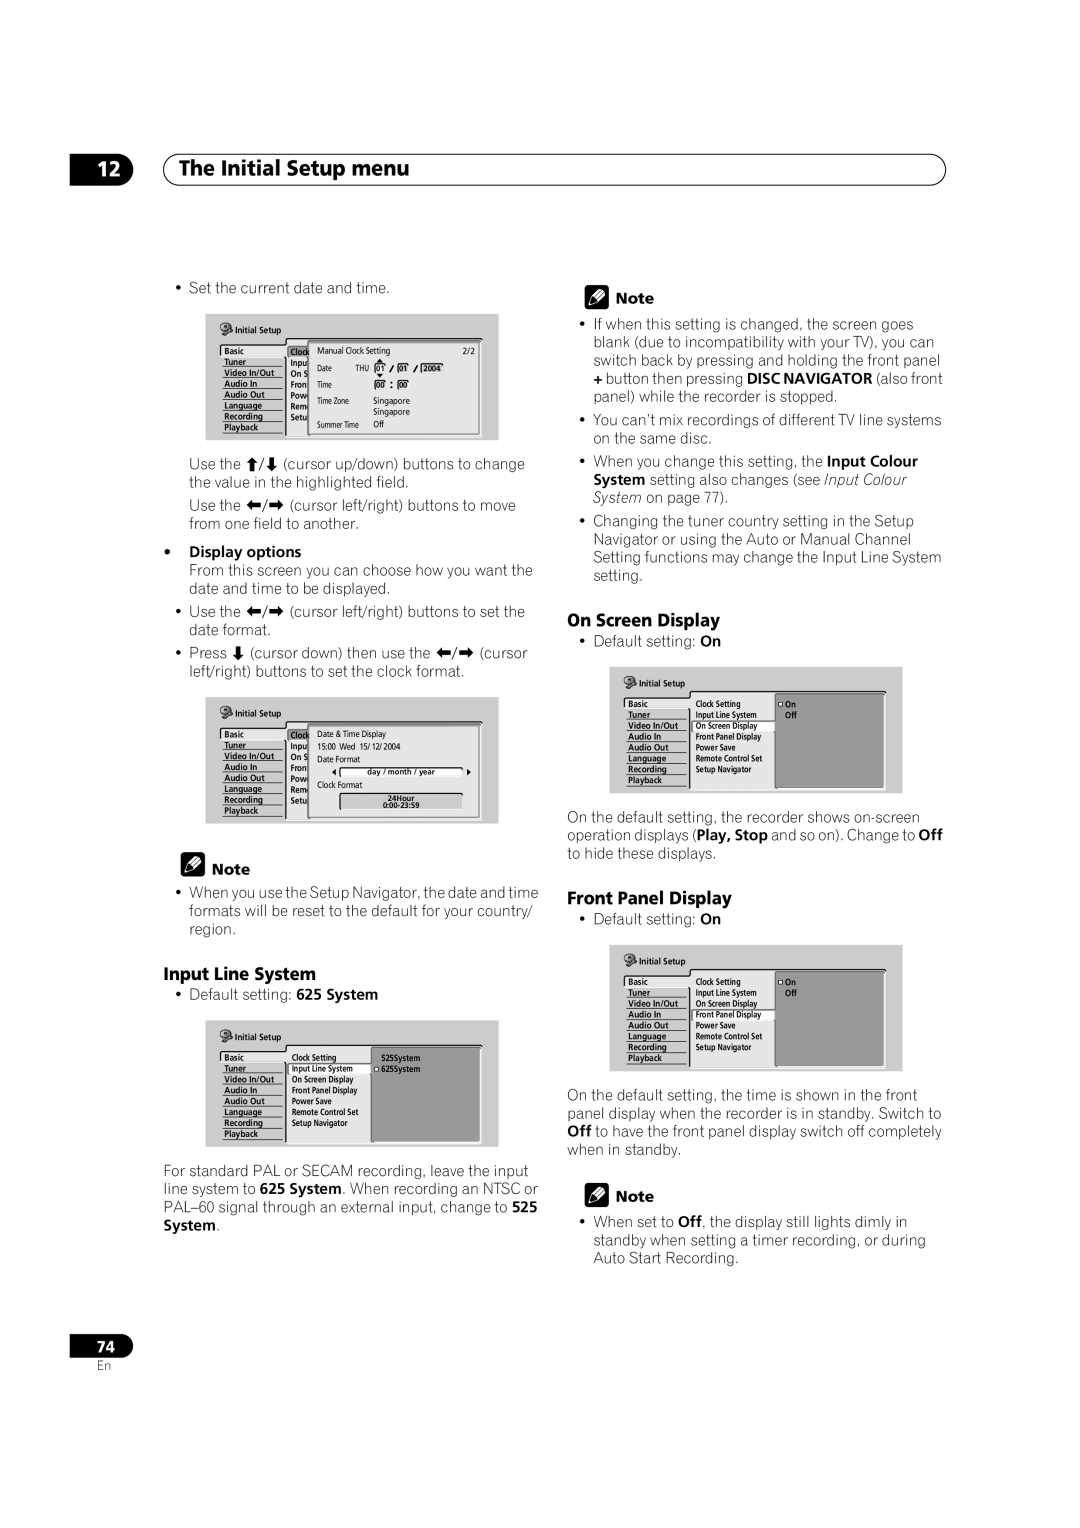
• Set the current date and time.
Initial Setup |
|
|
|
|
|
|
Basic | Clock | Manual Clock Setting |
| 2/2 | ||
Tuner | Input | Date | THU | 01 | 01 | 2004 |
Video In/Out | On |
|
|
|
|
|
Audio In | Front | Time |
| 00 | 00 |
|
Audio Out | Power | Time Zone |
| Singapore |
| |
Language | Remote |
| Singapore |
| ||
Recording | Setup |
|
|
| ||
Summer Time | Off |
|
| |||
Playback |
|
|
| |||
|
|
|
|
|
| |
Use the | (cursor up/down) buttons to change |
the value in the highlighted field. | |
Use the | (cursor left/right) buttons to move |
from one field to another.
•Display options
From this screen you can choose how you want the date and time to be displayed.
• Use the |
| (cursor left/right) buttons to set the | ||
date format. |
|
|
| |
• Press | (cursor down) then use the | (cursor | ||
left/right) buttons to set the clock format. |
| |||
Initial Setup |
|
|
| |
Basic |
| Clock Date & Time Display |
| |
Tuner |
| Input | 15:00 Wed 15/ 12/ 2004 |
|
Video In/Out | On | Date Format |
| |
Audio In | Front | day / month / year |
| |
Audio Out | Power |
| ||
Clock Format |
| |||
Language | Remote |
| ||
Recording | Setup | 24Hour |
| |
Playback |
|
| ||
|
|
| ||
![]() Note
Note
•When you use the Setup Navigator, the date and time formats will be reset to the default for your country/ region.
Input Line System
• Default setting: 625 System
Initial Setup |
|
|
Basic | Clock Setting | 525System |
Tuner | Input Line System | 625System |
Video In/Out | On Screen Display |
|
Audio In | Front Panel Display |
|
Audio Out | Power Save |
|
Language | Remote Control Set |
|
Recording | Setup Navigator |
|
Playback |
|
|
For standard PAL or SECAM recording, leave the input line system to 625 System. When recording an NTSC or
![]() Note
Note
•If when this setting is changed, the screen goes blank (due to incompatibility with your TV), you can switch back by pressing and holding the front panel + button then pressing DISC NAVIGATOR (also front panel) while the recorder is stopped.
•You can’t mix recordings of different TV line systems on the same disc.
•When you change this setting, the Input Colour System setting also changes (see Input Colour System on page 77).
•Changing the tuner country setting in the Setup Navigator or using the Auto or Manual Channel Setting functions may change the Input Line System setting.
On Screen Display
• Default setting: On
Initial Setup |
|
|
Basic | Clock Setting | On |
Tuner | Input Line System | Off |
Video In/Out | On Screen Display |
|
Audio In | Front Panel Display |
|
Audio Out | Power Save |
|
Language | Remote Control Set |
|
Recording | Setup Navigator |
|
Playback |
|
|
On the default setting, the recorder shows
Front Panel Display
• Default setting: On
Initial Setup |
|
|
Basic | Clock Setting | On |
Tuner | Input Line System | Off |
Video In/Out | On Screen Display |
|
Audio In | Front Panel Display |
|
Audio Out | Power Save |
|
Language | Remote Control Set |
|
Recording | Setup Navigator |
|
Playback |
|
|
On the default setting, the time is shown in the front panel display when the recorder is in standby. Switch to Off to have the front panel display switch off completely when in standby.
![]() Note
Note
•When set to Off, the display still lights dimly in standby when setting a timer recording, or during Auto Start Recording.
74
En