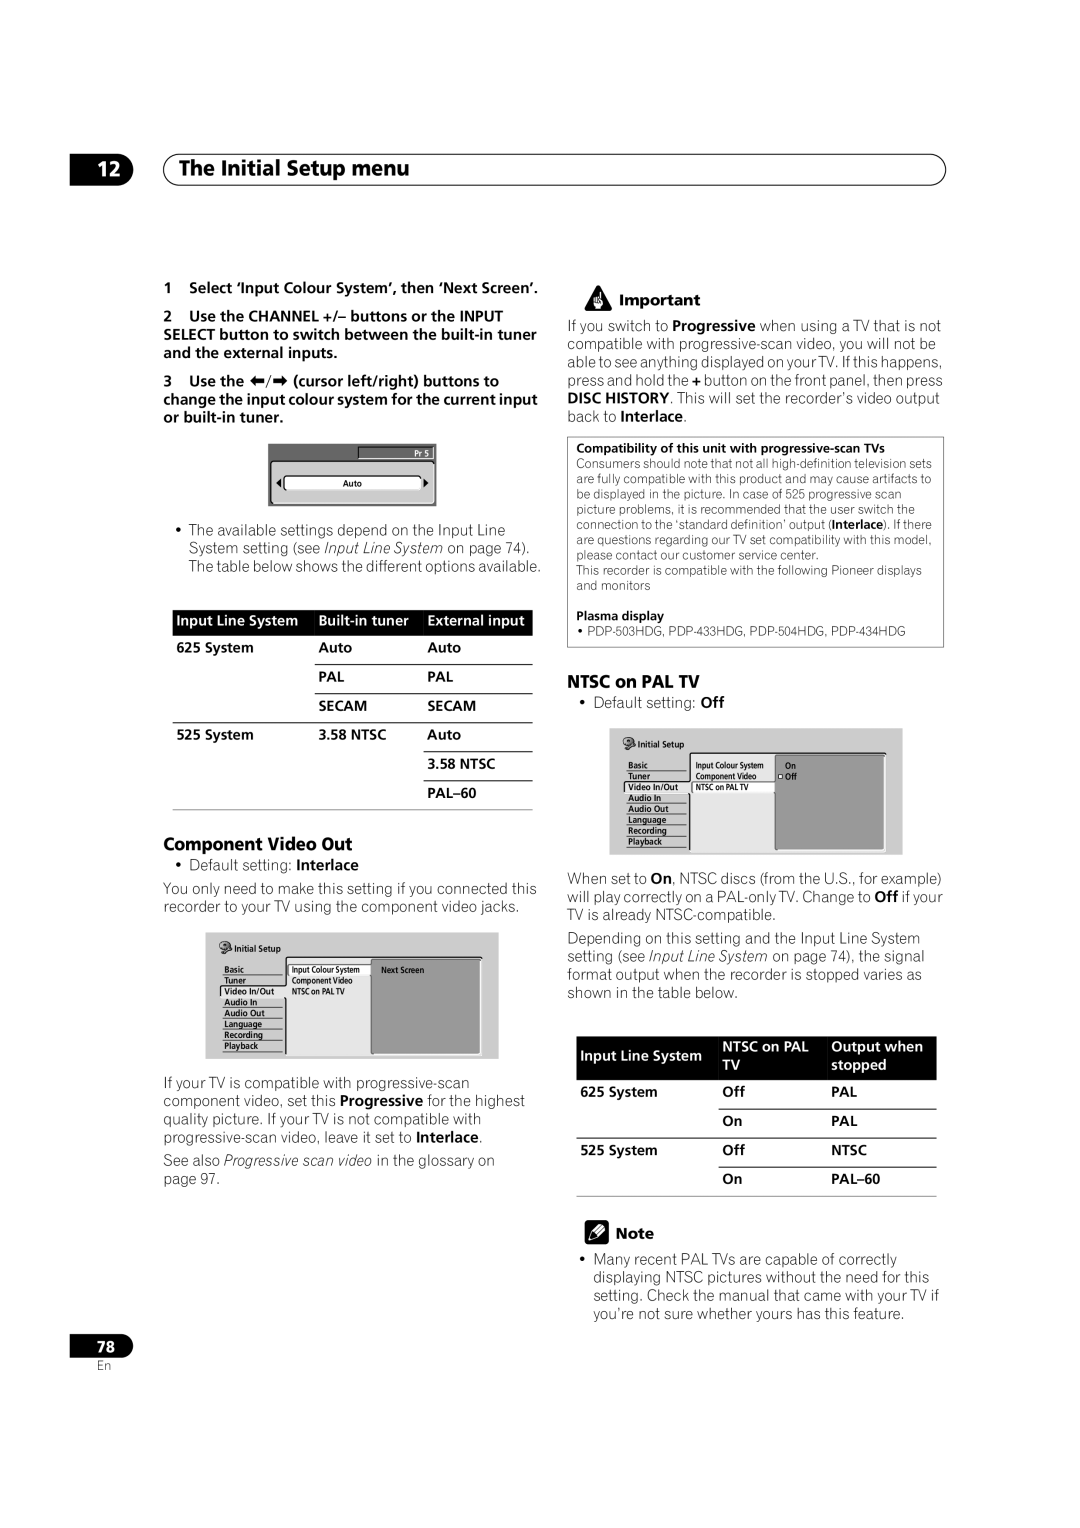
12The Initial Setup menu
1Select ‘Input Colour System’, then ‘Next Screen’.
2Use the CHANNEL +/– buttons or the INPUT SELECT button to switch between the
3 Use the (cursor left/right) buttons to change the input colour system for the current input or
Pr 5 ![]()
Auto
•The available settings depend on the Input Line System setting (see Input Line System on page 74). The table below shows the different options available.
Input Line System | External input | |
625 System | Auto | Auto |
|
|
|
| PAL | PAL |
|
|
|
| SECAM | SECAM |
|
|
|
525 System | 3.58 NTSC | Auto |
|
|
|
|
| 3.58 NTSC |
|
|
|
|
| |
|
|
|
Component Video Out
• Default setting: Interlace
You only need to make this setting if you connected this recorder to your TV using the component video jacks.
Initial Setup |
|
|
Basic | Input Colour System | Next Screen |
Tuner | Component Video |
|
Video In/Out | NTSC on PAL TV |
|
Audio In |
|
|
Audio Out |
|
|
Language |
|
|
Recording |
|
|
Playback |
|
|
If your TV is compatible with
See also Progressive scan video in the glossary on page 97.
78
![]() Important
Important
If you switch to Progressive when using a TV that is not compatible with
Compatibility of this unit with progressive-scan TVs
Consumers should note that not all
This recorder is compatible with the following Pioneer displays and monitors
Plasma display
•
NTSC on PAL TV
• Default setting: Off
Initial Setup |
|
|
Basic | Input Colour System | On |
Tuner | Component Video | Off |
Video In/Out | NTSC on PAL TV |
|
Audio In |
|
|
Audio Out |
|
|
Language |
|
|
Recording |
|
|
Playback |
|
|
When set to On, NTSC discs (from the U.S., for example) will play correctly on a
Depending on this setting and the Input Line System setting (see Input Line System on page 74), the signal format output when the recorder is stopped varies as shown in the table below.
Input Line System | NTSC on PAL | Output when | |
TV | stopped | ||
| |||
|
|
| |
625 System | Off | PAL | |
|
|
| |
| On | PAL | |
|
|
| |
525 System | Off | NTSC | |
|
|
| |
| On | ||
|
|
|
![]() Note
Note
•Many recent PAL TVs are capable of correctly displaying NTSC pictures without the need for this setting. Check the manual that came with your TV if you’re not sure whether yours has this feature.
En
