Basic Operation
Selecting the Input Signal
This button selects the type of input signal, AUTO, ANALOG or DIGITAL, sent to the receiver. You need to take special care to switch to the appropriate input when necessary. For example, the switch would have to be on DIGITAL to hear digital sources like Dolby Digital or DTS but it would have to be on analog to record from the ANALOG out jacks on the receiver. The default setting is AUTO which will select from either DIGITAL or ANALOG depending on what inputs are available.
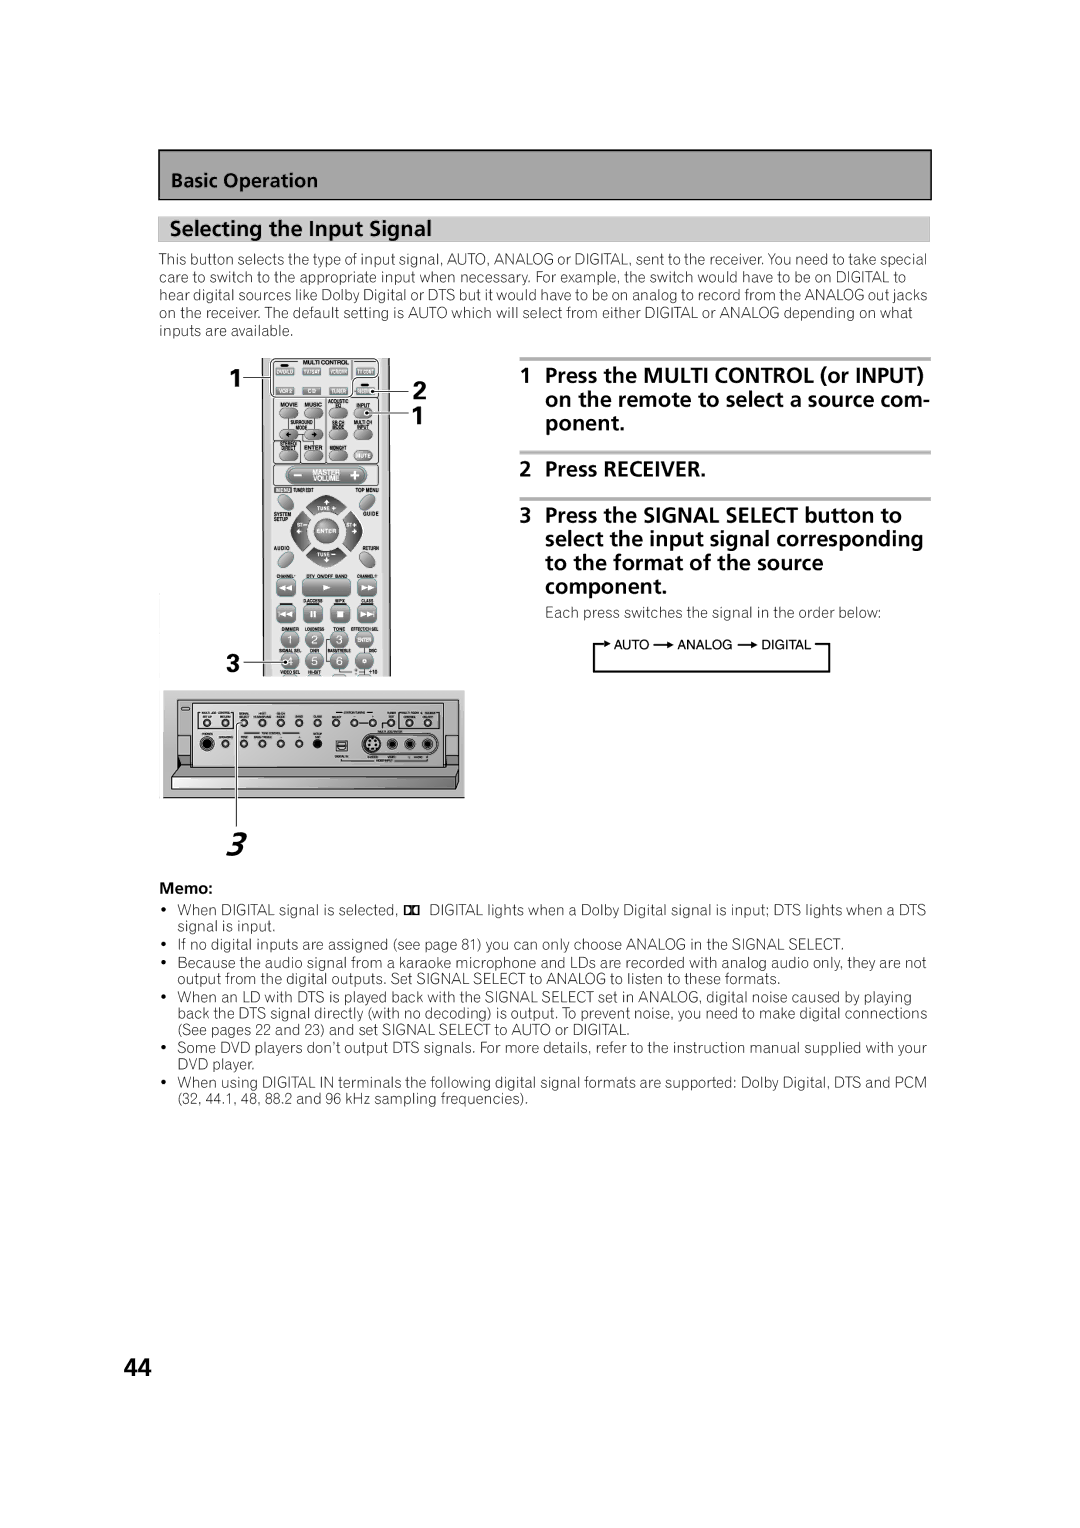
1 Press the MULTI CONTROL (or INPUT) on the remote to select a source com- ponent.
2 Press RECEIVER.
3 Press the SIGNAL SELECT button to select the input signal corresponding to the format of the source component.
Each press switches the signal in the order below:
3
Memo:
•When DIGITAL signal is selected, 2 DIGITAL lights when a Dolby Digital signal is input; DTS lights when a DTS signal is input.
•If no digital inputs are assigned (see page 81) you can only choose ANALOG in the SIGNAL SELECT.
•Because the audio signal from a karaoke microphone and LDs are recorded with analog audio only, they are not output from the digital outputs. Set SIGNAL SELECT to ANALOG to listen to these formats.
•When an LD with DTS is played back with the SIGNAL SELECT set in ANALOG, digital noise caused by playing back the DTS signal directly (with no decoding) is output. To prevent noise, you need to make digital connections (See pages 22 and 23) and set SIGNAL SELECT to AUTO or DIGITAL.
•Some DVD players don’t output DTS signals. For more details, refer to the instruction manual supplied with your DVD player.
•When using DIGITAL IN terminals the following digital signal formats are supported: Dolby Digital, DTS and PCM (32, 44.1, 48, 88.2 and 96 kHz sampling frequencies).
44
