G E T T I N G S T A R T E D
Note: Placing the printer on the print stand is best accomplished with two people. Proper lifting technique should be observed.
Caution: Before connecting or turning on power, make sure that all shipping materials have been removed. These materials include a cardboard brace with a foam insert that secures the print head (open the ribbon lid to access), a cardboard brace placed at the rear of the printer and a cardboard brace placed over the tractor shuttle in the 8003se (open the paper door on the front
of the unit to access). Refer to UNPACKING INSTRUCTION in the box for more details.
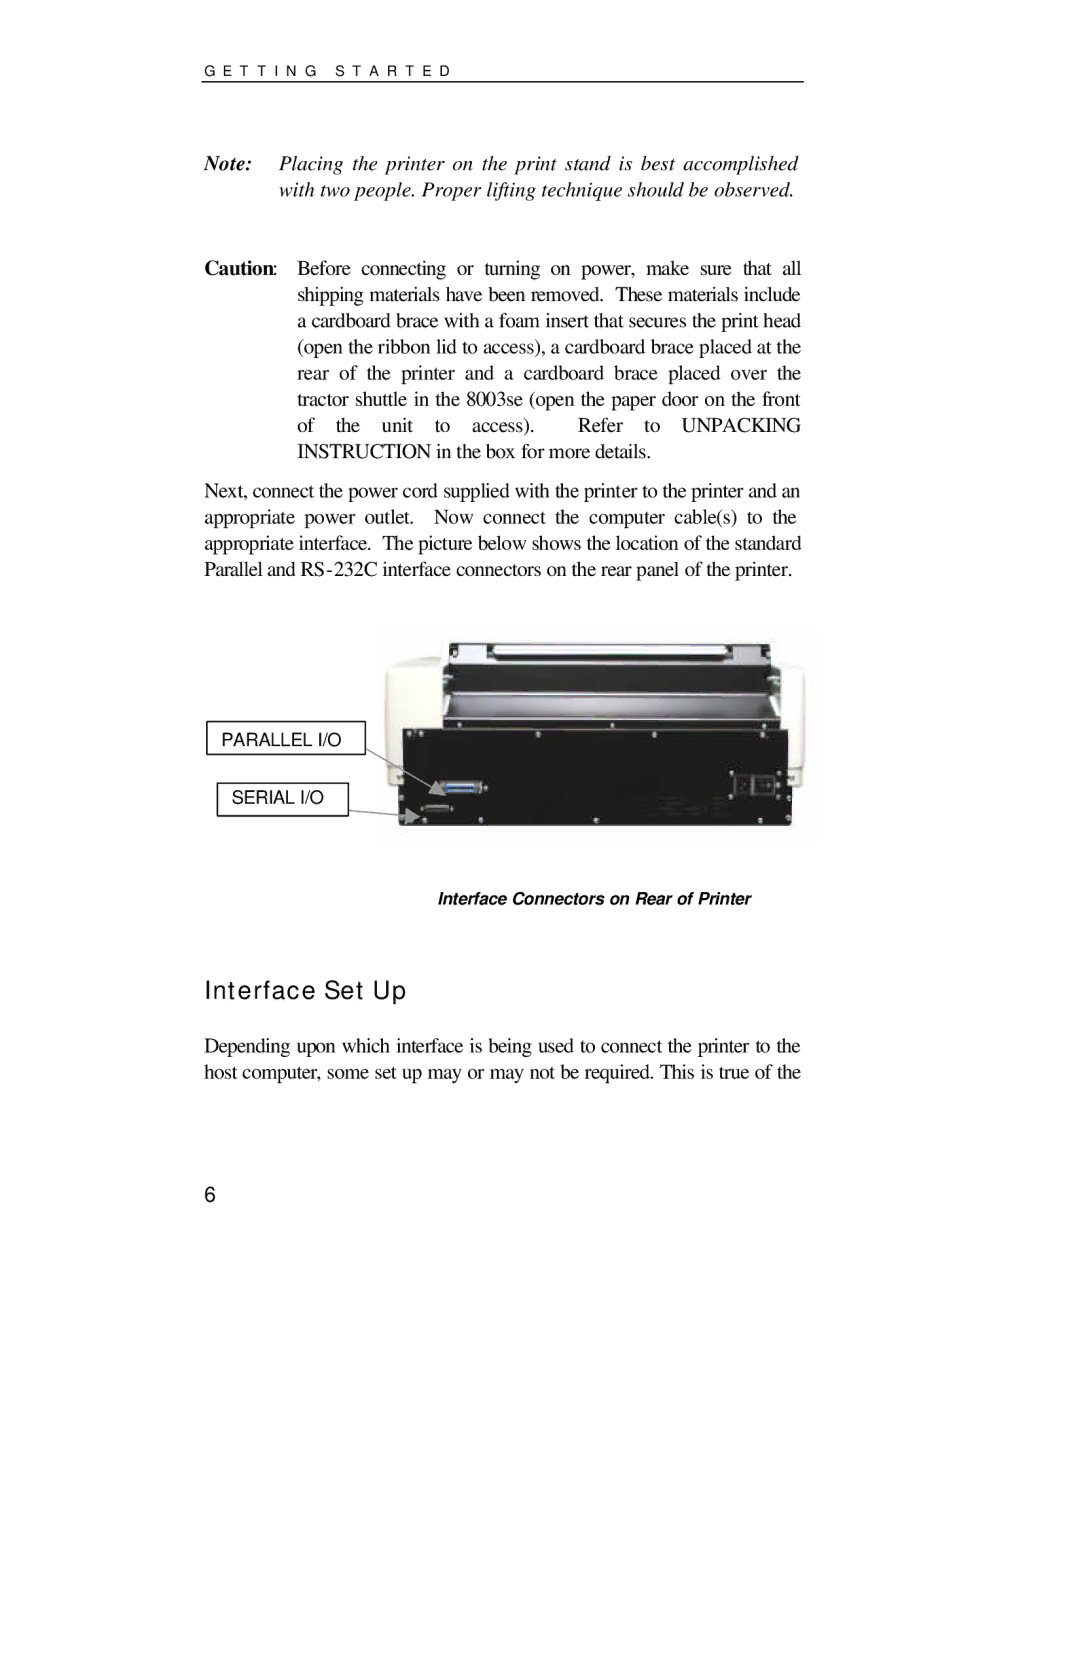
Next, connect the power cord supplied with the printer to the printer and an appropriate power outlet. Now connect the computer cable(s) to the appropriate interface. The picture below shows the location of the standard Parallel and
PARALLEL I/O
SERIAL I/O
Interface Connectors on Rear of Printer
Interface Set Up
Depending upon which interface is being used to connect the printer to the host computer, some set up may or may not be required. This is true of the
6