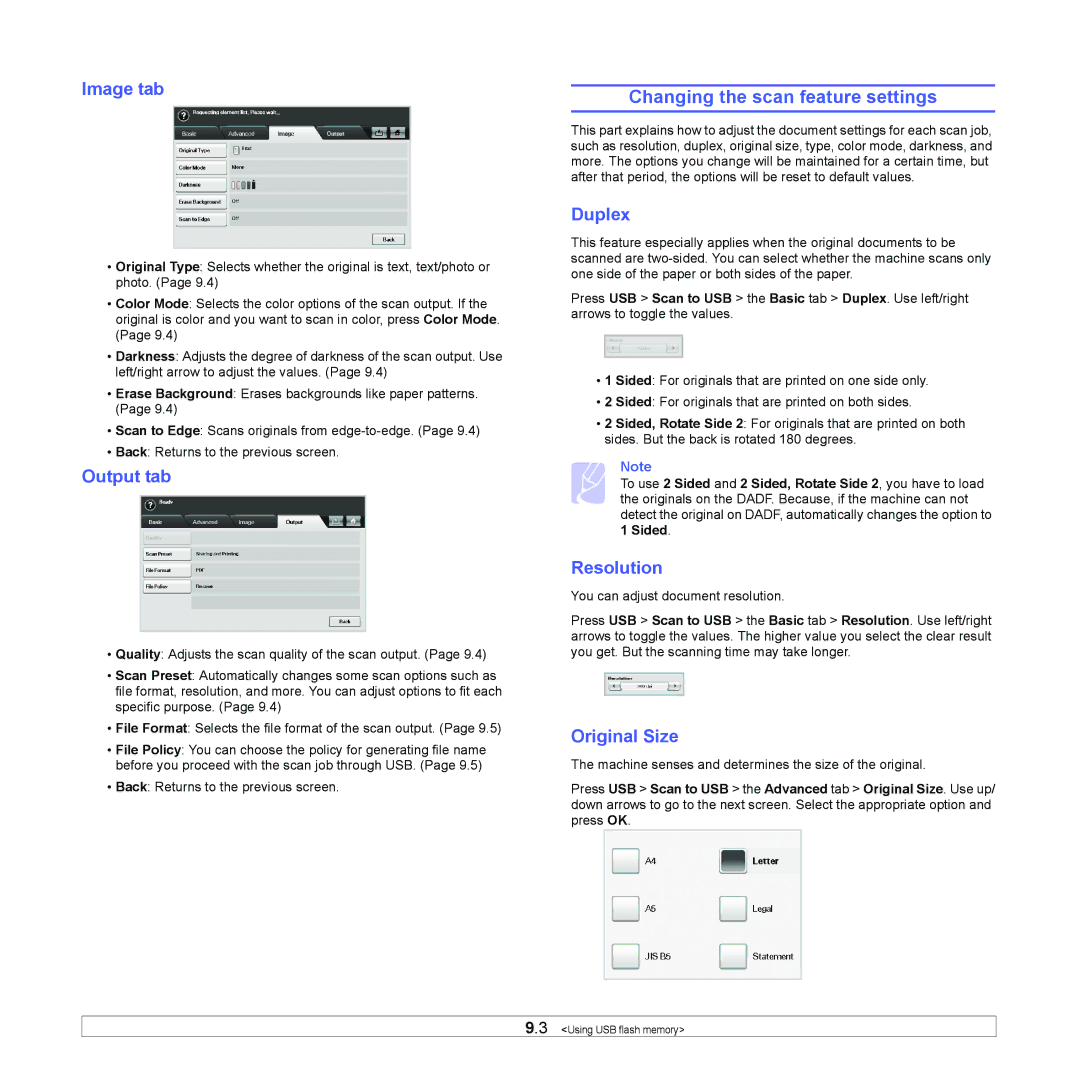
Image tab
•Original Type: Selects whether the original is text, text/photo or photo. (Page 9.4)
•Color Mode: Selects the color options of the scan output. If the original is color and you want to scan in color, press Color Mode. (Page 9.4)
•Darkness: Adjusts the degree of darkness of the scan output. Use left/right arrow to adjust the values. (Page 9.4)
•Erase Background: Erases backgrounds like paper patterns. (Page 9.4)
•Scan to Edge: Scans originals from
•Back: Returns to the previous screen.
Output tab
•Quality: Adjusts the scan quality of the scan output. (Page 9.4)
•Scan Preset: Automatically changes some scan options such as file format, resolution, and more. You can adjust options to fit each specific purpose. (Page 9.4)
•File Format: Selects the file format of the scan output. (Page 9.5)
•File Policy: You can choose the policy for generating file name before you proceed with the scan job through USB. (Page 9.5)
•Back: Returns to the previous screen.
Changing the scan feature settings
This part explains how to adjust the document settings for each scan job, such as resolution, duplex, original size, type, color mode, darkness, and more. The options you change will be maintained for a certain time, but after that period, the options will be reset to default values.
Duplex
This feature especially applies when the original documents to be scanned are
Press USB > Scan to USB > the Basic tab > Duplex. Use left/right arrows to toggle the values.
•1 Sided: For originals that are printed on one side only.
•2 Sided: For originals that are printed on both sides.
•2 Sided, Rotate Side 2: For originals that are printed on both sides. But the back is rotated 180 degrees.
Note
To use 2 Sided and 2 Sided, Rotate Side 2, you have to load the originals on the DADF. Because, if the machine can not detect the original on DADF, automatically changes the option to 1 Sided.
Resolution
You can adjust document resolution.
Press USB > Scan to USB > the Basic tab > Resolution. Use left/right arrows to toggle the values. The higher value you select the clear result you get. But the scanning time may take longer.
Original Size
The machine senses and determines the size of the original.
Press USB > Scan to USB > the Advanced tab > Original Size. Use up/ down arrows to go to the next screen. Select the appropriate option and press OK.
9.3 <Using USB flash memory>