•Subject/Message: Subject and message of the email.
•Remove All: Erases everything in the input area.
•Address: Inputs the recipient's address just by pressing stored addresses. You can store frequently used email addresses from your computer using the SyncThru Web Service. (Page 7.5)
•Duplex: Selects whether the machine scans on one side of the paper (1 Sided), both sides of the paper (2 Sided), or both sides of paper but back is rotated 180 degrees (2 Sided, Rotate Side 2).
•Resolution: Selects the scanning resolution value.
•Back: Returns to the previous screen. If the network authentication is enabled, the log off confirmation message popes up and closes Scan to Email.
NetScan
If the authentication for network appears, you have to enter user name and password to enter the NetScan screen.
•No.: Lists the number in order for application programs.
•Application: Shows the available application programs from your computer.
•Select: Moves to the application program you have selected.
Scan to Server
•SMB: Sends the scanned file to SMB. Press SMB for that option.
•FTP: Sends the scanned file to FTP. Press FTP for that option.
•No.: Index number which you entered in SyncThru Web Service. (Page 7.7)
•Server: Alias name which you entered in SyncThru Web Service. (Page 7.7)
•Duplex: Selects whether the machine scans on one side of the paper (1 Sided), both sides of the paper (2 Sided), or both sides of paper but back is rotated 180 degrees (2 Sided, Rotate Side 2).
•Resolution: Selects the scanning resolution value.
•Back: Returns to the previous screen.
Advanced tab
•Original Size: Sets the originals to a specific fixed size. (Page 7.8)
•Back: Returns to the previous screen.
Image tab
•Original Type: Selects whether the original is text or photo. (Page 7.8)
•Color Mode: Adjusts the color options of the scan output. If the original is color and you want to scan in color, press Color Mode. (Page 7.8)
•Darkness: Adjusts the degree of darkness of the scan output. Use left/right arrow to adjust the values. (Page 7.9)
•Erase Background: Erases backgrounds like paper patterns. (Page 7.9)
•Scan to Edge: Scans originals from
•Back: Returns to the previous screen.
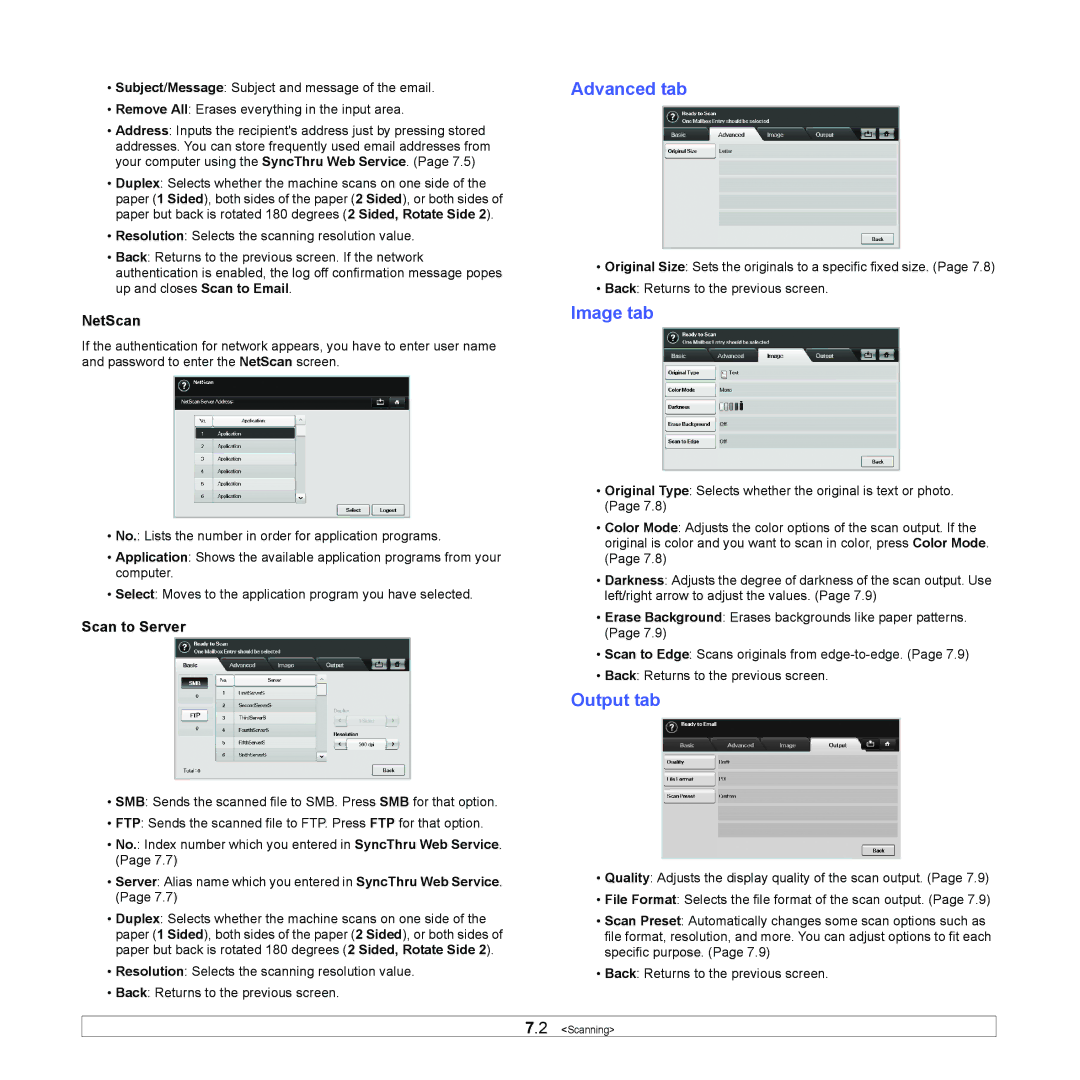
Output tab
•Quality: Adjusts the display quality of the scan output. (Page 7.9)
•File Format: Selects the file format of the scan output. (Page 7.9)
•Scan Preset: Automatically changes some scan options such as file format, resolution, and more. You can adjust options to fit each specific purpose. (Page 7.9)
•Back: Returns to the previous screen.
7.2 <Scanning>