Printing Using PictBridge
Printing Images Using the DPOF Settings
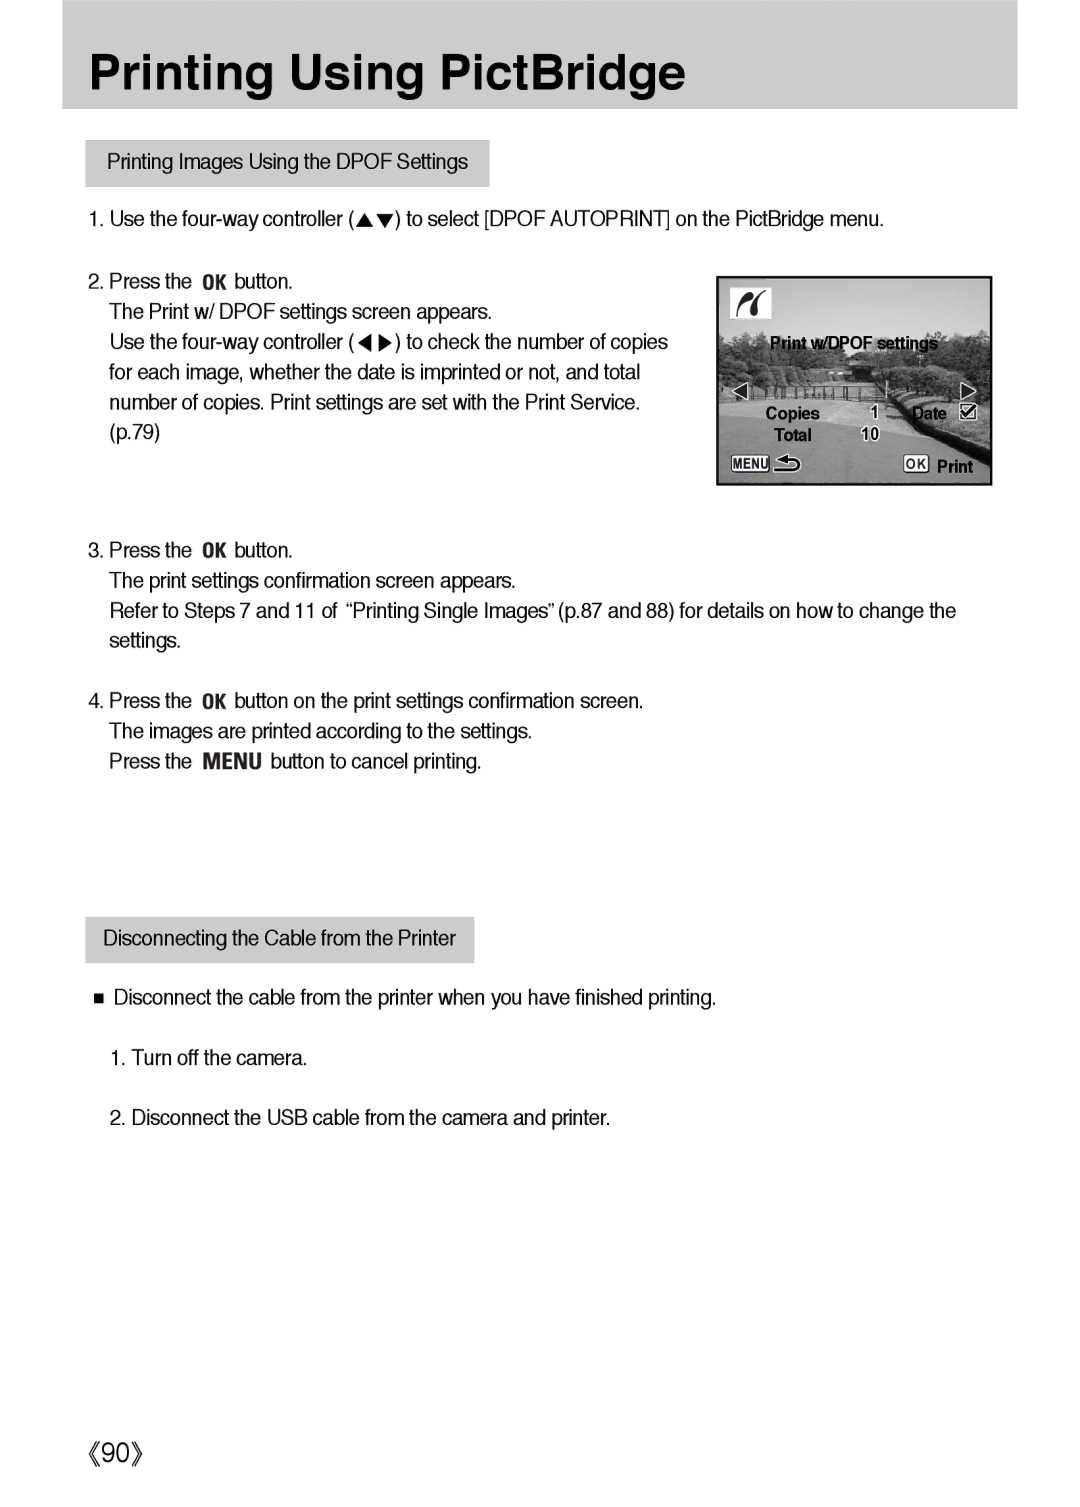
1. Use the | ) to select [DPOF AUTOPRINT] on the PictBridge menu. |
2.Press the ![]()
![]() button.
button.
The Print w/ DPOF settings screen appears.
Use the
Print w/DPOF settings
Copies 1 Date 
Total 10
OK Print
3.Press the ![]()
![]() button.
button.
The print settings confirmation screen appears.
Refer to Steps 7 and 11 of Printing Single Images (p.87 and 88) for details on how to change the settings.
4.Press the ![]()
![]() button on the print settings confirmation screen. The images are printed according to the settings.
button on the print settings confirmation screen. The images are printed according to the settings.
Press the ![]()
![]()
![]()
![]() button to cancel printing.
button to cancel printing.
Disconnecting the Cable from the Printer
Disconnect the cable from the printer when you have finished printing.
1.Turn off the camera.
2.Disconnect the USB cable from the camera and printer.
90