ENGLISH |
|
|
Digital Still Camera mode
DEUTSCH
Marking images for printing
✤This camcorder supports the DPOF (Digital Print Order Format) print format.
✤You can automatically print images recorded on a Memory Card with a printer supporting DPOF.
✤There are 2 ways to make a PRINT MARK.
■THIS FILE : You can set a print mark on the photo image displayed on the LCD.
■ALL FILES : To print 1 copy each of all of the stored images.
Bilder mit einer Druckmarke versehen
✤Dieser Camcorder unterstützt das Druckformat DPOF (Digital Print Order Format).
✤Auf dem Memory Card gespeicherte Bilder können Sie mit einem Drucker, der DPOF unterstützt, automatisch ausdrucken.
✤Es gibt zwei Möglichkeiten, eine
■THIS FILE: Nur das auf dem
■ALL FILES: Zum Drucken je eines Abzugs aller gespeicherten Bilder.
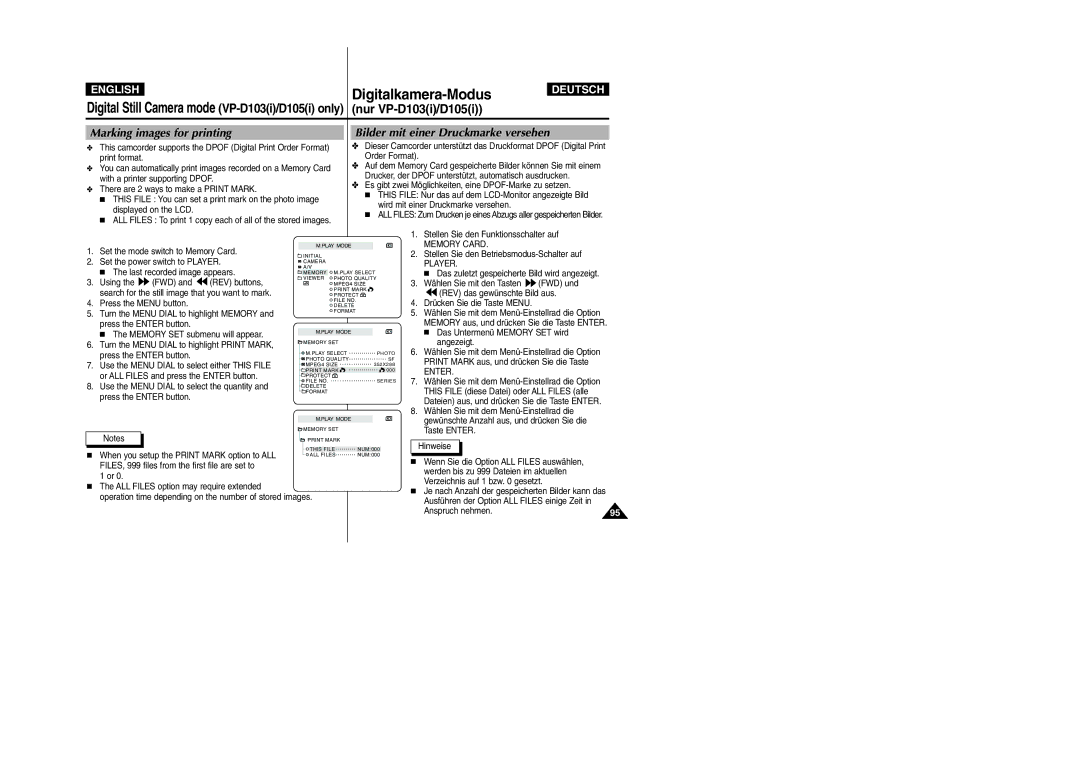
1.Set the mode switch to Memory Card.
2.Set the power switch to PLAYER.
■The last recorded image appears.
3.Using the ![]() (FWD) and
(FWD) and ![]() (REV) buttons, search for the still image that you want to mark.
(REV) buttons, search for the still image that you want to mark.
4.Press the MENU button.
5.Turn the MENU DIAL to highlight MEMORY and press the ENTER button.
■The MEMORY SET submenu will appear.
6.Turn the MENU DIAL to highlight PRINT MARK, press the ENTER button.
7.Use the MENU DIAL to select either THIS FILE or ALL FILES and press the ENTER button.
8.Use the MENU DIAL to select the quantity and press the ENTER button.
M.PLAY MODE
![]() INITIAL
INITIAL
CAMERA
A/V
![]() MEMORY
MEMORY ![]() M.PLAY SELECT
M.PLAY SELECT
![]() VIEWER
VIEWER ![]() PHOTO QUALITY
PHOTO QUALITY
![]() MPEG4 SIZE
MPEG4 SIZE ![]() PRINT MARK
PRINT MARK ![]()
![]()
![]() PROTECT
PROTECT ![]()
![]() FILE NO.
FILE NO.
![]() DELETE
DELETE
![]() FORMAT
FORMAT
M.PLAY MODE
MEMORY SET |
|
M.PLAY SELECT | PHOTO |
PHOTO QUALITY | SF |
MPEG4 SIZE | 352X288 |
PRINT MARK | 000 |
PROTECT |
|
FILE NO. | SERIES |
DELETE |
|
FORMAT |
|
M.PLAY MODE
1.Stellen Sie den Funktionsschalter auf
MEMORY CARD.
2.Stellen Sie den
PLAYER.
■ Das zuletzt gespeicherte Bild wird angezeigt.
3.Wählen Sie mit den Tasten ![]() (FWD) und
(FWD) und
![]() (REV) das gewünschte Bild aus.
(REV) das gewünschte Bild aus.
4. | Drücken Sie die Taste MENU. |
5. | Wählen Sie mit dem |
| MEMORY aus, und drücken Sie die Taste ENTER. |
| ■ Das Untermenü MEMORY SET wird |
| angezeigt. |
6. | Wählen Sie mit dem |
| PRINT MARK aus, und drücken Sie die Taste |
| ENTER. |
7. | Wählen Sie mit dem |
| THIS FILE (diese Datei) oder ALL FILES (alle |
| Dateien) aus, und drücken Sie die Taste ENTER. |
8. | Wählen Sie mit dem |
| gewünschte Anzahl aus, und drücken Sie die |
| Taste ENTER. |
| Notes |
| PRINT MARK |
| ||
|
|
|
| THIS FILE | NUM:000 | |
■ When you setup the PRINT MARK option to ALL | ||||||
| ALL FILES | NUM:000 | ||||
| FILES, 999 files from the first file are set to |
|
|
| ||
| 1 or 0. |
|
|
| ||
■The ALL FILES option may require extended
operation time depending on the number of stored images.
Hinweise
■Wenn Sie die Option ALL FILES auswählen, werden bis zu 999 Dateien im aktuellen Verzeichnis auf 1 bzw. 0 gesetzt.
■Je nach Anzahl der gespeicherten Bilder kann das
Ausführen der Option ALL FILES einige Zeit in |
|
Anspruch nehmen. | 95 |
