2. Setting up
❏Paper alignment
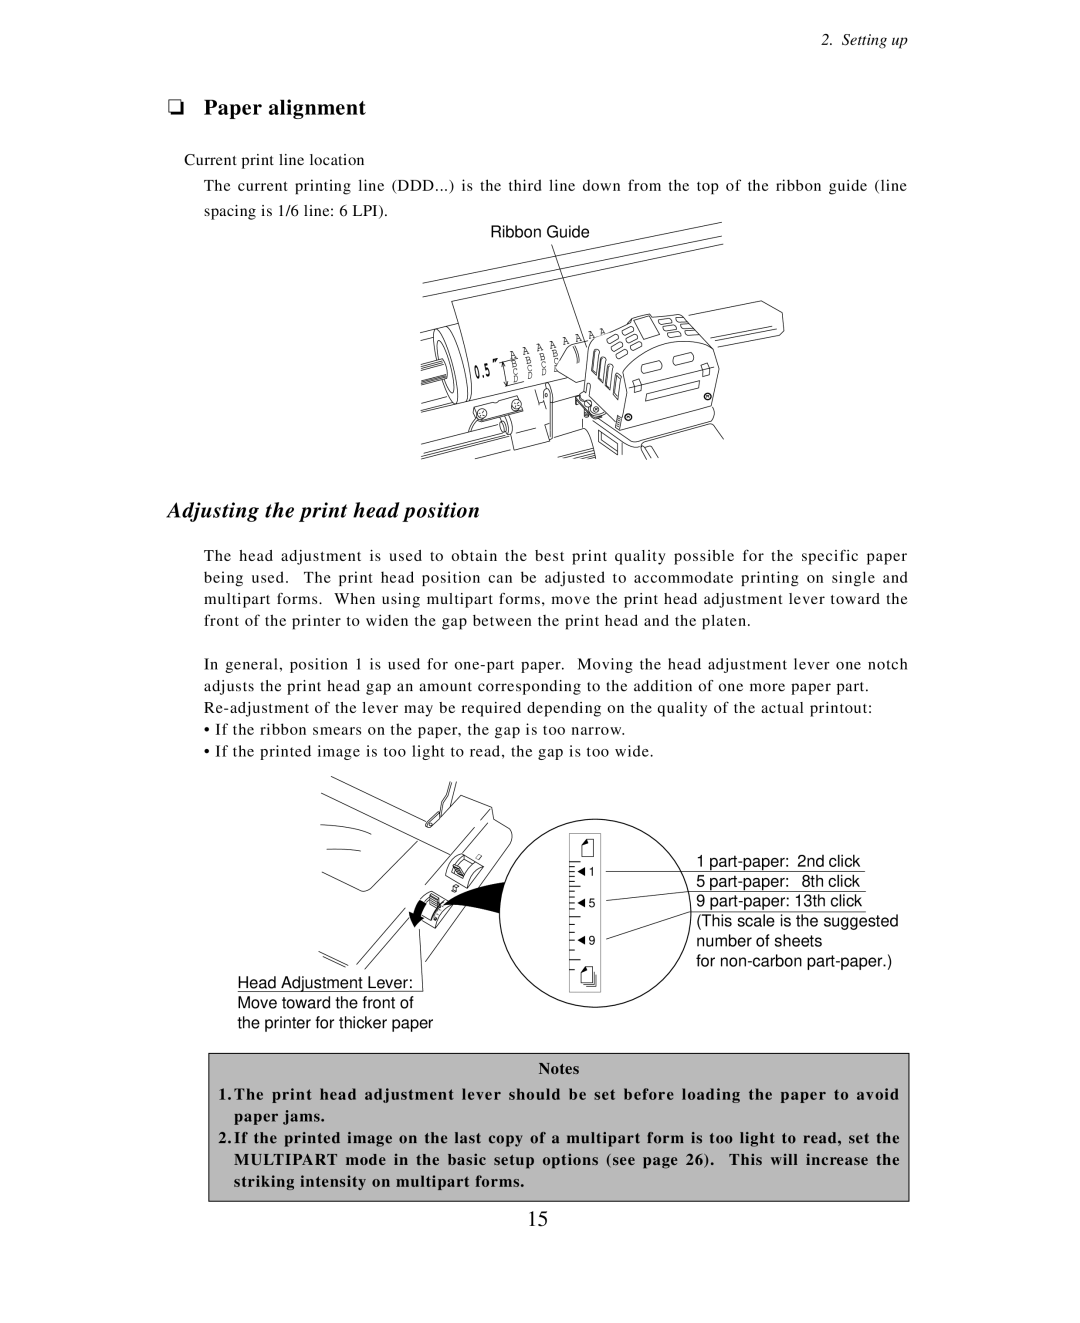
Current print line location
The current printing line (DDD...) is the third line down from the top of the ribbon guide (line
spacing is 1/6 line: 6 LPI).
Ribbon Guide
0.5
A B C D
A B C D
A B C D
A | A | A | A | A |
| ||||
|
| |||
|
|
| ||
B |
|
|
|
|
C |
|
|
|
|
D |
|
|
|
|
Adjusting the print head position
The head adjustment is used to obtain the best print quality possible for the specific paper being used. The print head position can be adjusted to accommodate printing on single and multipart forms. When using multipart forms, move the print head adjustment lever toward the front of the printer to widen the gap between the print head and the platen.
In general, position 1 is used for
•If the ribbon smears on the paper, the gap is too narrow.
•If the printed image is too light to read, the gap is too wide.
1
5
9
Head Adjustment Lever: Move toward the front of the printer for thicker paper
1 |
5 |
9 |
1
5
9
for
Notes
1.The print head adjustment lever should be set before loading the paper to avoid paper jams.
2.If the printed image on the last copy of a multipart form is too light to read, set the MULTIPART mode in the basic setup options (see page 26). This will increase the striking intensity on multipart forms.
15