•If there is data for the stored corrected color, the C.M.S. color adjustment screen is displayed. (Go to step 3.)
C.M.S.1 |
|
|
|
|
Select Color |
|
|
| |
Hue | 0 |
|
| |
Saturation | 0 |
|
| |
Value | 0 |
|
| |
Effect | 0 |
|
| |
C.M.S.1 | On | |||
Reset |
|
|
| |
Return |
|
|
| |
|
|
|
| |
SEL./ADJ. |
| ENTER | ||
RETURN |
| END | ||
|
|
|
|
|
2![]()
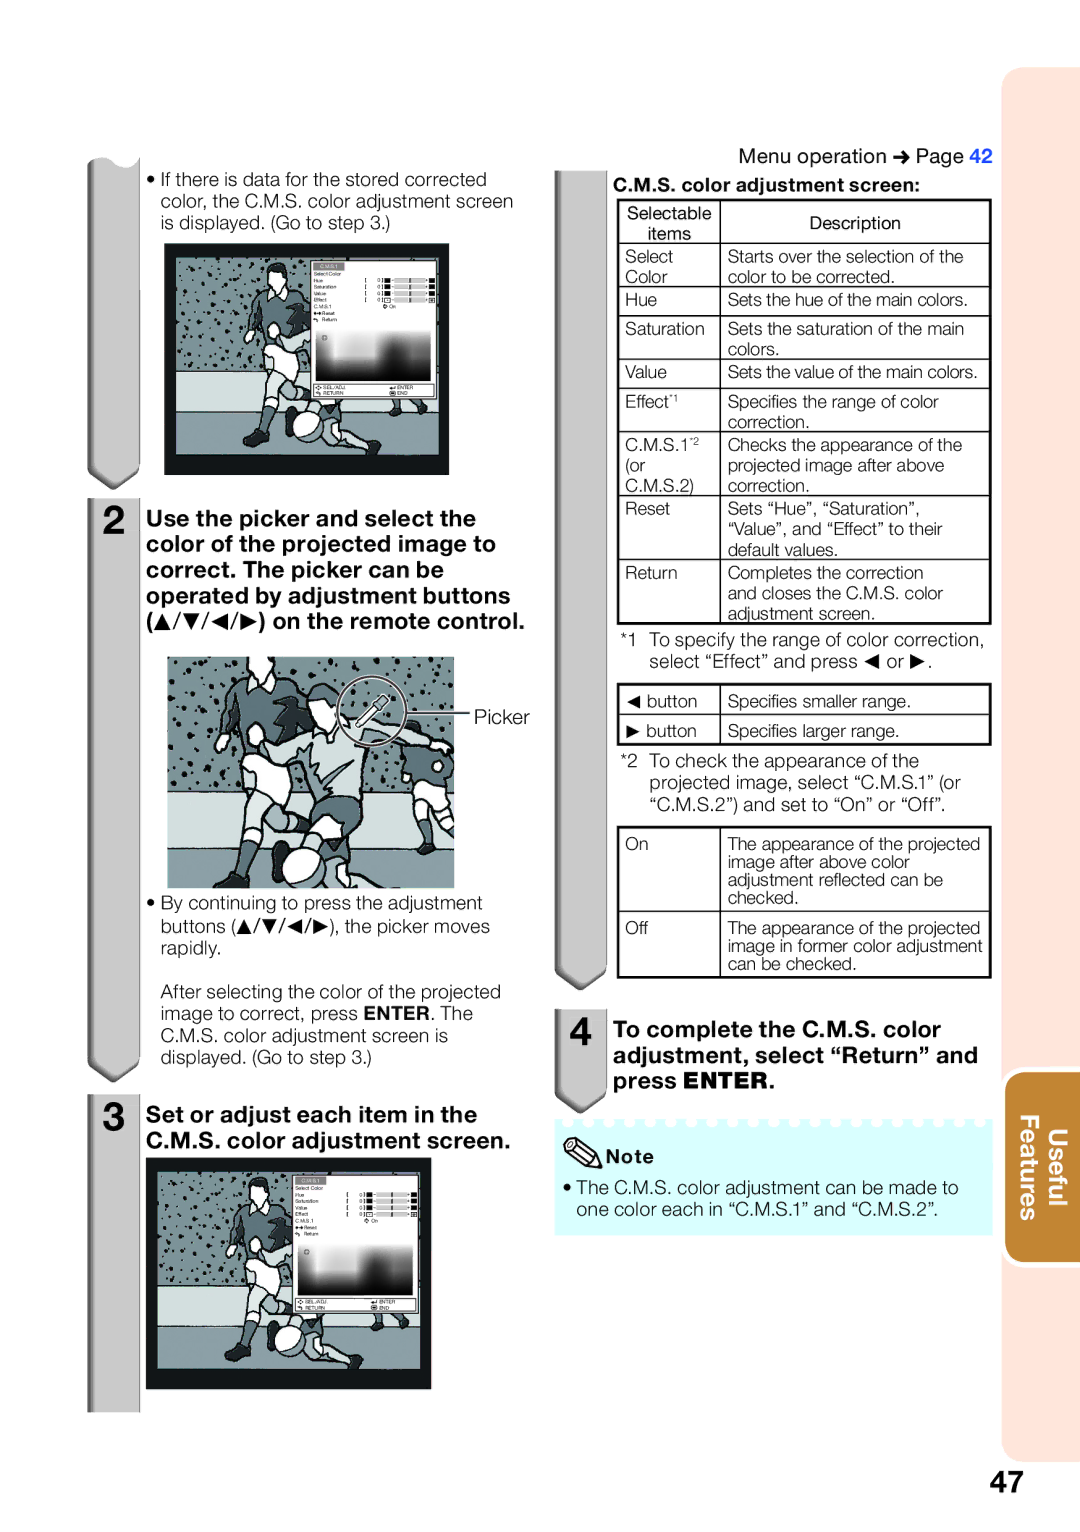
![]() Use the picker and select the color of the projected image to correct. The picker can be operated by adjustment buttons (P/R/O/Q) on the remote control.
Use the picker and select the color of the projected image to correct. The picker can be operated by adjustment buttons (P/R/O/Q) on the remote control.
Picker
•By continuing to press the adjustment buttons (P/R/O/Q), the picker moves rapidly.
After selecting the color of the projected image to correct, press ENTER. The C.M.S. color adjustment screen is displayed. (Go to step 3.)
3![]()
![]() Set or adjust each item in the C.M.S. color adjustment screen.
Set or adjust each item in the C.M.S. color adjustment screen.
C.M.S.1 |
|
|
|
|
Select Color |
|
|
| |
Hue | 0 |
|
| |
Saturation | 0 |
|
| |
Value | 0 |
|
| |
Effect | 0 |
|
| |
C.M.S.1 | On | |||
Reset |
|
|
| |
Return |
|
|
| |
|
|
|
| |
SEL./ADJ. |
| ENTER | ||
RETURN |
| END | ||
|
|
|
|
|
|
| Menu operation n Page 42 |
C.M.S. color adjustment screen: | ||
| Selectable | Description |
| items | |
|
| |
| Select | Starts over the selection of the |
| Color | color to be corrected. |
| Hue | Sets the hue of the main colors. |
|
|
|
| Saturation | Sets the saturation of the main |
|
| colors. |
| Value | Sets the value of the main colors. |
|
|
|
| Effect*1 | Specifi es the range of color |
|
| correction. |
| C.M.S.1*2 | Checks the appearance of the |
| (or | projected image after above |
| C.M.S.2) | correction. |
| Reset | Sets “Hue”, “Saturation”, |
|
| “Value”, and “Effect” to their |
|
| default values. |
| Return | Completes the correction |
|
| and closes the C.M.S. color |
|
| adjustment screen. |
*1 To specify the range of color correction, select “Effect” and press O or Q.
O button | Specifi es smaller range. |
Q button | Specifi es larger range. |
*2 To check the appearance of the projected image, select “C.M.S.1” (or “C.M.S.2”) and set to “On” or “Off”.
On | The appearance of the projected |
| image after above color |
| adjustment refl ected can be |
| checked. |
Off | The appearance of the projected |
| image in former color adjustment |
| can be checked. |
4![]()
![]() To complete the C.M.S. color adjustment, select “Return” and
To complete the C.M.S. color adjustment, select “Return” and ![]() press ENTER.
press ENTER.
![]() Note
Note
•The C.M.S. color adjustment can be made to one color each in “C.M.S.1” and “C.M.S.2”.
Features | Useful |
47
