With the cursor under the “S” in “SUBJECT”, set the print pitch in the ruler line to condensed width pitch. Name the ruler line “condensd” (without the quotes) and change the character pitch to 17 and the line spacing to 6. To make the subject title expanded, use the ALT and = keys (in the .line mode) to highlight the line.
Now, change the pitch setting in the next line to pica by setting a new ruler line: Ruler Name - pica; Character Pitch
-10. Use the print control key S (for italic) to highlight the second sentence in the paragraph. Move the cursor to the “E” in “Enclosed” and (in the sentence mode) use the ALT and S keys to highlight the sentence. (You’ll have to press S twice to get the .67.)
At the end of the document, reinitialize the printer to its default settings with a new ruler line using the Master Reset code. Ruler Name - reset; Character Pitch - 3.
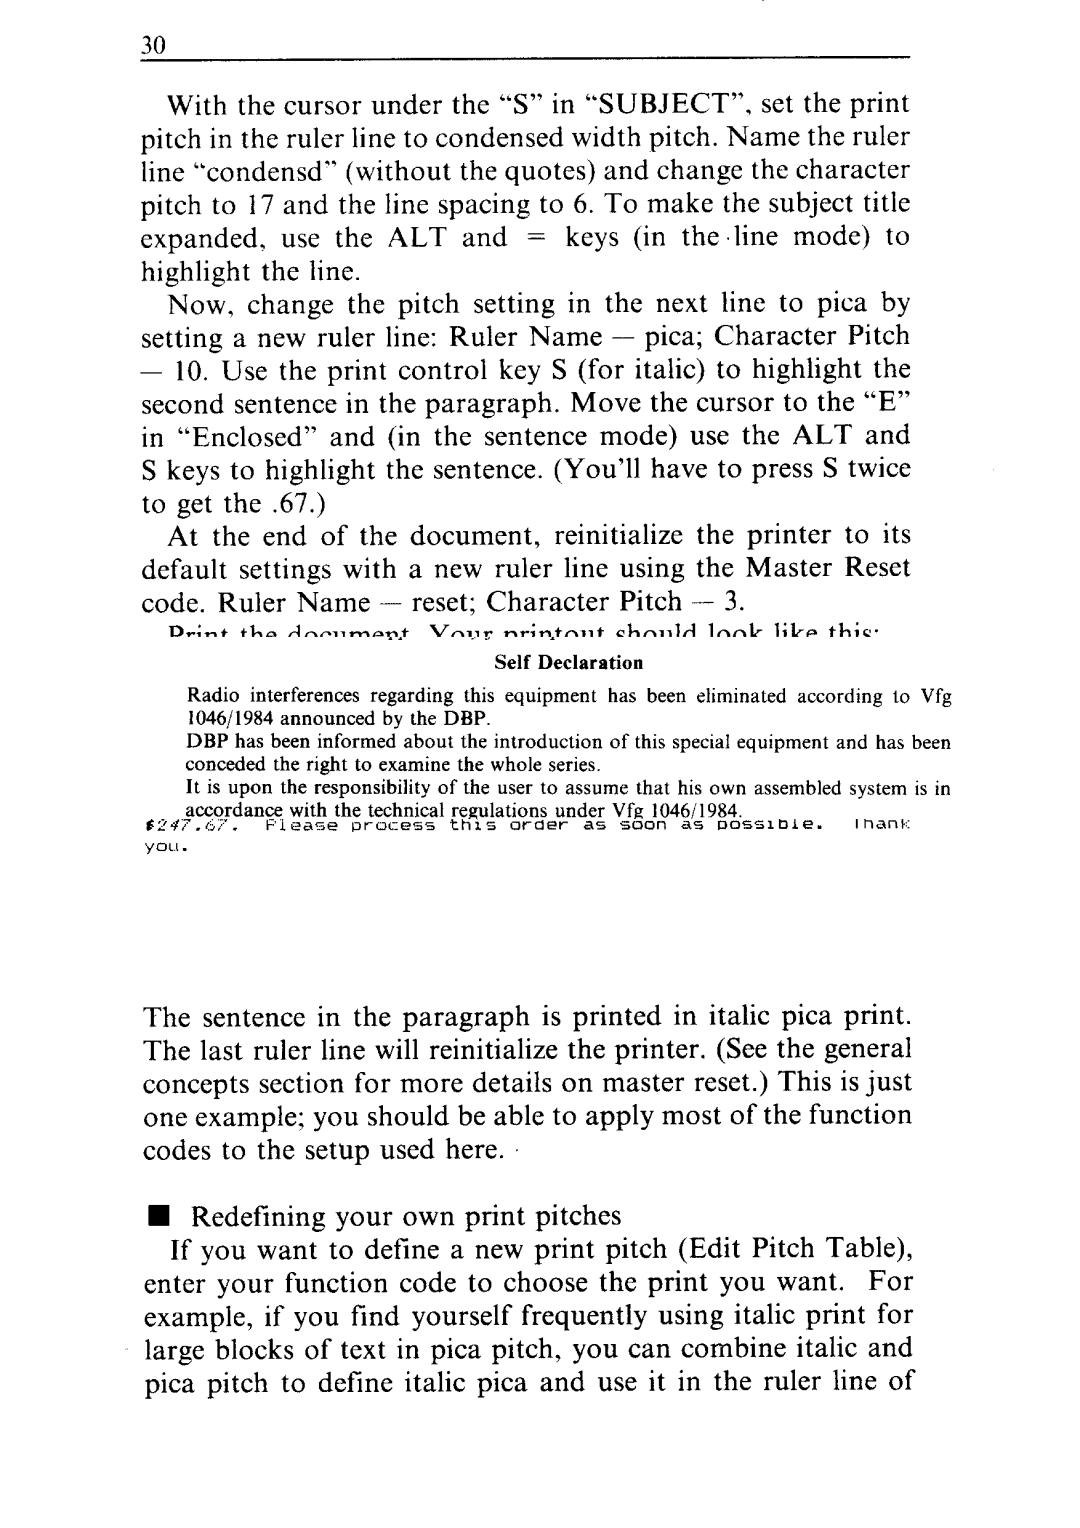
Print the document. Your printout should look like this:
The subject title will print in expanded condensed characters which are twice the width as standard condensed characters. The sentence in the paragraph is printed in italic pica print. The last ruler line will reinitialize the printer. (See the general concepts section for more details on master reset.) This is just one example; you should be able to apply most of the function codes to the setup used here.
nRedefining your own print pitches
If you want to define a new print pitch (Edit Pitch Table), enter your function code to choose the print you want. For example, if you find yourself frequently using italic print for large blocks of text in pica pitch, you can combine italic and pica pitch to define italic pica and use it in the ruler line of