17
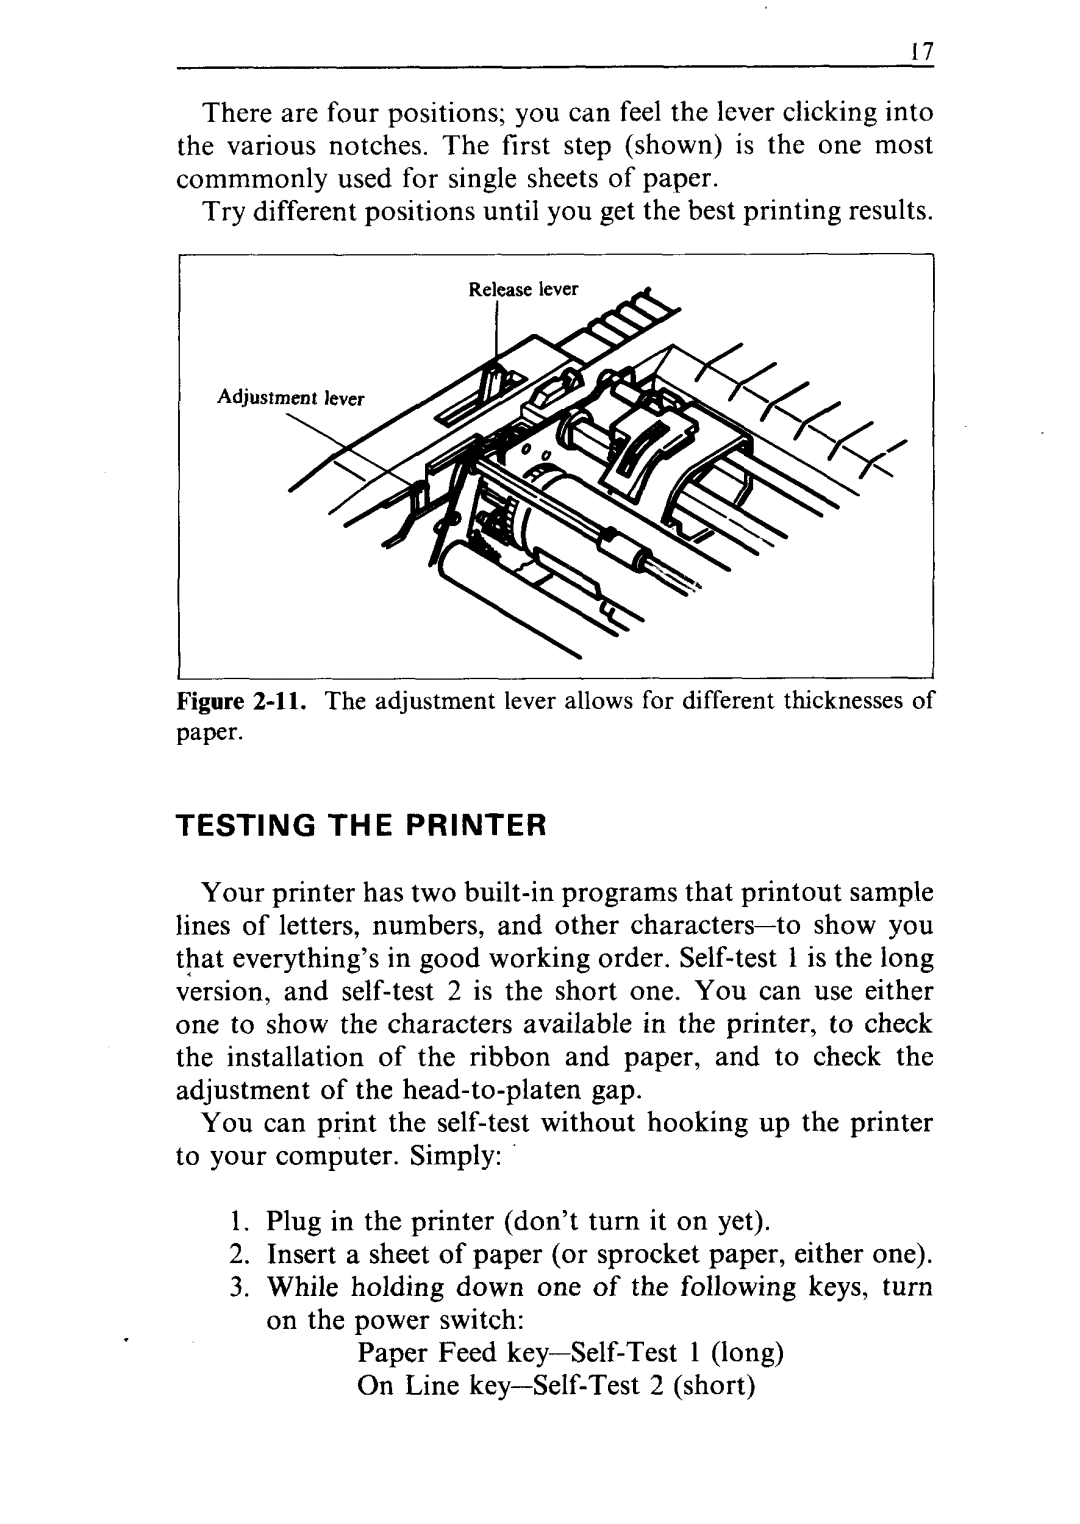
There are four positions; you can feel the lever clicking into the various notches. The first step (shown) is the one most commmonly used for single sheets of paper.
Try different positions until you get the best printing results.
Adjust
Figure 2-11. The adjustment lever allows for different thicknesses of
paper.
TESTING THE PRINTER
Your printer has two
lines of letters, numbers, and other
You can print the
1.Plug in the printer (don’t turn it on yet).
2.Insert a sheet of paper (or sprocket paper, either one).
3.While holding down one of the following keys, turn on the power switch:
Paper Feed