QUICK RESULTS
Lost already?
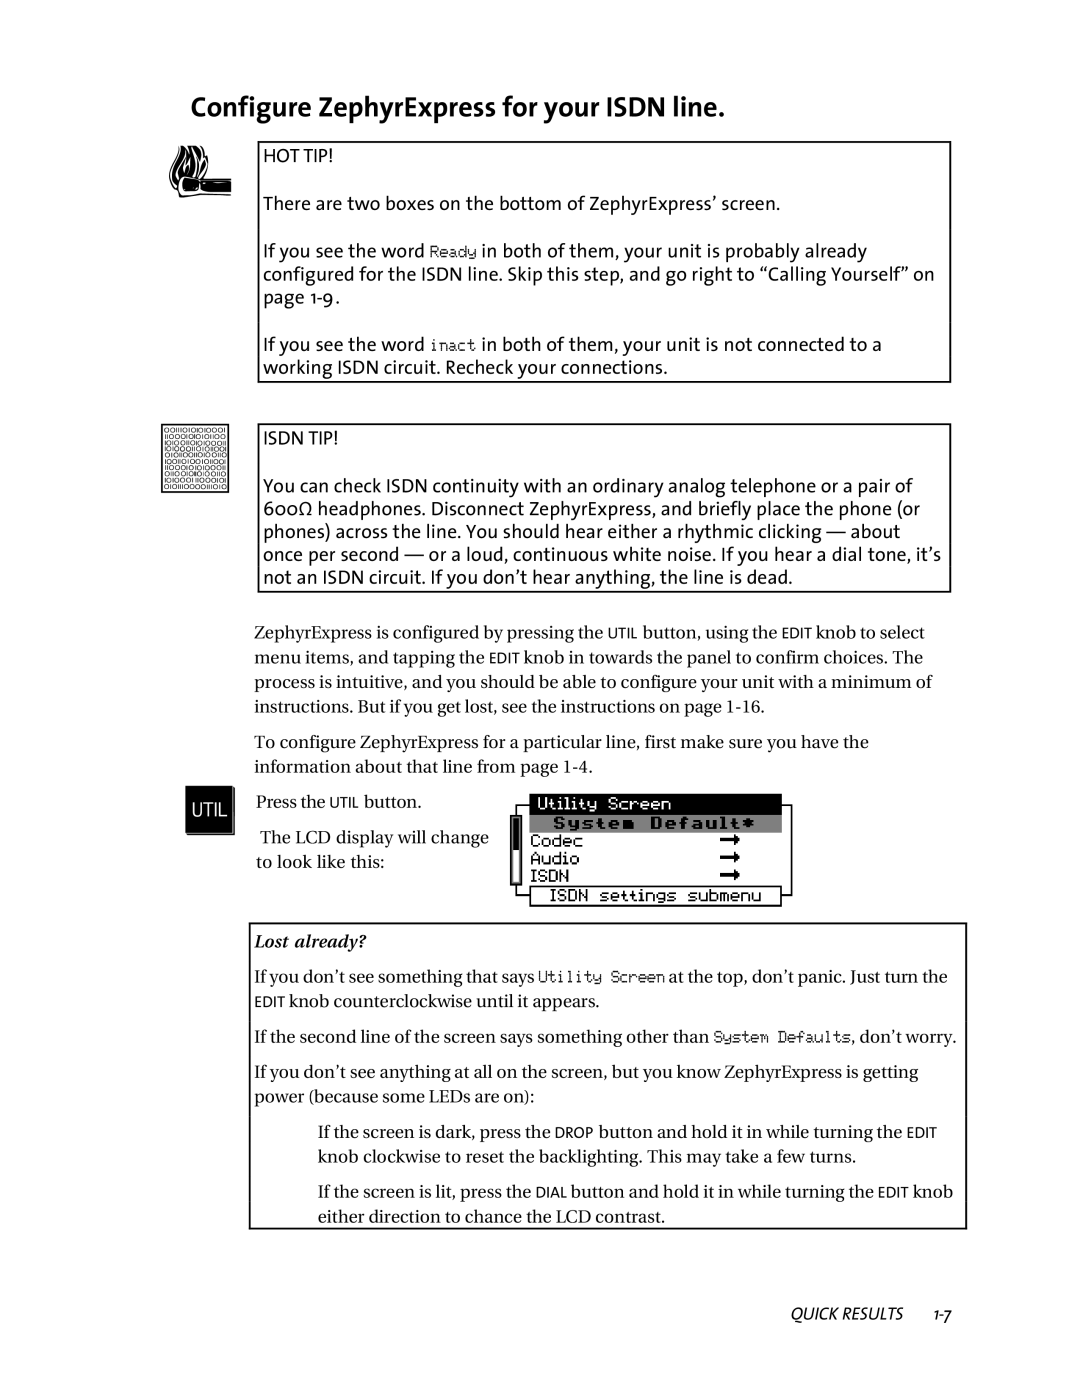
If you don’t see something that says Utility Screen at the top, don’t panic. Just turn the EDIT knob counterclockwise until it appears.
If the second line of the screen says something other than System Defaults, don’t worry.
If you don’t see anything at all on the screen, but you know ZephyrExpress is getting power (because some LEDs are on):
If the screen is dark, press the DROP button and hold it in while turning the EDIT knob clockwise to reset the backlighting. This may take a few turns.
If the screen is lit, press the DIAL button and hold it in while turning the EDIT knob either direction to chance the LCD contrast.
The LCD display will change to look like this:
ZephyrExpress is configured by pressing the UTIL button, using the EDIT knob to select menu items, and tapping the EDIT knob in towards the panel to confirm choices. The process is intuitive, and you should be able to configure your unit with a minimum of instructions. But if you get lost, see the instructions on page 1-16.
To configure ZephyrExpress for a particular line, first make sure you have the information about that line from page 1-4.
If you see the word Ready in both of them, your unit is probably already configured for the ISDN line. Skip this step, and go right to ÒCalling YourselfÓ on page 1-9.
There are two boxes on the bottom of ZephyrExpressÕ screen.
HOT TIP!
hConfigure ZephyrExpress for your ISDN line.
iIf you see the word inact in both of them, your unit is not connected to a working ISDN circuit. Recheck your connections.
ISDN TIP!
You can check ISDN continuity with an ordinary analog telephone or a pair of 600½ headphones. Disconnect ZephyrExpress, and briefly place the phone (or phones) across the line. You should hear either a rhythmic clicking Ñ about once per second Ñ or a loud, continuous white noise. If you hear a dial tone, itÕs not an ISDN circuit. If you donÕt hear anything, the line is dead.
u Press the UTIL button.