2 Troubleshooting Procedures | 2.3 Power Supply Troubleshooting |
Procedure 3 Power supply connection check
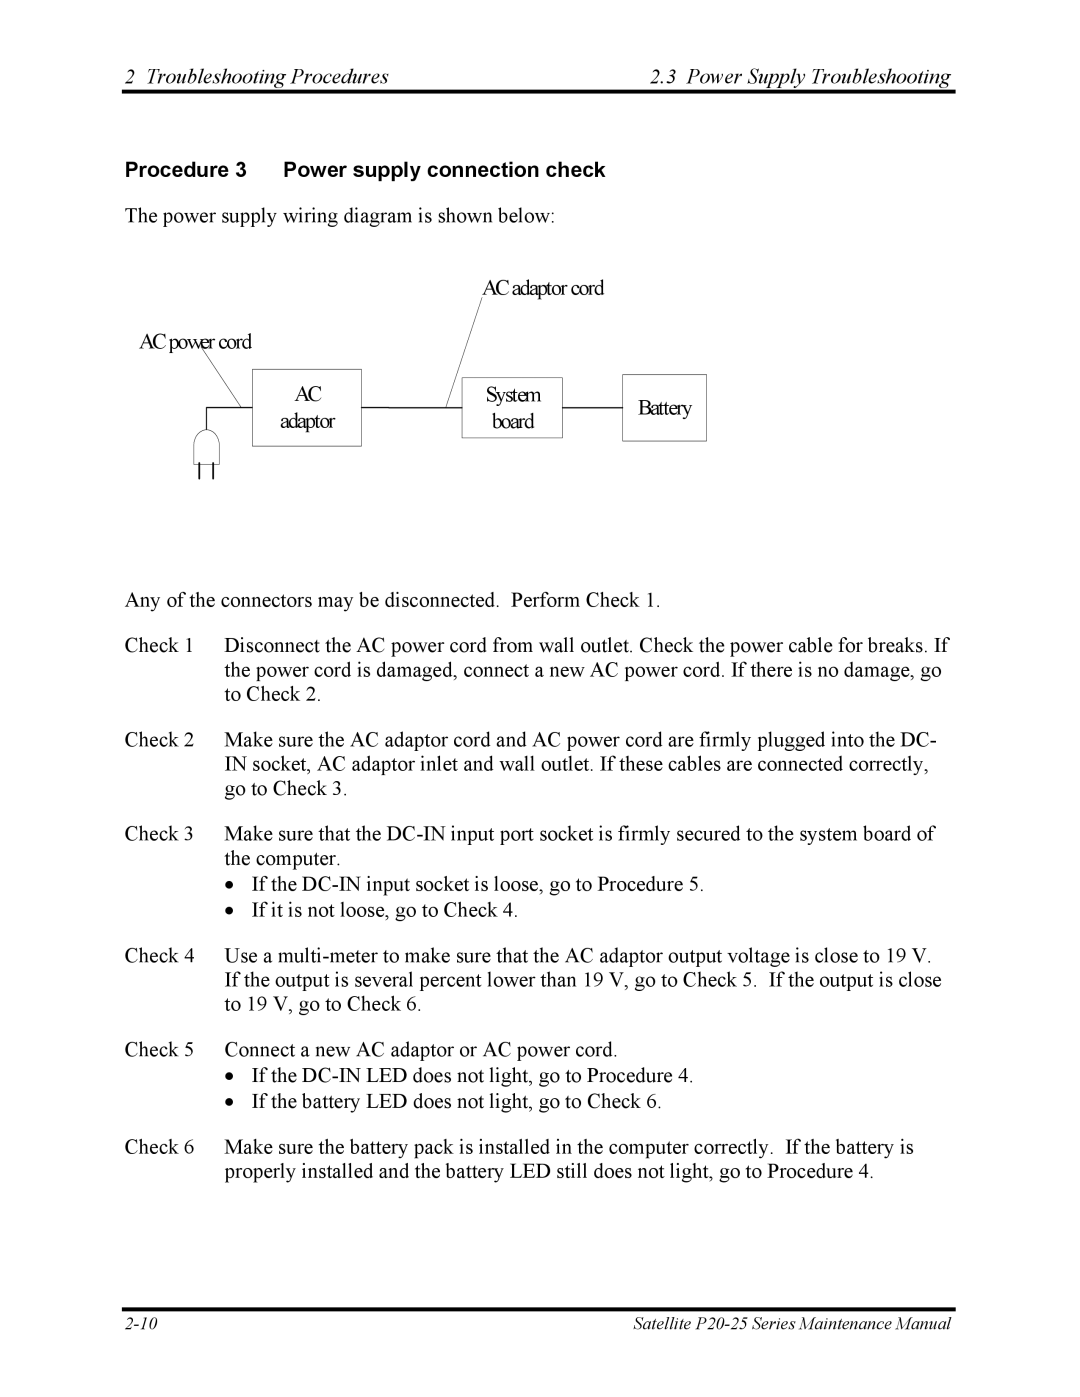
The power supply wiring diagram is shown below:
ACpower cord
AC adaptor
ACadaptor cord
System board
Battery
Any of the connectors may be disconnected. Perform Check 1.
Check 1 Disconnect the AC power cord from wall outlet. Check the power cable for breaks. If the power cord is damaged, connect a new AC power cord. If there is no damage, go to Check 2.
Check 2 Make sure the AC adaptor cord and AC power cord are firmly plugged into the DC- IN socket, AC adaptor inlet and wall outlet. If these cables are connected correctly, go to Check 3.
Check 3 Make sure that the
•If the
•If it is not loose, go to Check 4.
Check 4 Use a
Check 5 Connect a new AC adaptor or AC power cord.
•If the
•If the battery LED does not light, go to Check 6.
Check 6 Make sure the battery pack is installed in the computer correctly. If the battery is properly installed and the battery LED still does not light, go to Procedure 4.
Satellite |