Mounting and Anchoring the Units
Important: Before proceeding with the installation, determine the location and layout of the components, conduit penetration locations, conductor and conduit sizing, and method for anchoring the unit. Ensure adequate space is provided for clearance for ventilation and serviceability. Review Chapter 2, “Planning” if necessary before proceeding.
Mounting and Anchoring the Units
To mount and anchor the PV100S:
1.Predrill the floor or pad to accept 1/2" diameter masonry anchors or ensure it has
2.Lift the main inverter from beneath the lower enclosure with a forklift or pallet jack as shown in Figure
3.Lift the AC interface/transformer assembly from beneath the enclosure with a forklift or pallet jack as shown in Figure
4.Secure the Main Inverter Enclosure feet to the floor with a 1/2" diameter anchor bolts.
5.Secure the AC interface/transformer assembly enclosure feet to the floor with 1/2" diameter anchor bolts.
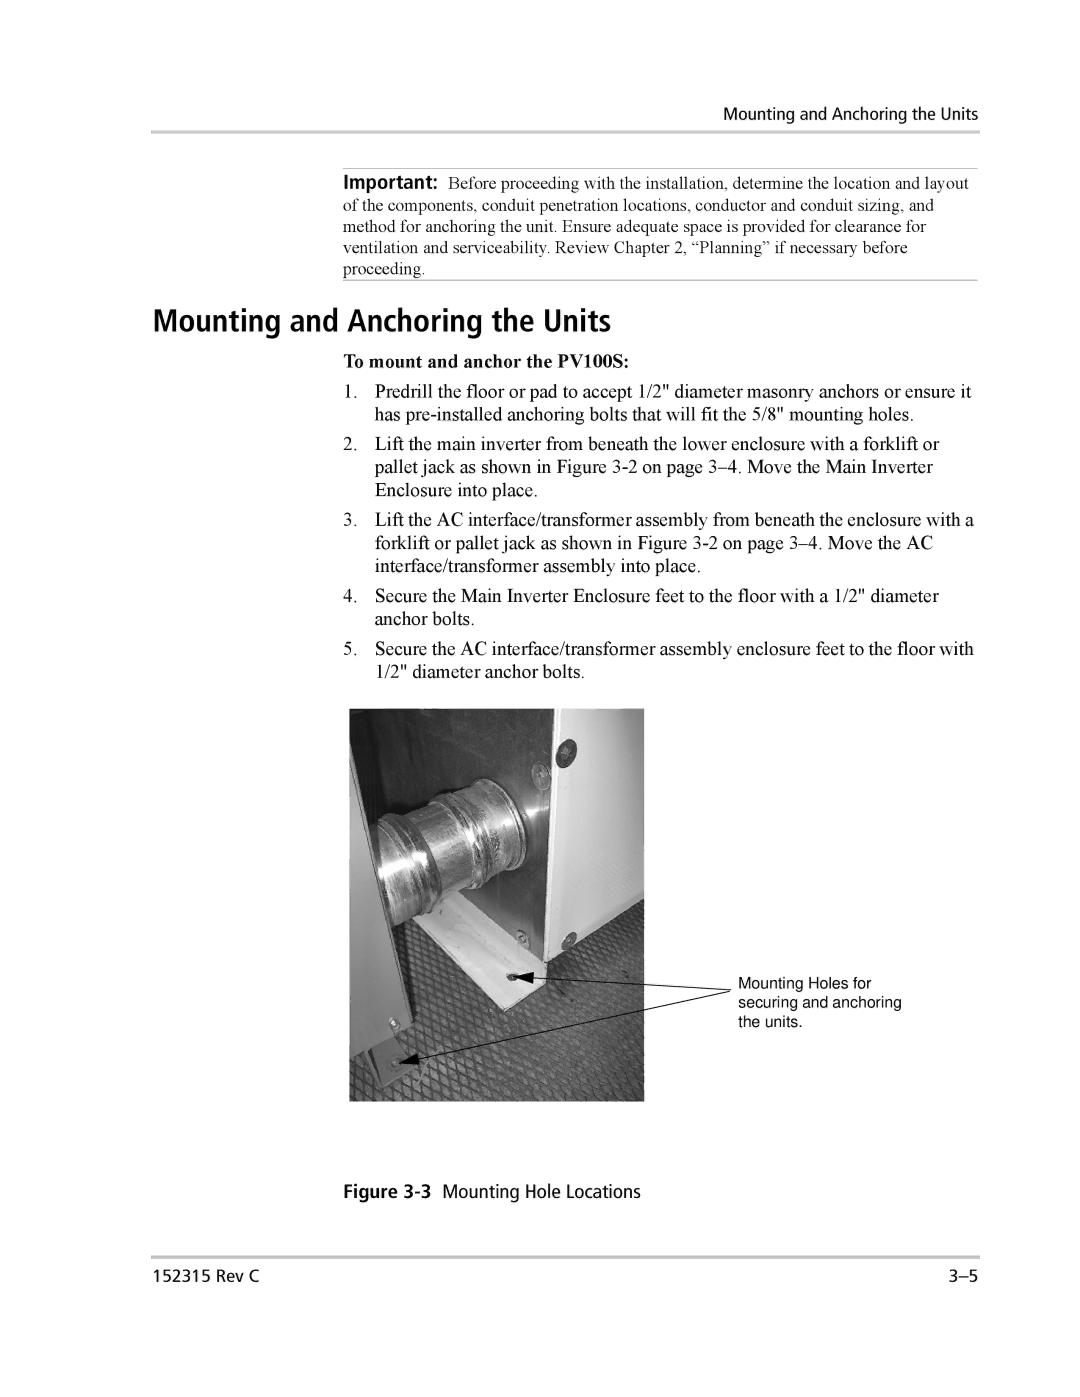
![]() Mounting Holes for securing and anchoring the units.
Mounting Holes for securing and anchoring the units.
Figure 3-3 Mounting Hole Locations
152315 Rev C |