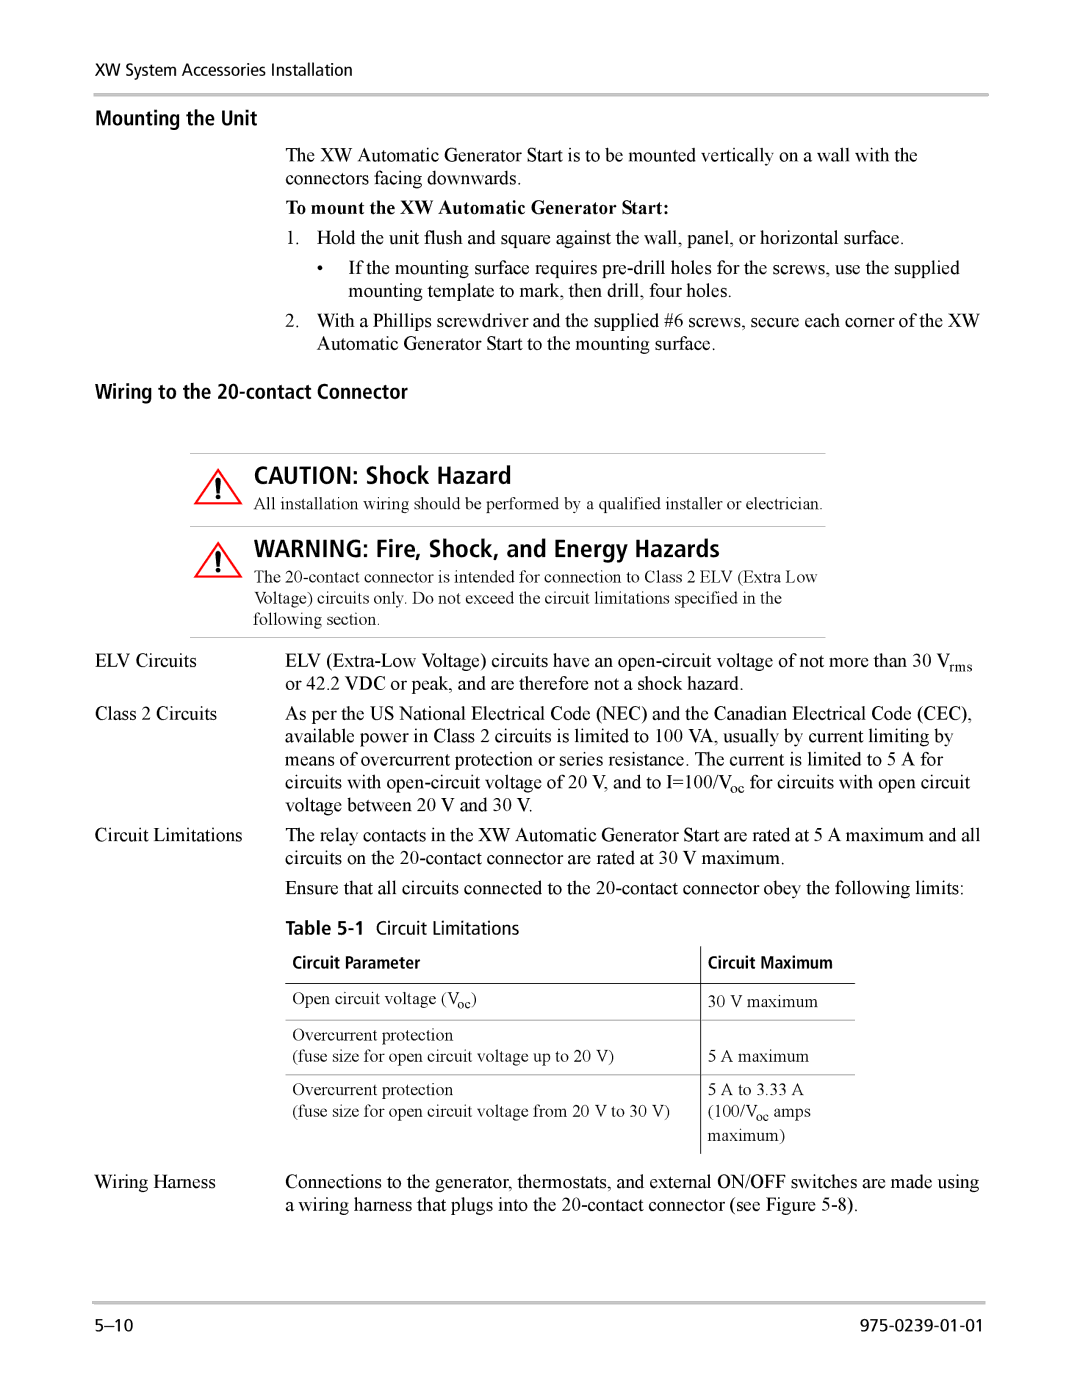
XW System Accessories Installation
Mounting the Unit
The XW Automatic Generator Start is to be mounted vertically on a wall with the connectors facing downwards.
To mount the XW Automatic Generator Start:
1.Hold the unit flush and square against the wall, panel, or horizontal surface.
•If the mounting surface requires
2.With a Phillips screwdriver and the supplied #6 screws, secure each corner of the XW Automatic Generator Start to the mounting surface.
Wiring to the 20-contact Connector
CAUTION: Shock Hazard
All installation wiring should be performed by a qualified installer or electrician.
WARNING: Fire, Shock, and Energy Hazards
The
ELV Circuits | ELV | |||
| or 42.2 VDC or peak, and are therefore not a shock hazard. | |||
Class 2 Circuits | As per the US National Electrical Code (NEC) and the Canadian Electrical Code (CEC), | |||
| available power in Class 2 circuits is limited to 100 VA, usually by current limiting by | |||
| means of overcurrent protection or series resistance. The current is limited to 5 A for | |||
| circuits with | |||
| voltage between 20 V and 30 V. |
|
|
|
Circuit Limitations | The relay contacts in the XW Automatic Generator Start are rated at 5 A maximum and all | |||
| circuits on the | |||
| Ensure that all circuits connected to the | |||
| Table |
|
|
|
| Circuit Parameter |
| Circuit Maximum | |
|
| |||
|
|
|
|
|
| Open circuit voltage (Voc) |
| 30 V maximum | |
| Overcurrent protection |
|
|
|
| (fuse size for open circuit voltage up to 20 V) |
| 5 A maximum | |
|
|
|
|
|
| Overcurrent protection |
| 5 A to 3.33 A | |
| (fuse size for open circuit voltage from 20 V to 30 V) |
| (100/Voc amps | |
|
|
| maximum) | |
|
|
|
|
|
Wiring Harness | Connections to the generator, thermostats, and external ON/OFF switches are made using | |||
| a wiring harness that plugs into the | |||
