Xerox DocuMate
User’s Guide
OneTouch 4.6 October 2013 05-0820-100a
Restricted Rights Legend
3 Scanner Setup
Table of Contents
4 Installation
Operational Safety Information
Redaction Settings Tab
6 Scanning and Configuring OneTouch
Scanning from the Automatic Document Feeder ADF
6-31
7 Scanning from TWAIN and WIA
Disabled Options in this Section
9 Scanner Options, Maintenance and Troubleshooting
Hardware Properties and Interface Behavior Device Settings
Installing an Imprinter
Index
8 Xerox DocuMate 4790 User’s Guide
Safety Introduction
Safety
Operational Safety Information
Notices and Safety
Electrical Information
Warning - Electrical Safety Information
Electrical Supply
Do Not Do These
Emergency Power Off
Maintenance Information
Disconnect Device
Environmental Health and Safety Contacts
Product Safety Certification
Contact Information
USA & Canada
What’s in the Box
Welcome2
System Requirements
Pentium 4 PC or AMD equivalent with
Documentation
A VGA or SVGA Monitor
The following printed documentation is provided in the box
The Xerox DocuMate 4790 Scanner
LCD screen-Shows the current scan settings
Welcome Paper guides-Guides adjust to support various document widths
Power switch-Turns the scanner’s power on or off
Pre-Imprinter Door-Open to access the pre-imprinter compartment
Unpack the Scanner
Scanner Setup
Install the Double Feed Prevention roller
3-11
Scanner Setup 7. Close the scanner when you are finished
Connect the Scanner Power Cord
1. Select the appropriate power cord for your country
2. Plug the power cord into the scanner and into a wall outlet
Installation4
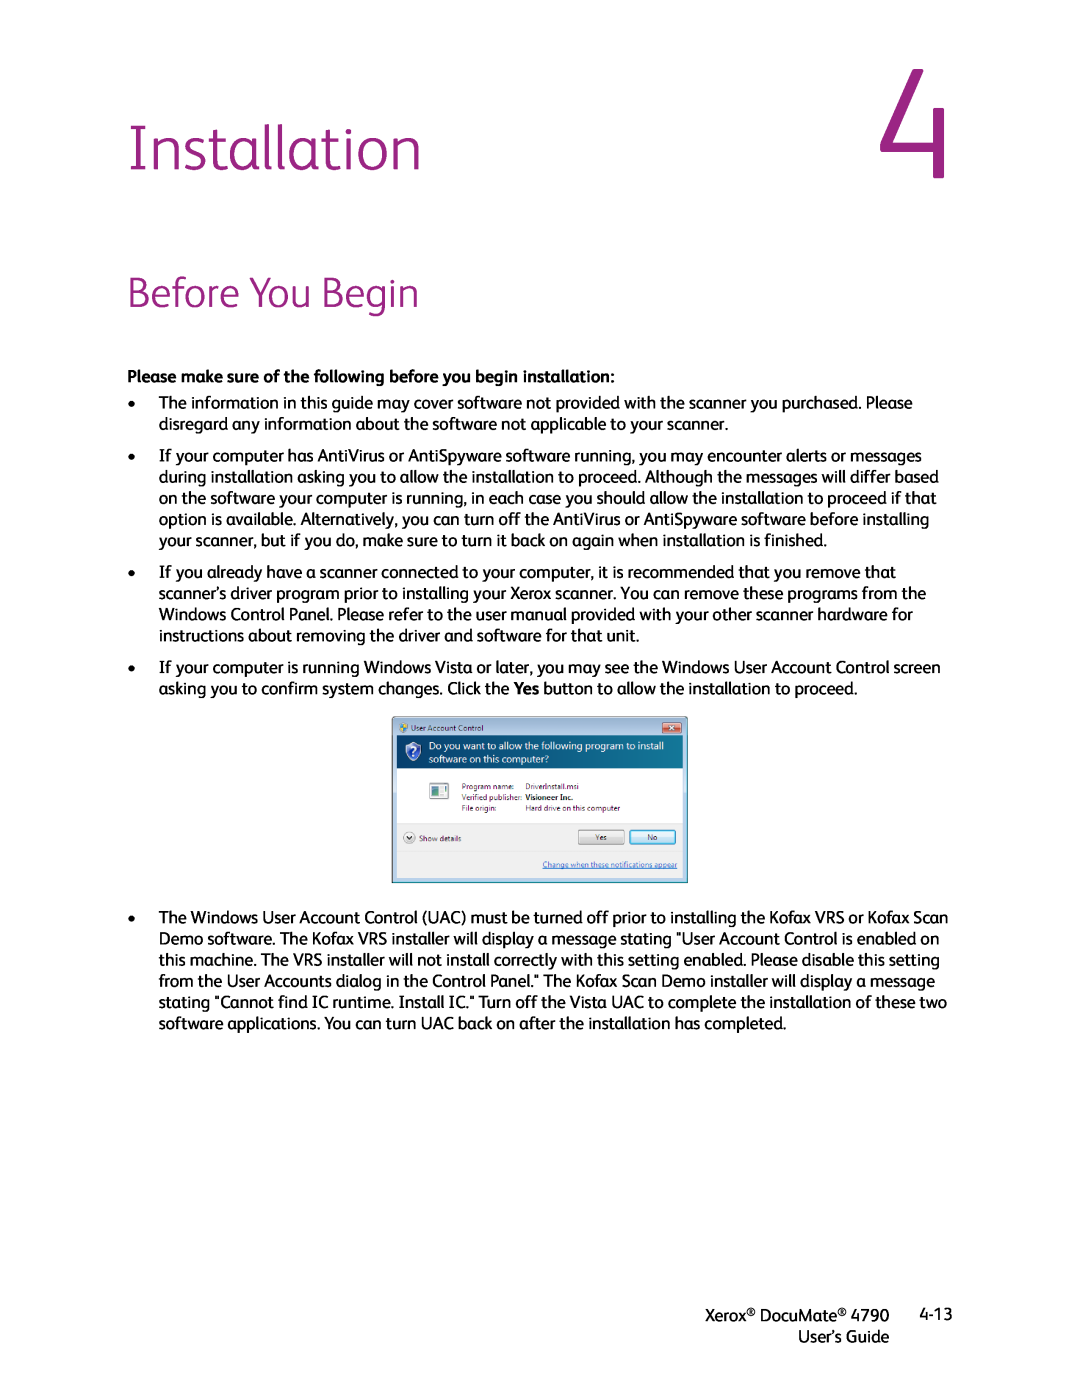
Please make sure of the following before you begin installation
Before You Begin
Install the Software and Connect the Scanner
Installation 4. On the Main menu, select Install software
6. Click Install now
5. Leave the default selections and click Install Now
4-15
Installing the Scanner Driver
Connect the USB Cable and Turn on the Power
Installing the User Utility
Installing Visioneer OneTouch
Installing Additional Applications
Software
About the Software
Nuance PDF Converter
View the User Guides
To register your scanner
Register Your Scanner
Loading Documents to
Scan
Preparing Documents for Scanning
Documents to Avoid Scanning
Supported Document Types
Scanning from the Automatic Document Feeder ADF
Unsupported Document Types
Scanning Interfaces
5-27
5-28
Configuring OneTouch
Default OneTouch Settings
Scanning and
Features of the OneTouch Button Panel
Scan from the OneTouch Button Panel
To scan from the OneTouch Button panel
The Hardware View
Changing the Button Settings
your scanned
Selecting Options for OneTouch
Destination Categories
#b-inserts the image number without adding zero
FN-inserts the scanner name
#03b-inserts a 3-digit image number in the scan batch
DDD-inserts the abbreviated 3-letter day Mon
Create a new configuration
Scan Configurations
Edit or delete a configuration
Technical Note
Select the scan mode and drag the slider to set the resolution
Scan Settings Tab
Page Settings Tab
Page
a. Select Manual feed mode
Redaction Settings Tab
Advanced Settings Tab
Width-input the width of the area to be removed
Height-input the height of the area to be removed
6-42
Black&White
File Formats
Image Formats
Create Single Image Files
To select a JPEG file size
To select a PDF file size
To select a file type for the text format
Text Formats
Configure Before Scan
To Scan Using Configure Before Scan
Canceling a Configure Before Scan
Open Scanned Documents
Transfer to Storage
Setting the Folder and Options from OneTouch
Open storage folder when scan is complete
Setting the Folder from Windows
Storage layout
Storage location
Scanning to Multiple Folders
Setting Up Multiple Folders for Transfer to Storage
7. Click the Storage Options tab
Page
Scan to multiple storage folders
Burn to CD-ROM
Page
Printer or Fax
PaperPort
Scanning and Configuring OneTouch
SharePoint
Select the destination folder for Scanned Documents
Scan to the current PaperPort folder
The SharePoint URL would be sharepoint.site.com/IT/common
SharePoint Link Log Viewer
FTP Transfer
Page
6-66
FTP Link Log Viewer
SMTP
6-68
SMTP Link Log Viewer
Email Applications
Email Properties
Text Editors
Text Documents Properties
Adding Text Editor Applications to OneTouch
Creating an HTML Web Page from Your Scanned Documents
Still Image Client
Windows Vista, 7 and 8-Hardware and Sound
2. Open the Scanners and Cameras group
Image Editors
Image Documents Properties
Adding Image Editor Applications to OneTouch
PDF Applications
4. Click on the Properties button
3. Click on one of the default text editors such as WordPad
6. Click Browse to find the application you want to add to the list
6-81
Send to Application
Page
Technical note
Scanning to Multiple Destinations
6-86
Click on OK when you are done making changes in this window
Scanning with Job Separation
5. Click on the option Use job separator when scanning multiple pages
Sensitivity-you can adjust the sensitivity level of the blank page detection. For instance, depending on the paper weight, color mode, or image processing options selected, you might get varying results. Changing the sensitivity level allows you to fine-tune the accuracy of the blank page detection
Skip blank originals
To scan with OCR
Scanning with Optical Character Recognition OCR
To select a file type for the text format
Text Formats
Page
To select OCR options available from OneTouch
Selecting OneTouch OmniPage OCR Options
The OCR Tab
Page
To create a personal dictionary
Creating Your Own Dictionaries
The Add New User Dictionary window opens
To edit a user dictionary
Editing User Dictionaries
Page
The Format Tab
Input Format Options
Output Format Options
OneTouch with Visioneer Acuity Technology
The Acuity Settings
Perform edge cleanup-Select this option to have the software remove any thin lines that may be around the edges in the scanned image. Edge Cleanup only applies if AutoCrop and AutoDeskew are selected so the software can determine where the edges are located. Therefore, selecting Edge Cleanup will also select AutoCrop and AutoDeskew. This option is only available when scanning in Black&White
Hardware Properties
Driver Settings
Device Settings
Please refer to Device Settings on page
Please refer to Driver Settings on page
6-106 Xerox DocuMate 4790 User’s Guide
Scanning from TWAIN
Accessing the Scanner Interface
and WIA
Choosing TWAIN or WIA
Scanning
Fill Margin Holes Automatic Image Cropping Crop to original
Straighten Image
Using the Preview Window
Locked Scanning Interface
To use the preview window
7-110 Xerox DocuMate 4790 User’s Guide
7-111
Creating custom scan regions
Scan Regions
7-113
7. Click Close when you are done creating scan regions
The Summary area in the main interface will indicate when custom regions have been defined in the preview window. Click on View or modify custom regions in the summary area to display the preview window
Move, Resize, or Delete Regions
Move, Resize, or Delete a Blocked Region
Reordering Regions
Clear All Regions
Document Source Configuration
Basic Options
Advanced Options
The available color modes are
To set the scanner options individually for each side
Sides identical
Summary
Presets
To modify an existing preset
To save a new preset
To rename a preset
To delete a preset
Exporting Presets
Importing a Preset
7-124 Xerox DocuMate 4790 User’s Guide
3. Click on Open
Document Settings
Main Panel Options
Disabled Options in this Section
See Advanced Panel Options on page
See Scanner Model Panel Options on page
Choosing resolution values
Resolution
Some resolution settings for typically scanned items are
Document Size
Manual Feed
Long Document
Custom document sizes
To scan with manual feed mode
Rotate Image
Straighten Image
Merge Two Sides
Flip Back Side
Advanced Panel Options
Skip Blank Originals
Height threshold
Automatic Image Cropping
Clean Up Edges
Compression Options
Compress transfers
Quality
2. Select Enable user compression and Remember compression
Subsampling
Compression
Adjusting the sensitivity level
Scanner Model Panel Options
Detect Double Feeds
Document Handling
Detect Stapled Documents
Patch Code Action
Threshold
File Separation Action
Control Sheet Action
Imprinter Panel Options
Page
Image Enhancements
Disabled Options in this Section
Choosing brightness values
Brightness
Color image brightness examples
Contrast
Black background scanners
Choosing contrast values
Contrast 75%
Color image contrast examples
Invert Image
Gamma
Choosing gamma values
Color image gamma examples
Mirror Image
Error diffusion, Bayer, and Halftone pattern
Bit Depth Reduction
Threshold and Dynamic threshold
Fill Margin Holes
Bayer dither scan - Close up Mixed Content Options Text and Graphics
Color Dropout
Color Processing Panel Options
Automatic Color Detection Options
Perform Color Correction
Image Emphasis
Despeckle
Moiré Reduction
Scanned with high image emphasis
Remove Background
Smooth Background
Color scan with Smooth background
Gray scan with Smooth background
Initialize White Level From Document
White Level
Black Level
Driver Configuration
Module Configuration
Reordering the Modules
Power adjustments
Scanner Configuration
Scanner maintenance
Color correction
To open the scanner hardware properties page
Hardware Properties and Interface Behavior
Power Settings
Firmware Update
Color Correction
Scanner Details
Counters
General
TWAIN Driver
WIA Driver
7-158 Xerox DocuMate 4790 User’s Guide
Scanning from ISIS
8-160 Xerox DocuMate 4790 User’s Guide
Scanning from ISIS
Maintenance and Troubleshooting
Scanner Options
Changing the Background Color
Scanner Options, Maintenance and Troubleshooting
5. Carefully close the scanner when you are finished
9-162 Xerox DocuMate 4790 User’s Guide
Replacing the Rollers
Replacing the Feed Roller Module
Replacing the Double Feed Prevention Roller
4. Discard the roller, it cannot be repaired or reused
5. Take the roller out of its packaging
9-166 Xerox DocuMate 4790 User’s Guide
Installing an Imprinter
Installing an Ink Cartridge
Adjusting the Printing Position
User Utility
Main Screen Options
2. Click on All Programs
Scanner Error Codes
Error
the Inside of the Scanner on page
Resolution
Message
section Cleaning the Inside of the Scanner
refer to Cleaning the Inside of the Scanner
of the Scanner on page
After Clean Roller, in
Buzzer Setting
Setting Sleep Mode
Shading Adjustment
To prepare for shading adjustment
To complete a shading adjustment
Page
Restoring the Default Shading Adjustment
Cleaning the Outside of the Scanner
Cleaning the Inside of the Scanner
Safety Precautions
Preparation
9-179
Cleaning the ADF Rollers
Page
Cleaning the Scanner Glass and Background Plates
Reset the Roller Count in the User Utility
Cleaning the Paper Sensors
9-183
Cleaning the ADF Sensors
Clearing Paper Jams
Troubleshooting
Problem The scanner won’t scan. What’s wrong?
Problem The scanned images are of poor quality. What do I do?
Problem I got an “SVS001” error when installing Kofax VRS. What do I do?
Uninstalling Your Scanner
Uninstalling Visioneer Acuity
Uninstalling the scanner driver
Optical resolution
Xerox DocuMate 4790 Specifications
ADF specifications
Scanner dimensions
Xerox DocuMate 4790 Scanner Parts List
Part Name
Part Number
Basic Regulations
Regulatory Information
United States FCC Regulations
European Union
Other Regulations
Copy Regulations
United States
Turkey RoHS Regulation
Previous military service
Canada
Other Countries
Product Recycling & Disposal
Compliance Information
USA & Canada
RoHS and WEEE Compliance
Energy Program Compliance
Energy Star for the USA
Index
Page
Page
Use MRC, 6-93 user dictionary